Cudworth - Wakefield - Leeds
 Cudworth
(c1982) : Michael Kaye, with permission from Phillip Christy Cudworth
(c1982) : Michael Kaye, with permission from Phillip Christy
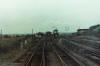
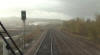
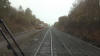
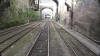
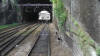
A trip taken from the cab of a Class 47 on the route from Cudworth
into Wakefield Westgate.
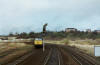
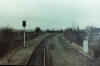
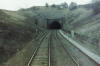
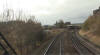
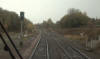
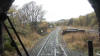
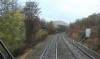
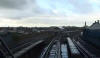
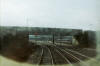
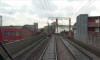
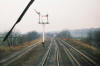
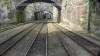
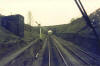
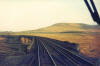
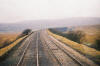
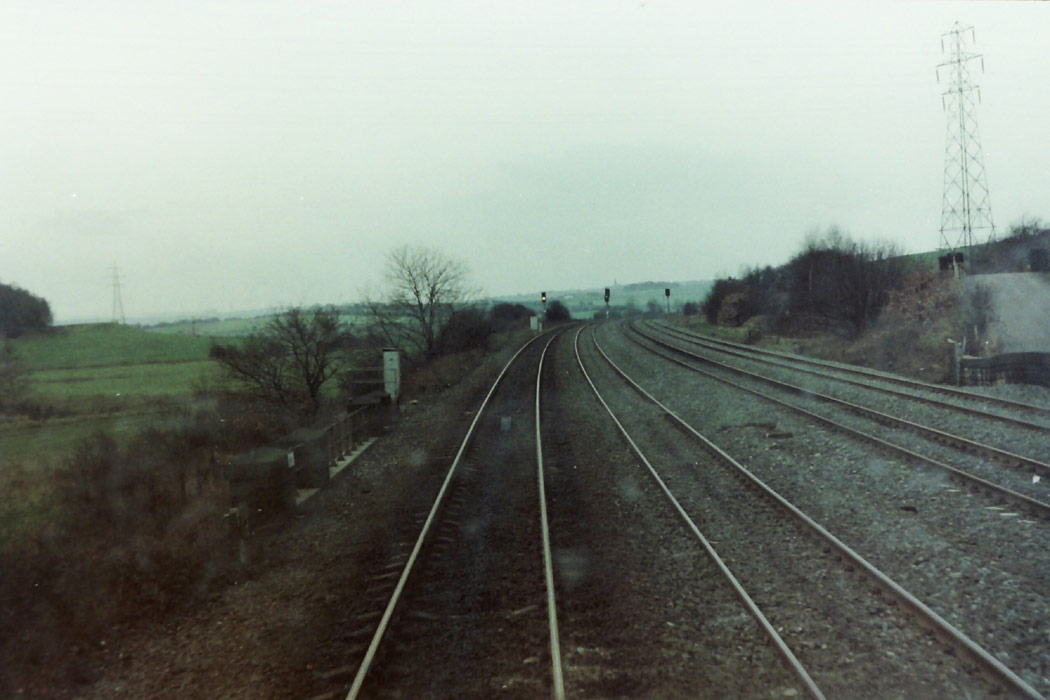
We are on the Down Fast Line and have just come out of Storrs Mill
cutting on the approach to Cudworth. c1982. |
 Cudworth
(c1982) : Michael Kaye, with permission from Phillip Christy Cudworth
(c1982) : Michael Kaye, with permission from Phillip Christy
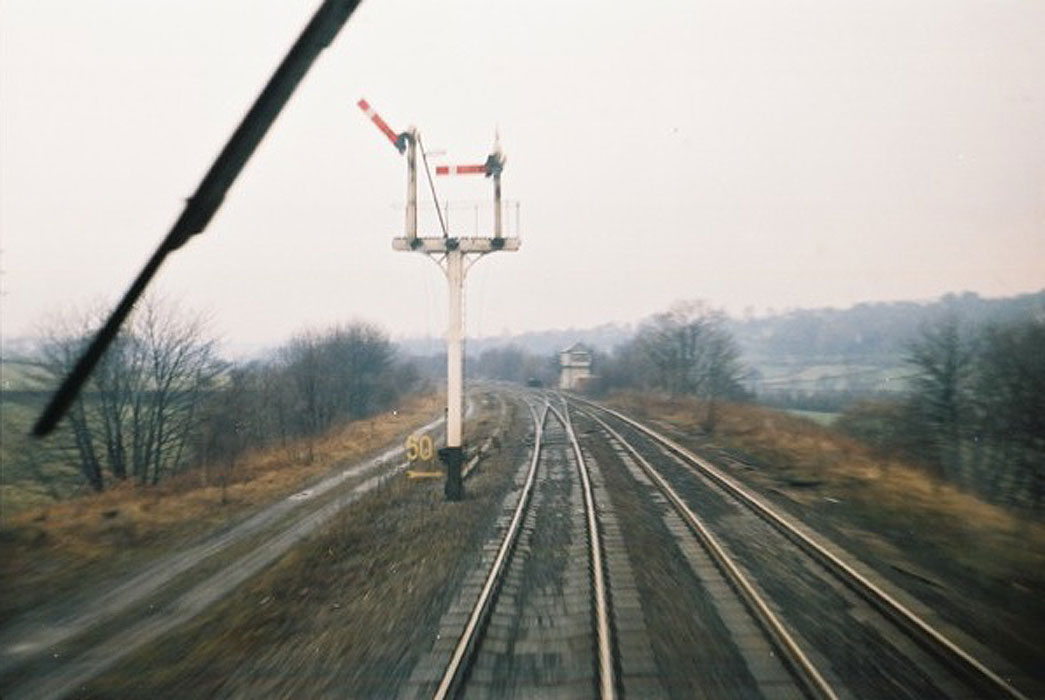
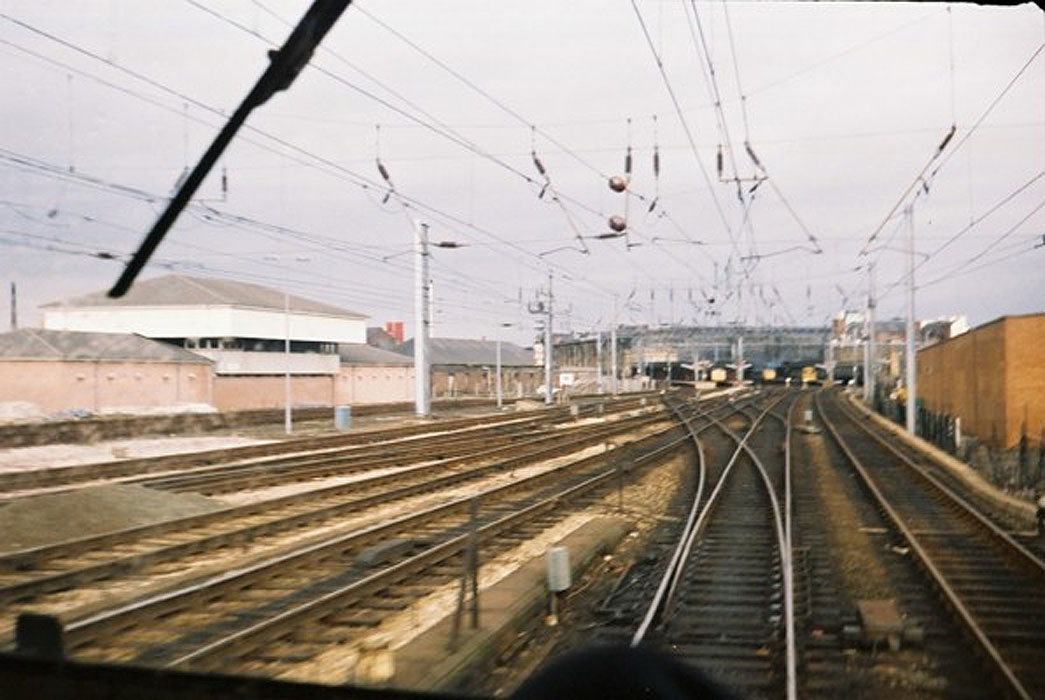
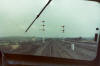
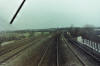
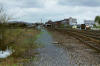
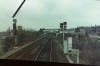
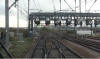
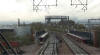
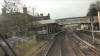
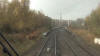
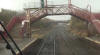
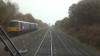
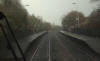
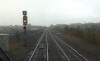
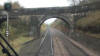
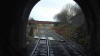
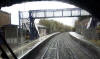
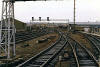
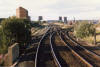
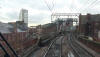
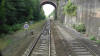
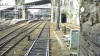
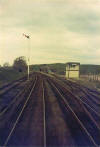
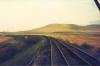
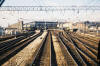
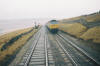
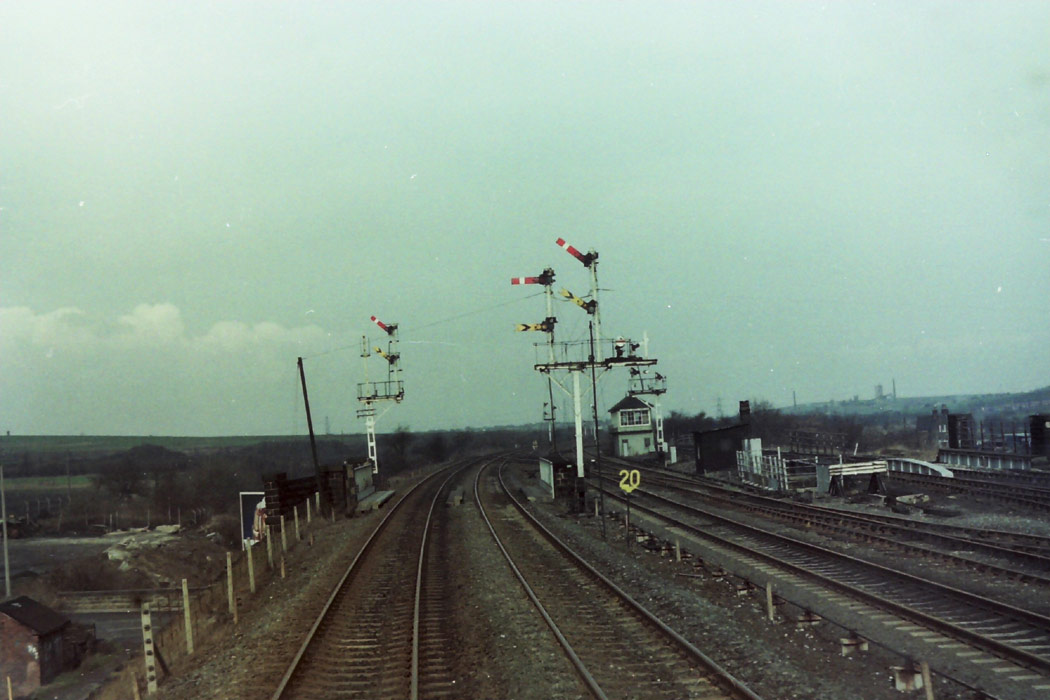
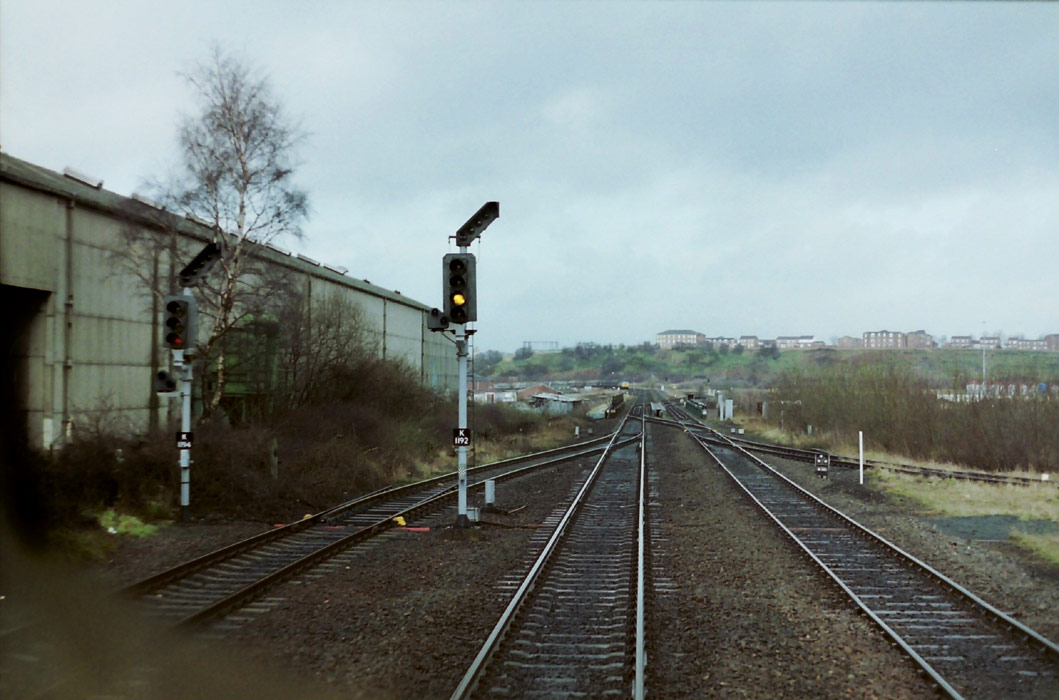
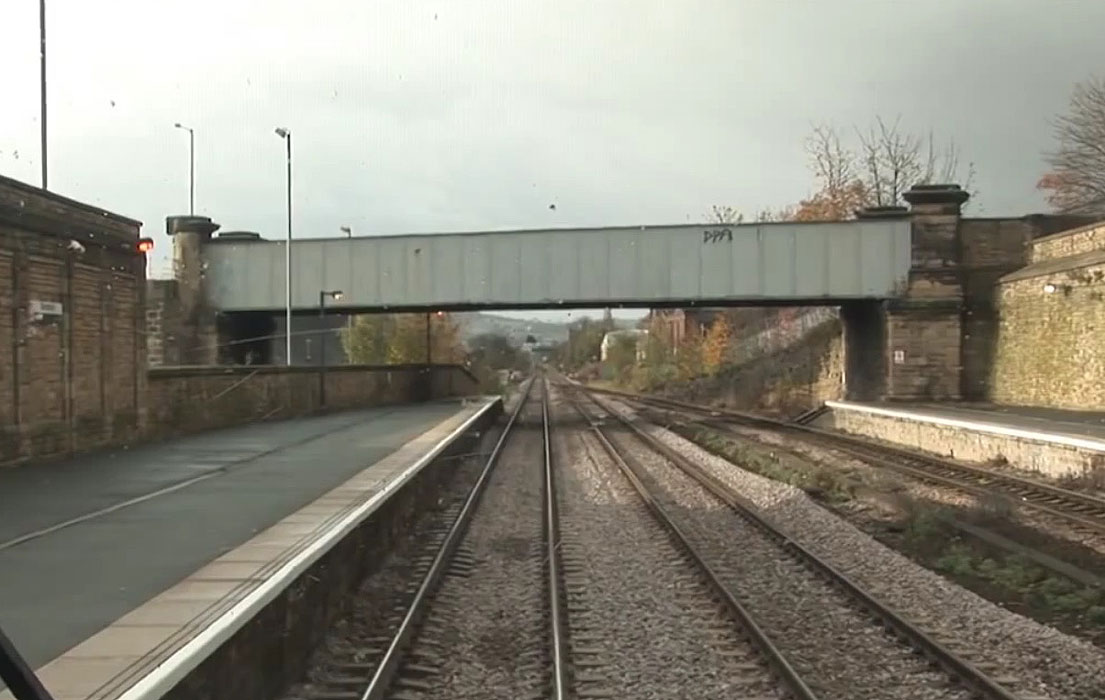
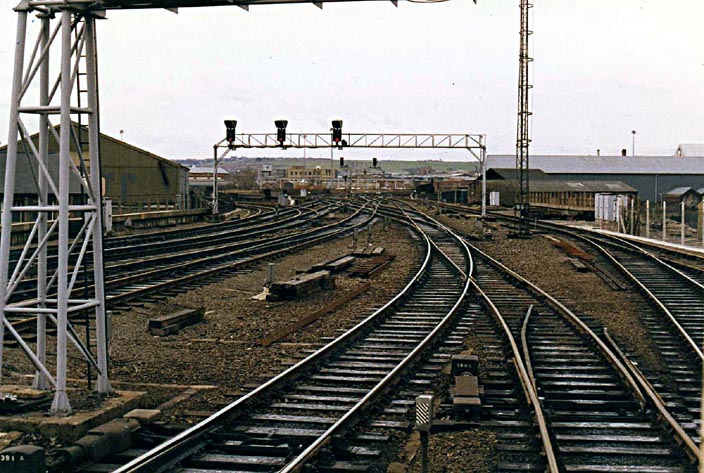
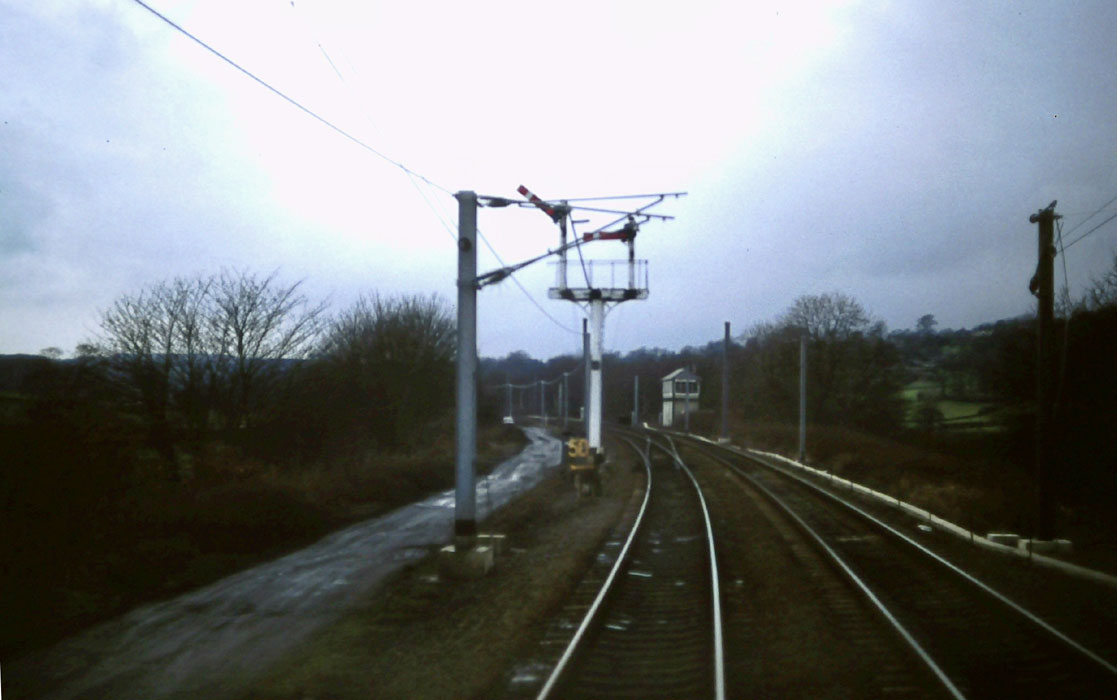
On the approach to Cudworth Station, the signal ahead took you on
the ‘Down Slow Line’. c 1982. |
 Cudworth
(c1982) : Michael Kaye, with permission from Phillip Christy Cudworth
(c1982) : Michael Kaye, with permission from Phillip Christy
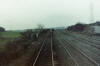
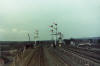
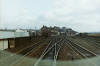
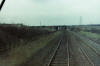
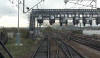
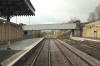
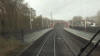
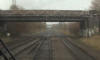
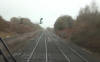
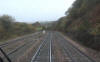
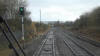
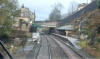
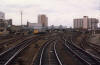
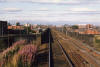
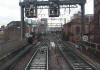
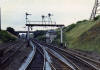
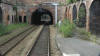
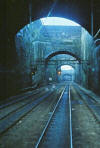
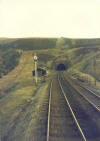
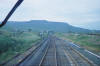
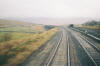
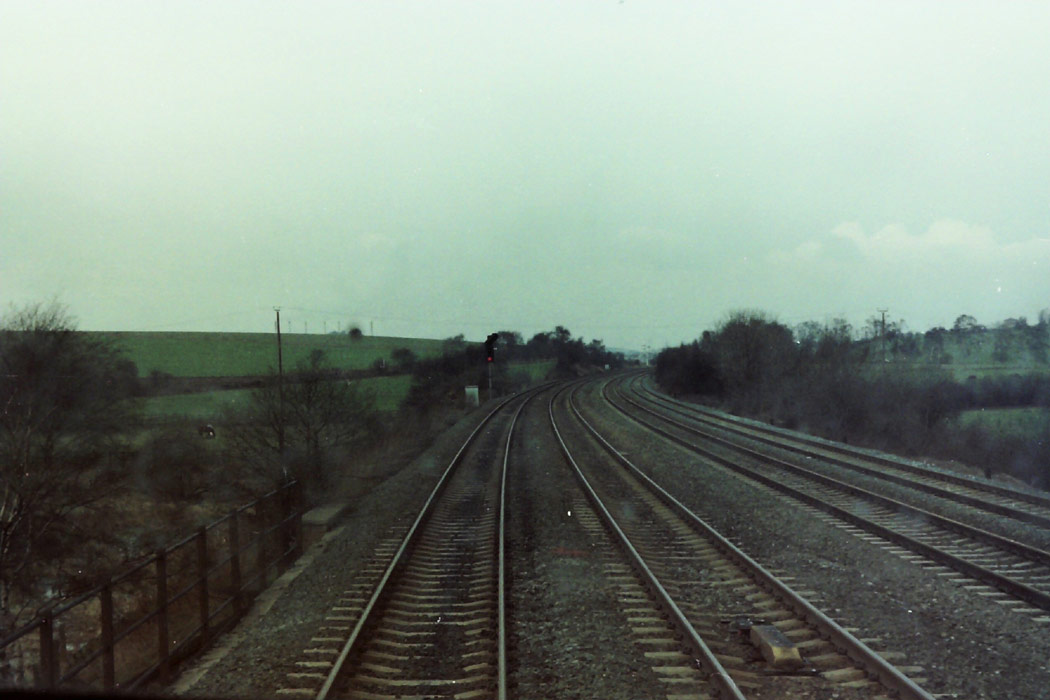
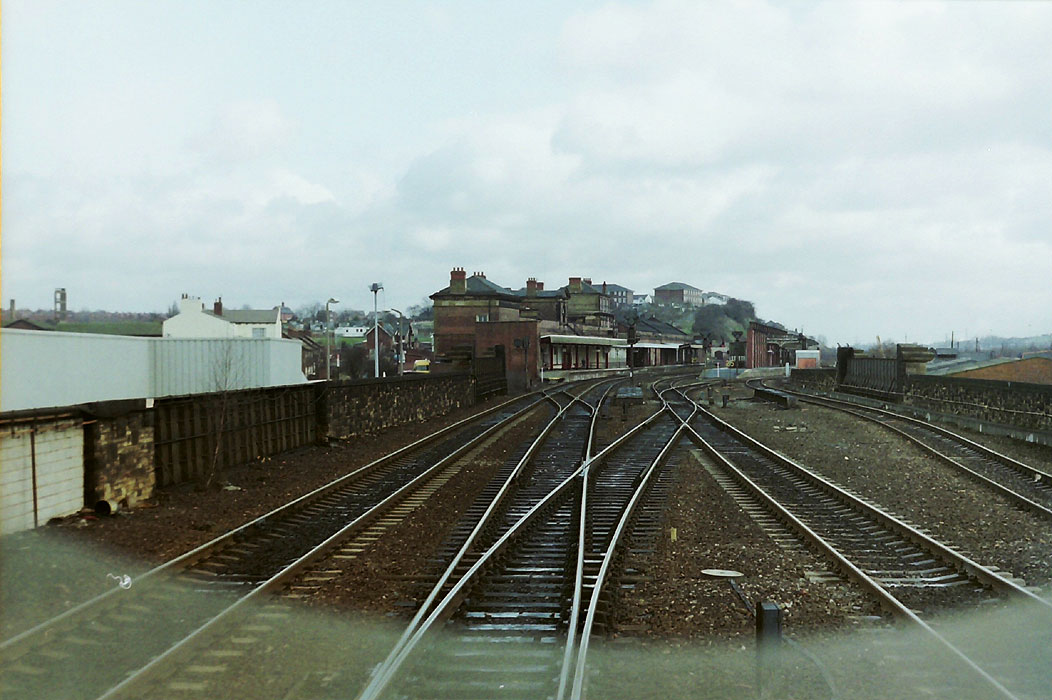
On the approach to Cudworth Station, the line coming in from the
left is from Stairfoot Junc, c1982. |
 Cudworth
(c1982) : Michael Kaye, with permission from Phillip Christy Cudworth
(c1982) : Michael Kaye, with permission from Phillip Christy
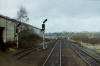
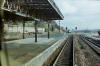
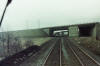
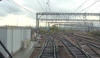
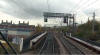
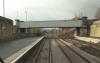
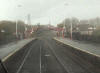
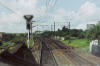
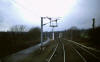
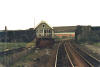
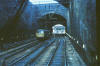
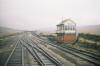
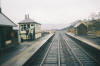
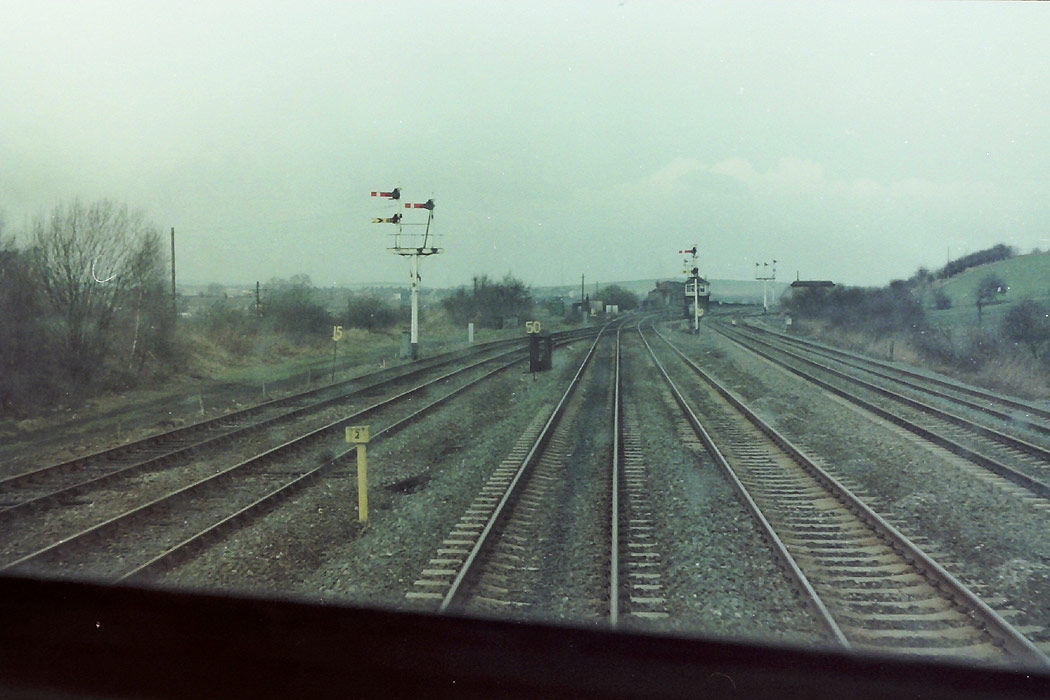
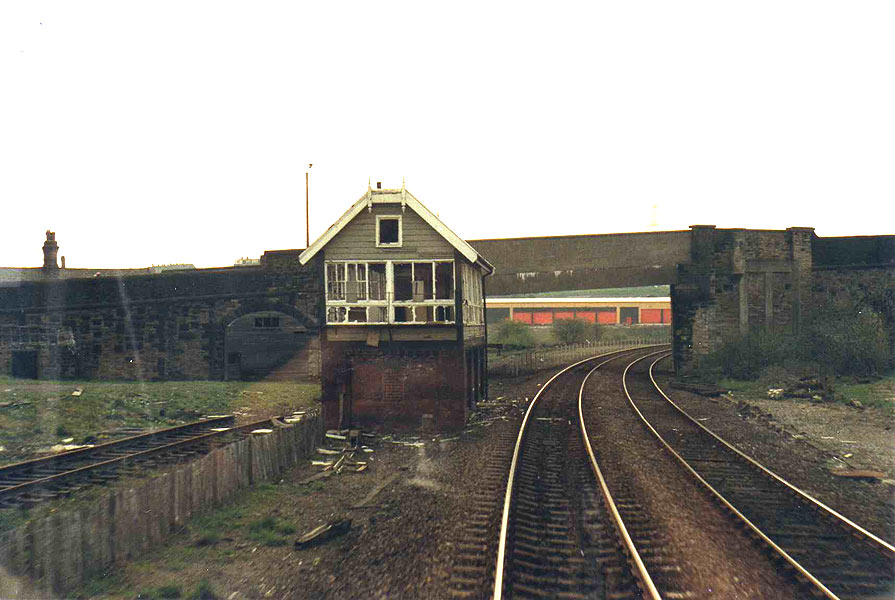
Cudworth station signal box with the (midland) station to the
left. c 1982. |
 Cudworth
(c1982) : Michael Kaye, with permission from Phillip Christy Cudworth
(c1982) : Michael Kaye, with permission from Phillip Christy
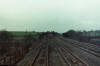
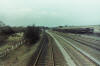
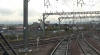
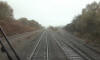
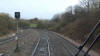
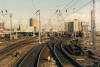
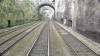
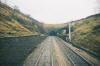
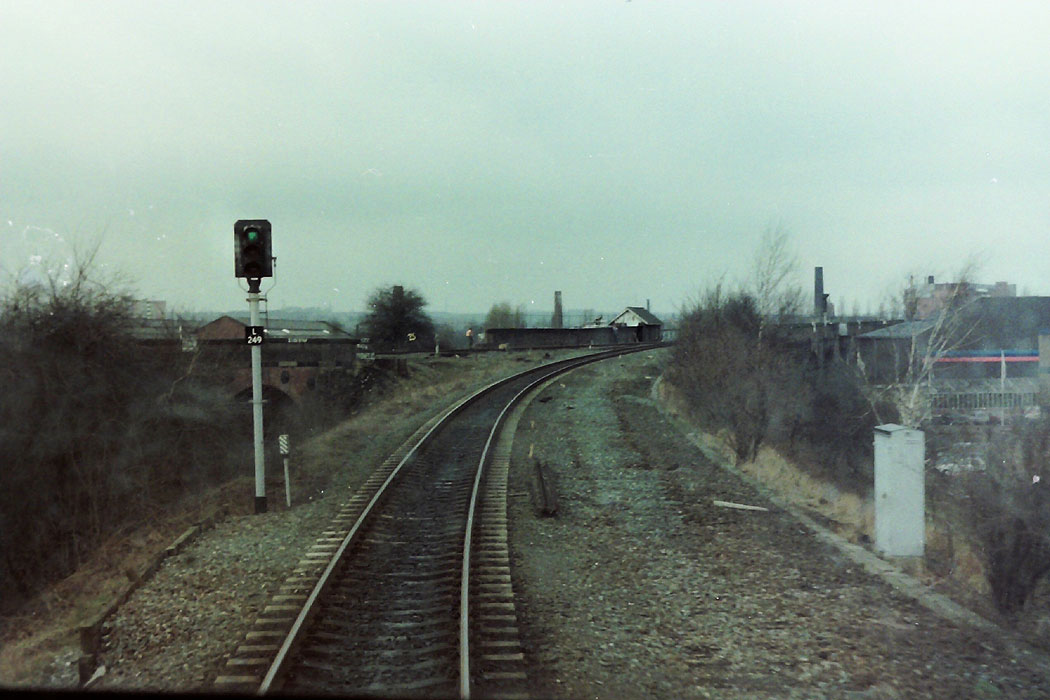
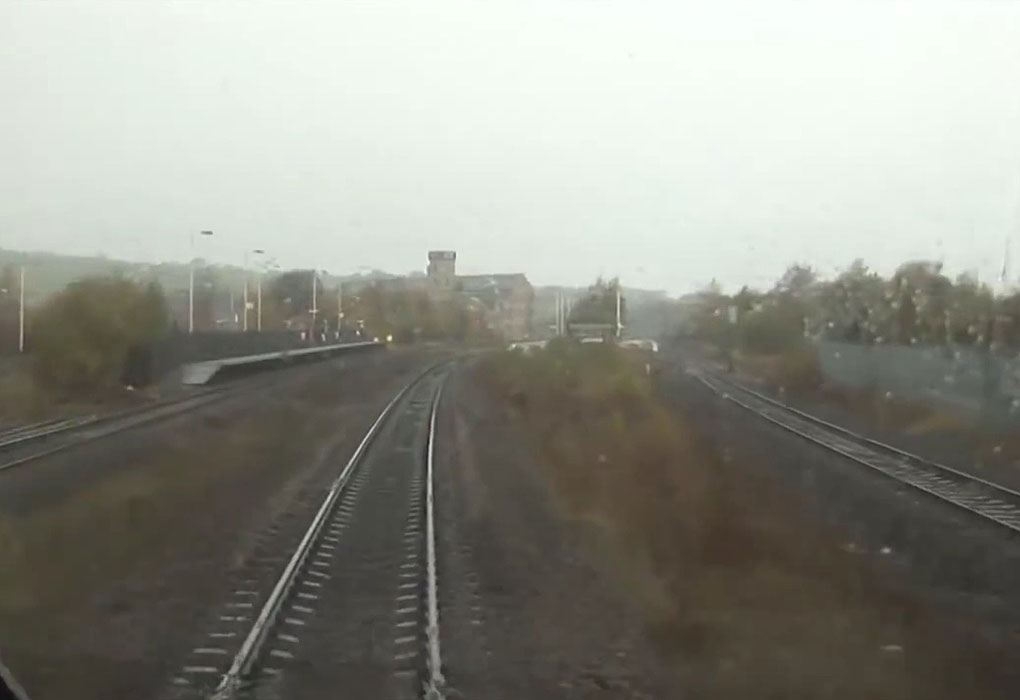
Just having left Cudworth Station, we are on the approach to
Cudworth North. c 1982. |
 Cudworth
(c1982) : Michael Kaye, with permission from Phillip Christy Cudworth
(c1982) : Michael Kaye, with permission from Phillip Christy
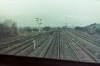
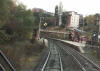
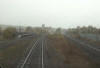
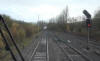
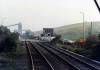
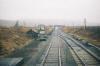
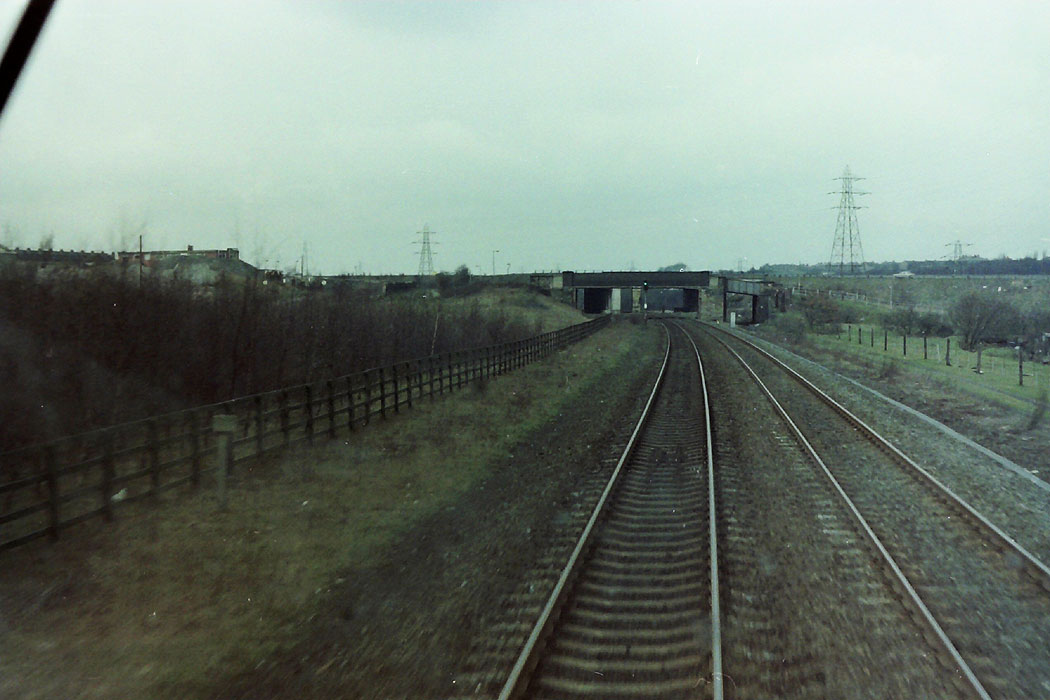
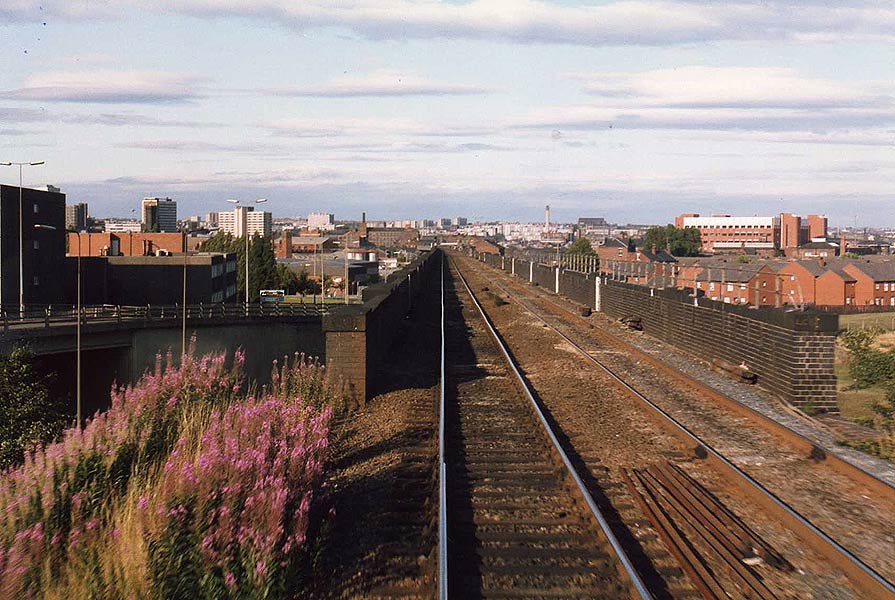
Cudworth North, the lines on the extreme left were once the main
line to Hull on the H&B. On the right on the horizon is Royston
coking plant. c1982. |
 Royston
Junction (c1982) : Michael Kaye, with permission from Phillip
Christy Royston
Junction (c1982) : Michael Kaye, with permission from Phillip
Christy
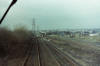
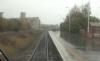
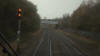
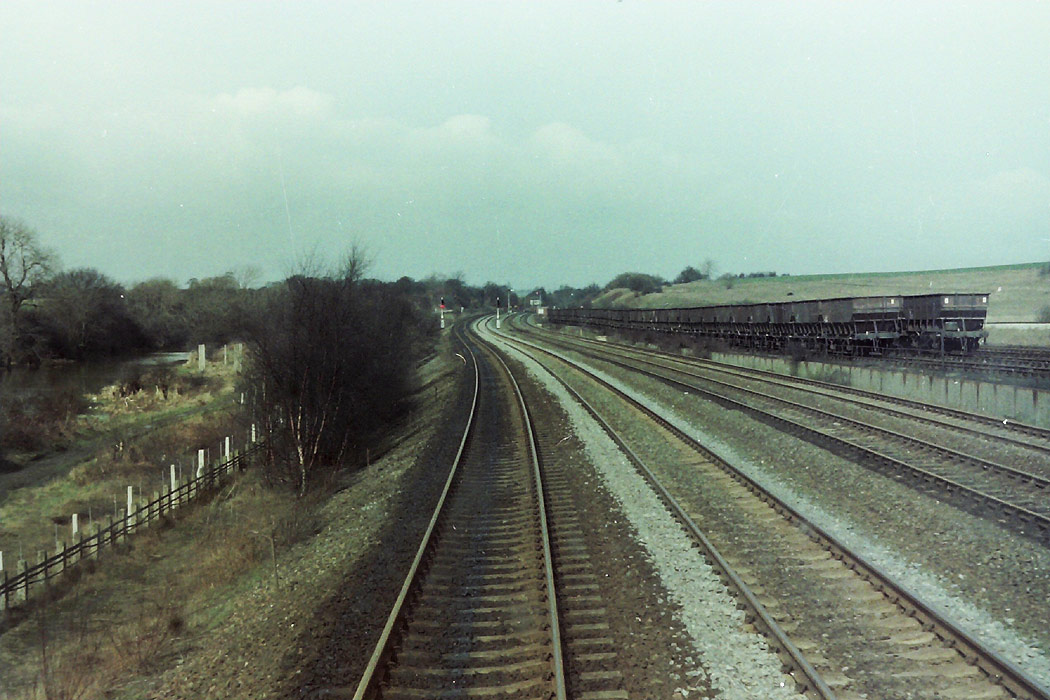
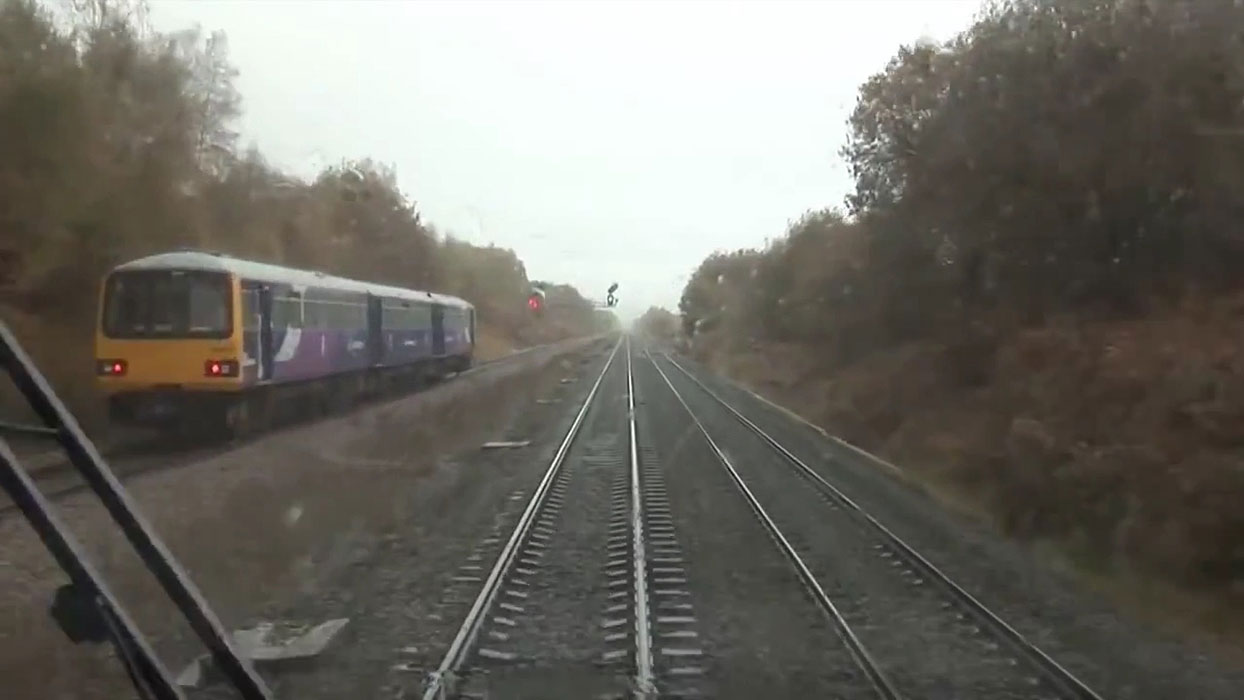
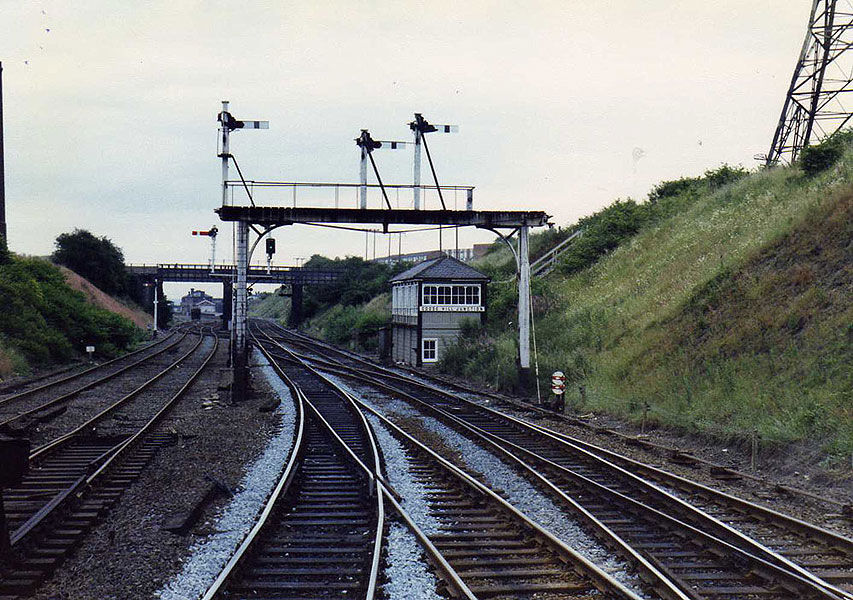
Approaching Royston Junction, on the left was at one time Hodroyd
& Monkton Sdgs with the signal box of the same name. The train is
being stopped and will cross over onto the Down Slow lines, as the
railway on the Down Fast at this time was closed due to a land
slip. c1982 . |
 Oakenshaw
South (c1982) : Michael Kaye, with permission from Phillip Christy Oakenshaw
South (c1982) : Michael Kaye, with permission from Phillip Christy
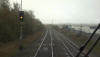
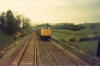
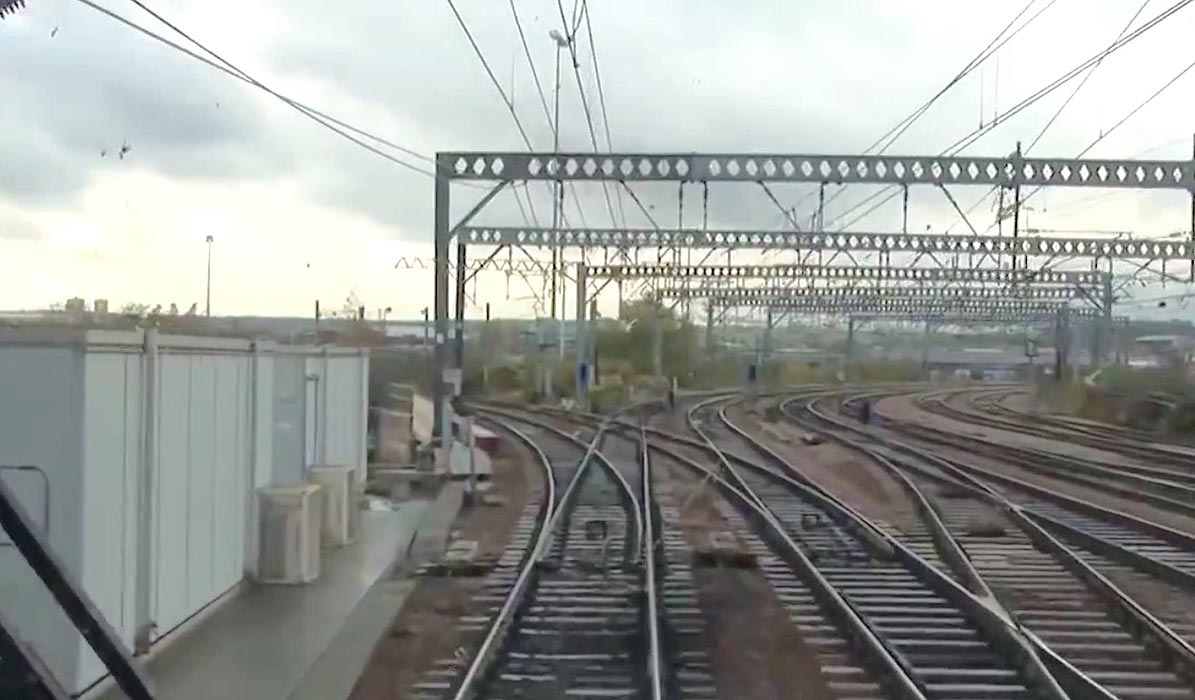
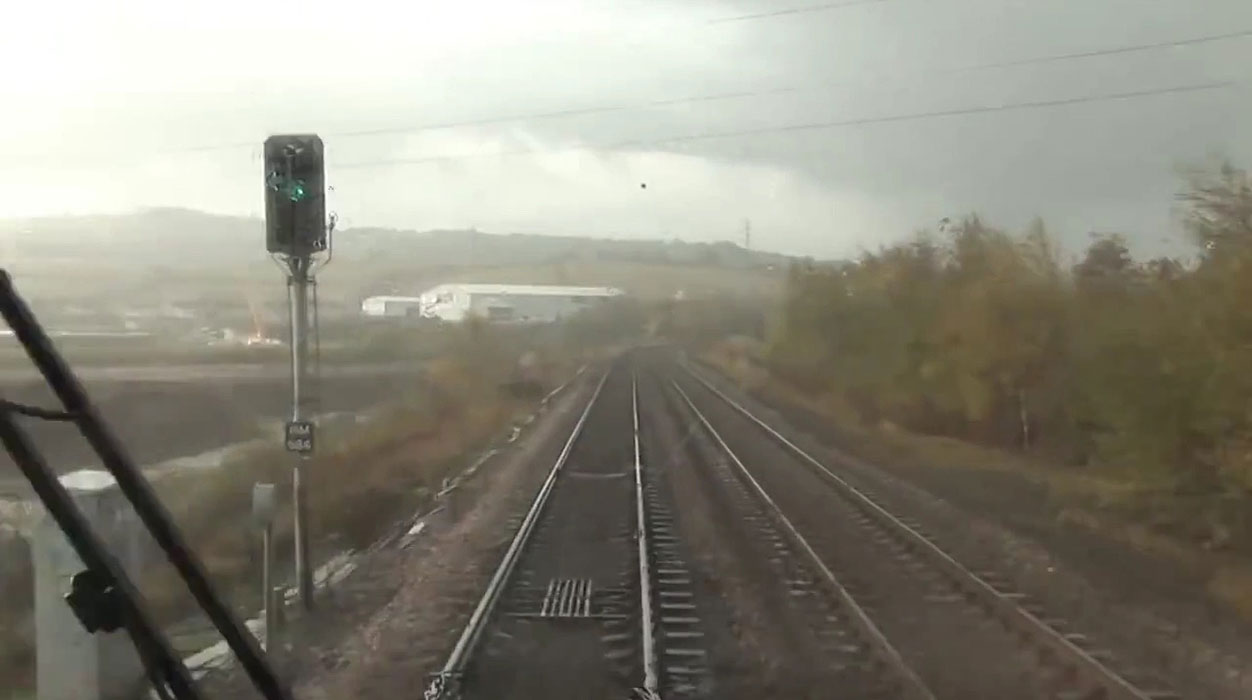
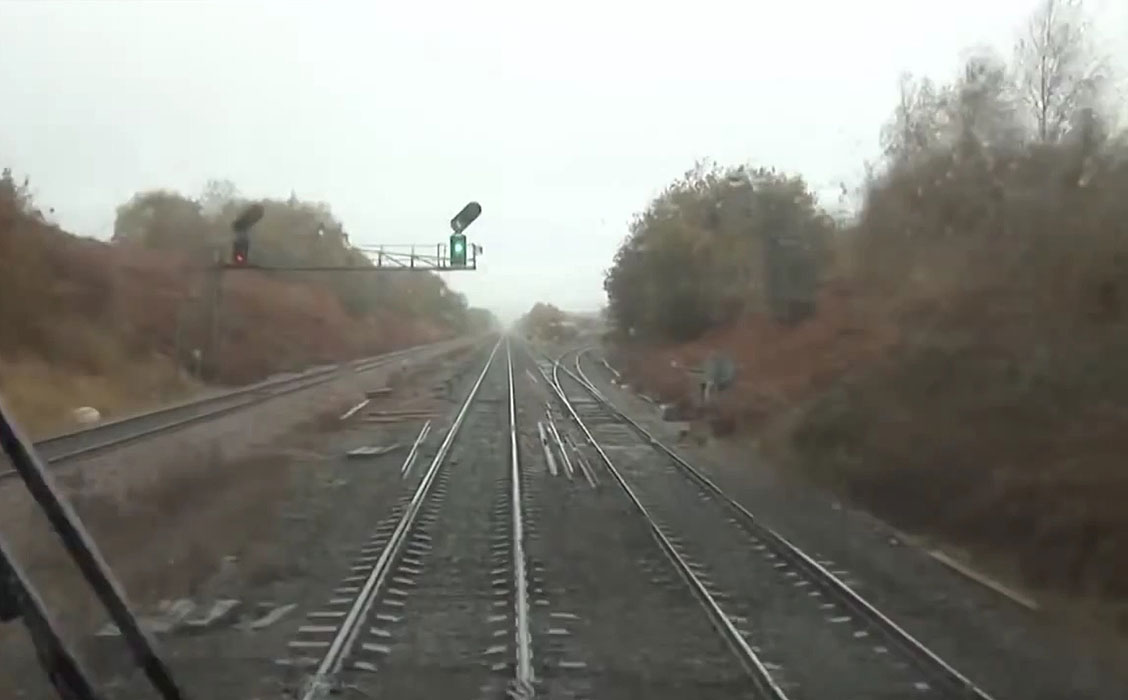
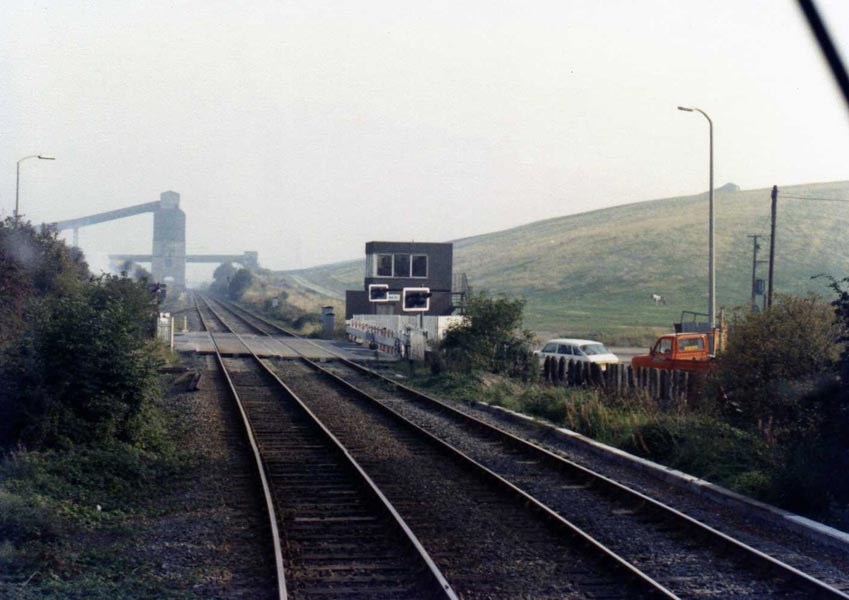
We have the No 2: route indicator on the Down Slow Lines at
Oakenshaw South.
The No: 1 route indicator would have brought us back onto the Down
Fast Line and onto Goose Hill Junc. c1982. |
 Oakenshaw
L&Y Junc (c1982) : Michael Kaye, with permission from Phillip
Christy Oakenshaw
L&Y Junc (c1982) : Michael Kaye, with permission from Phillip
Christy
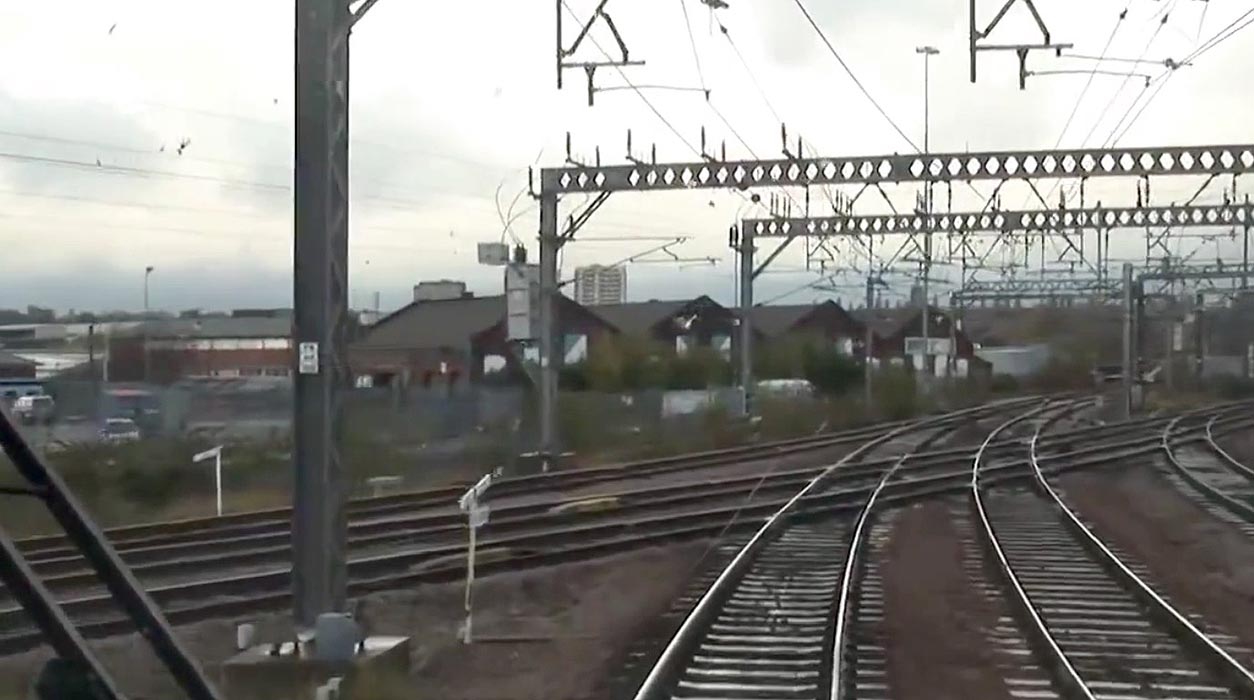
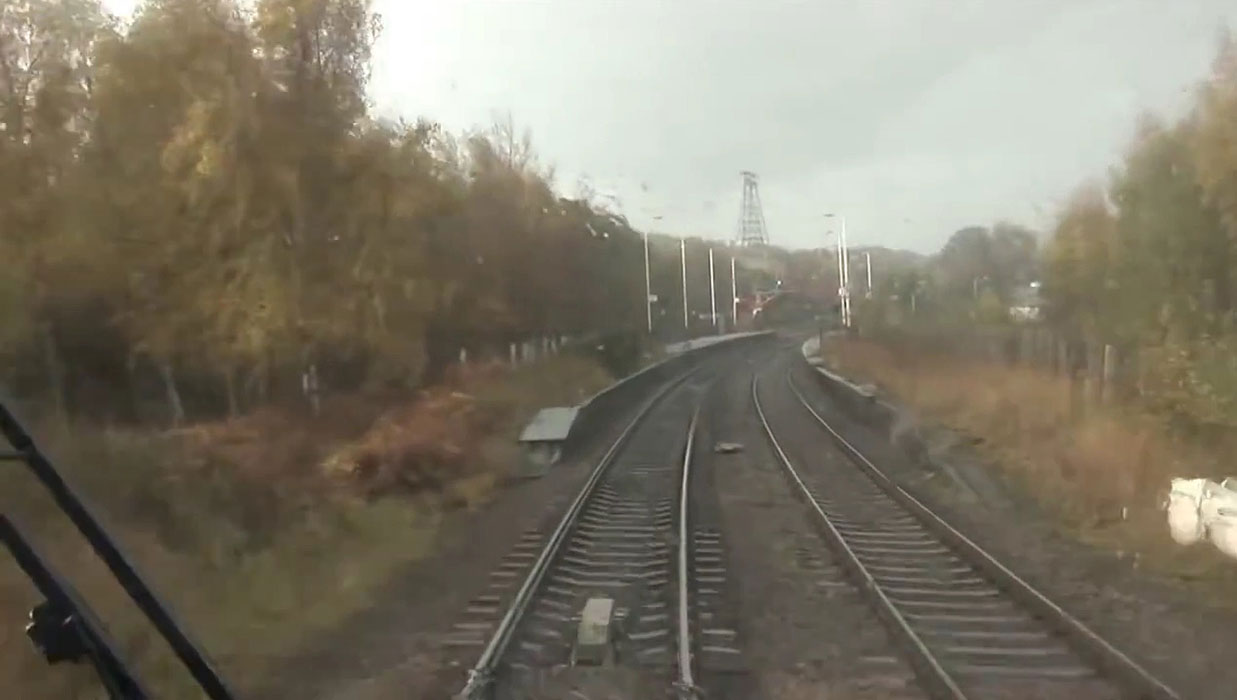
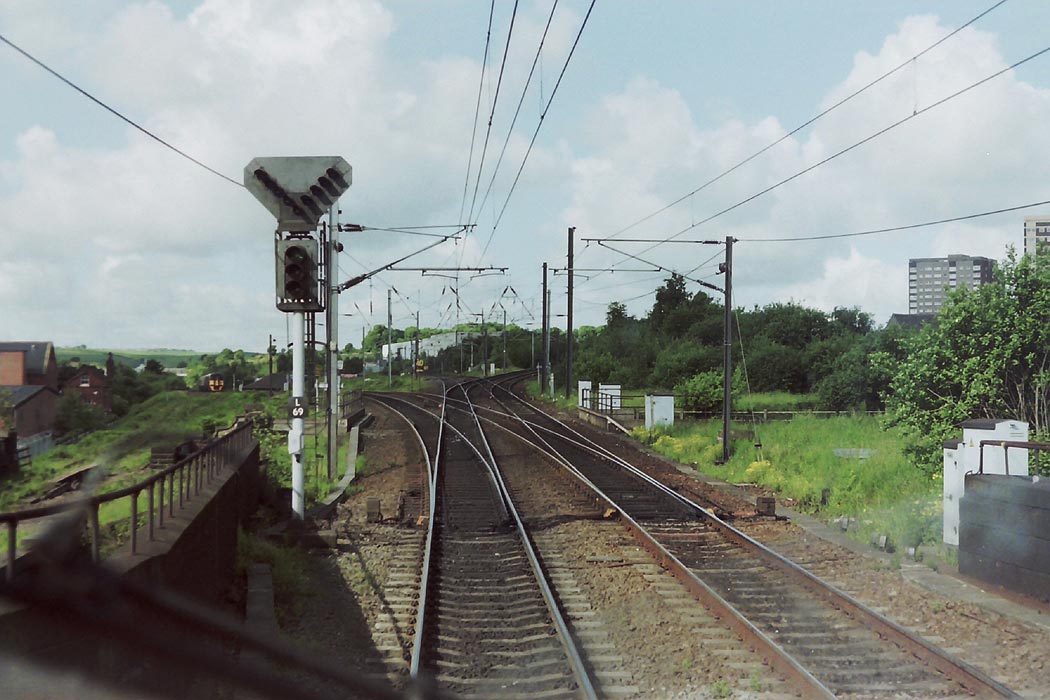
We have now turned left at Oakenshaw South and are approaching
Oakenshaw L&Y Junc. The railway coming in from the left is from
Crofton.
The blue bridge in the middle of the picture, just to the right of
that is a type 3, which you’’ see in the next frame. c1982. |
 Oakenshaw
L&Y Junc (c1982) : Michael Kaye, with permission from Phillip
Christy Oakenshaw
L&Y Junc (c1982) : Michael Kaye, with permission from Phillip
Christy
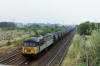
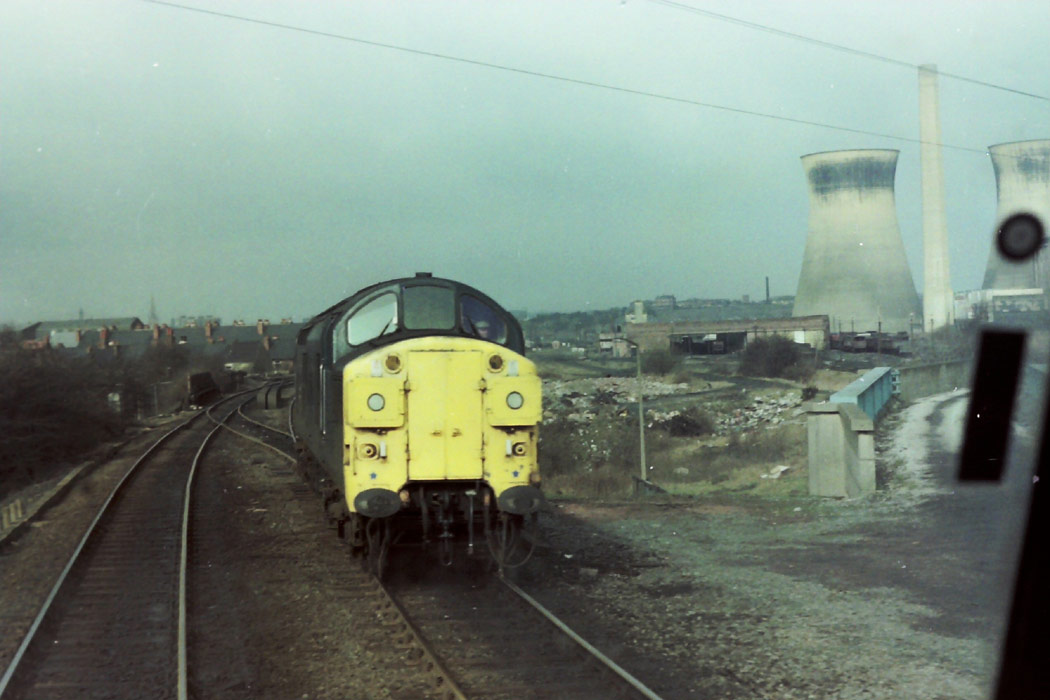
A type 3 makes it’s way from Calder Bridge Junc to Oakenshaw (L&Y)
Junc. the blue bridge on the extreme right once took you into
Wakefield Power Station. In between the type 3 and Wakefield Power
Station, is Belle Vue Depot which at this time was used for
reparing wagons. c 1982. |
 Belle
Vue Depot (c1982) : Michael Kaye, with permission from Phillip
Christy Belle
Vue Depot (c1982) : Michael Kaye, with permission from Phillip
Christy
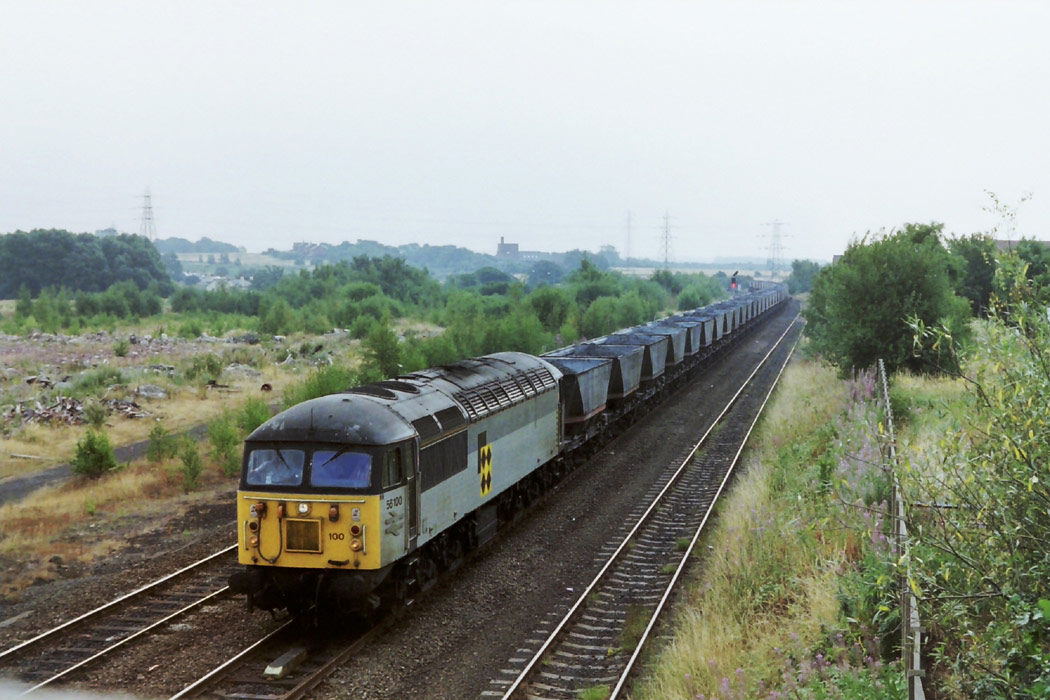
56 100 passing the site of Belle Vue Depot, the signal with route
indicator takes you onto the Cudworth Midland Main Line at
Oakenshaw (L&Y) Junc. c1989. |
 Calder
Bridge Junction (c1982) : Michael Kaye, with permission from
Phillip Christy Calder
Bridge Junction (c1982) : Michael Kaye, with permission from
Phillip Christy
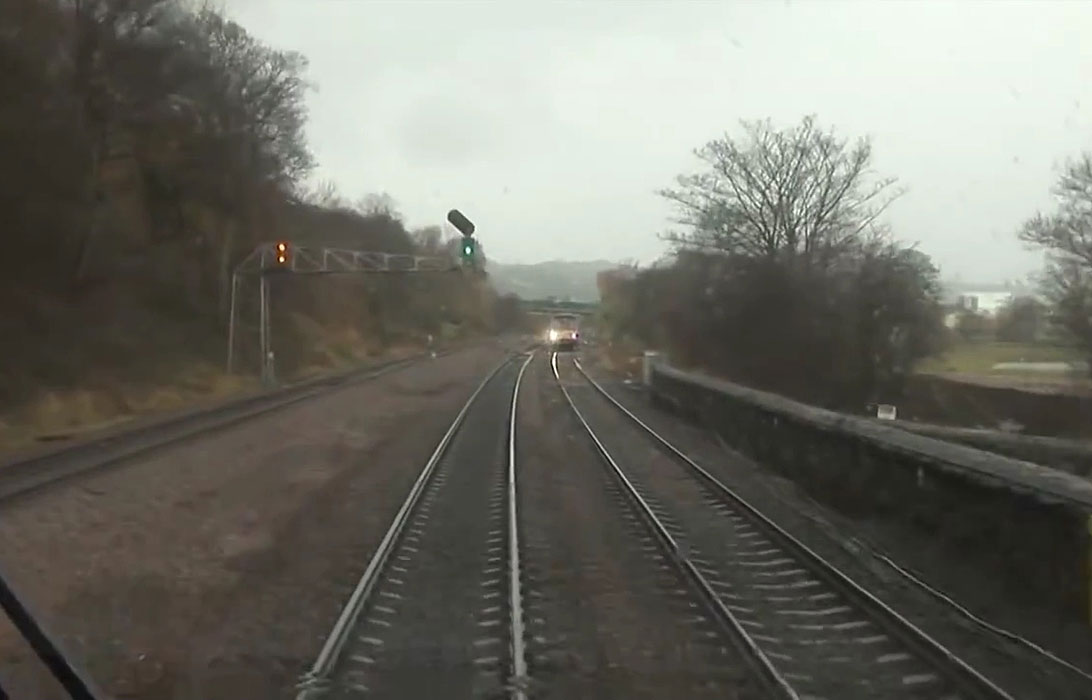
This is Calder Bridge Junction, the single
line on the right was the exit/entrance to Wakefield Belle Vue
Depot, we have the signal to go straight on,
with the route indicator, you would turn right and approach
Turners Lane Junc part of the triangle. c1982. |
 Whittams
Sidings (c1989) : Michael Kaye, with permission from Phillip
Christy Whittams
Sidings (c1989) : Michael Kaye, with permission from Phillip
Christy
56 097 is in Whittams Sidings (Cobra) (the signal box was just to
the left), the rough area on the right was once Wakefield
Kirkgate’s carriage sidings,
we have the route indicator to put us in platform 3 at Wakefield
Kirkgate Station, c1989. |
 Wakefield
Kirkgate Station (c1989) : Michael Kaye, with permission from
Phillip Christy Wakefield
Kirkgate Station (c1989) : Michael Kaye, with permission from
Phillip Christy
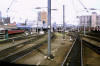
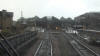
Wakefield Kirkgate Station looking west, The Class 142 is in
Platform 3, the wagons to the left of the photograph are in the
Cobra Sdgs. On the right is the remains of the parcels depot.
c1989. |
 Wakefield
Kirkgate Station (c1989) : Michael Kaye, with permission from
Phillip Christy Wakefield
Kirkgate Station (c1989) : Michael Kaye, with permission from
Phillip Christy
Approach to Wakefield Kirkgate Station we are heading eastwards
into Platform 3 (right hand side of photograph) c 1989. |
 Wakefield
Kirkgate Station (c1989) : Michael Kaye, with permission from
Phillip Christy Wakefield
Kirkgate Station (c1989) : Michael Kaye, with permission from
Phillip Christy
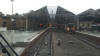
Wakefield Kirkgate platform 3 looking Eastwards. The class 56 as
come the ‘Normanton direction’, to the right is Kirkgate power box
(which it’s self is now closed !) behind the box is the once
extensive carriage sdgs. c 1989. |
 Wakefield
Westgate (c1982) : Michael Kaye, with permission from Phillip
Christy Wakefield
Westgate (c1982) : Michael Kaye, with permission from Phillip
Christy
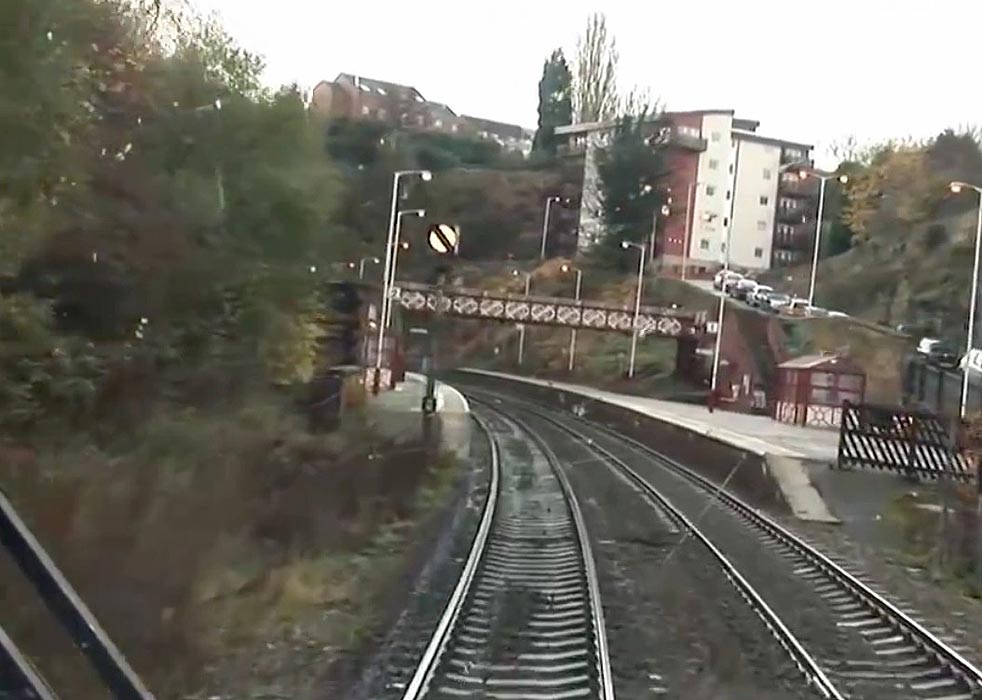
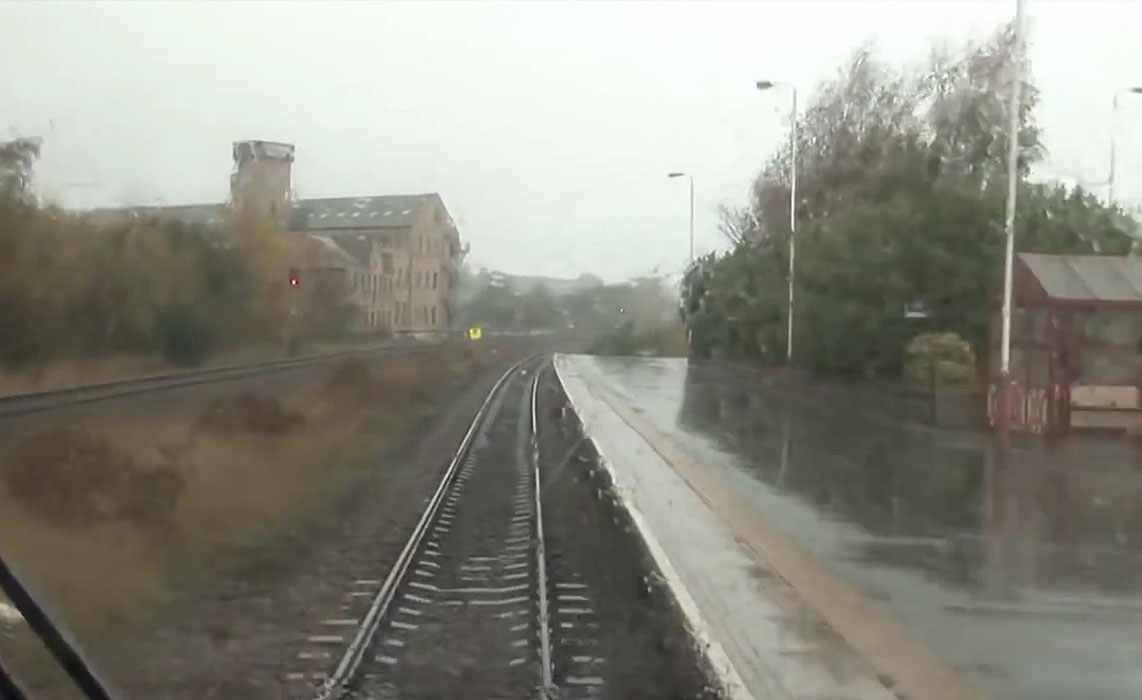
Having gone through platform 3 at Wakefield Kirkgate, we are now
heading up the single line towards Wakefield Westgate. c 1982. |
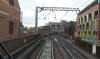
 Wakefield
Westgate (c1982) : Michael Kaye, with permission from Phillip
Christy Wakefield
Westgate (c1982) : Michael Kaye, with permission from Phillip
Christy
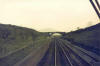
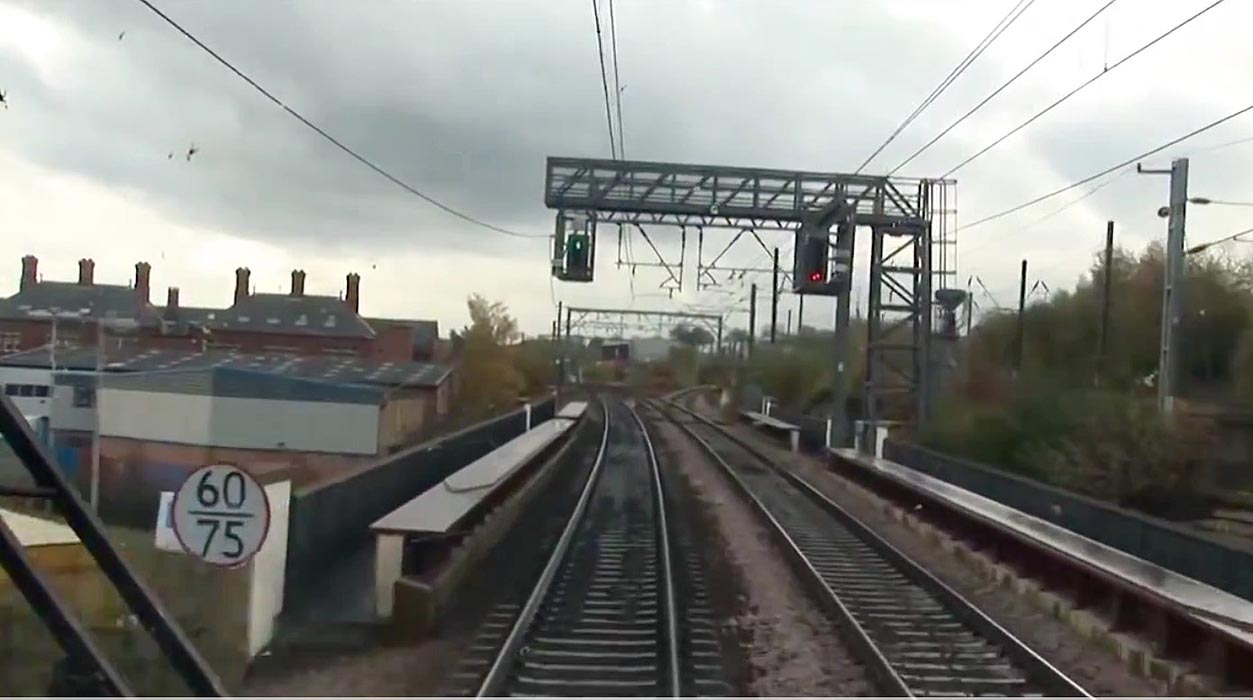
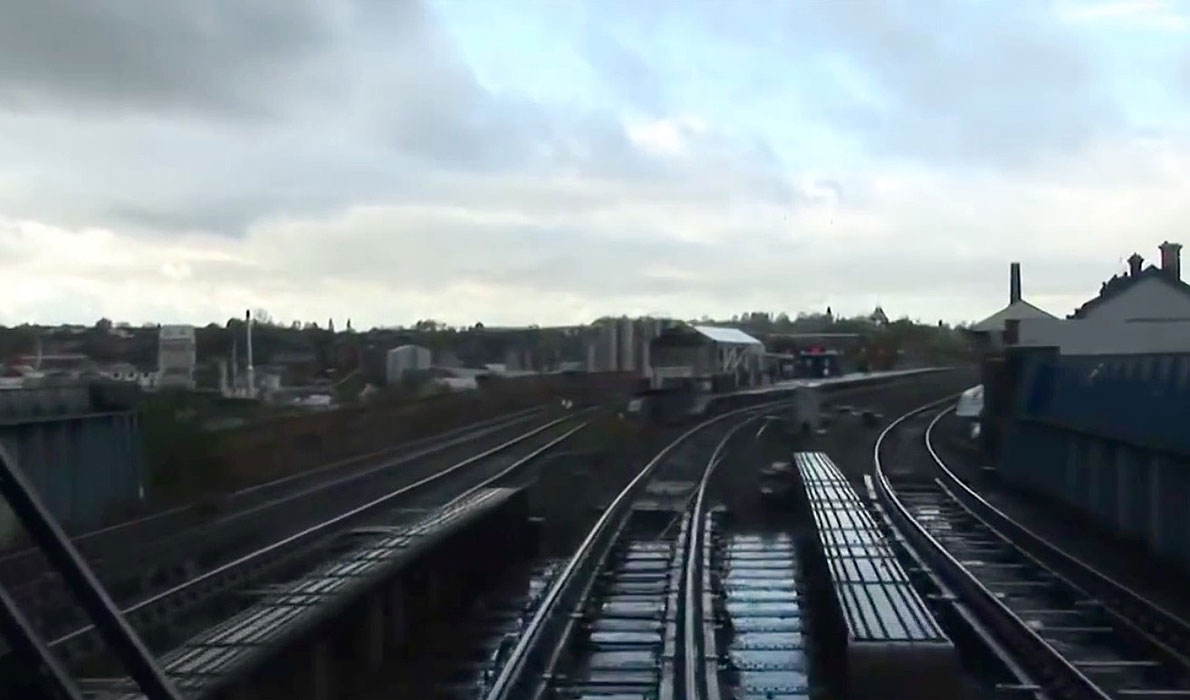
Having come off the single line, we are now on the approach to
Wakefield Westgate and as you can see we will enter platform 2 for
our journey on towards Leeds. |
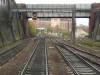
 Ardsley
Station (c1982) : Michael Kaye, with permission from Phillip
Christy Ardsley
Station (c1982) : Michael Kaye, with permission from Phillip
Christy
We are at Ardsley Station. On the Down Line. c 1982. |
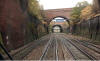
 Ardsley
Station (c1982) : Michael Kaye, with permission from Phillip
Christy Ardsley
Station (c1982) : Michael Kaye, with permission from Phillip
Christy
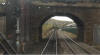
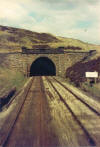
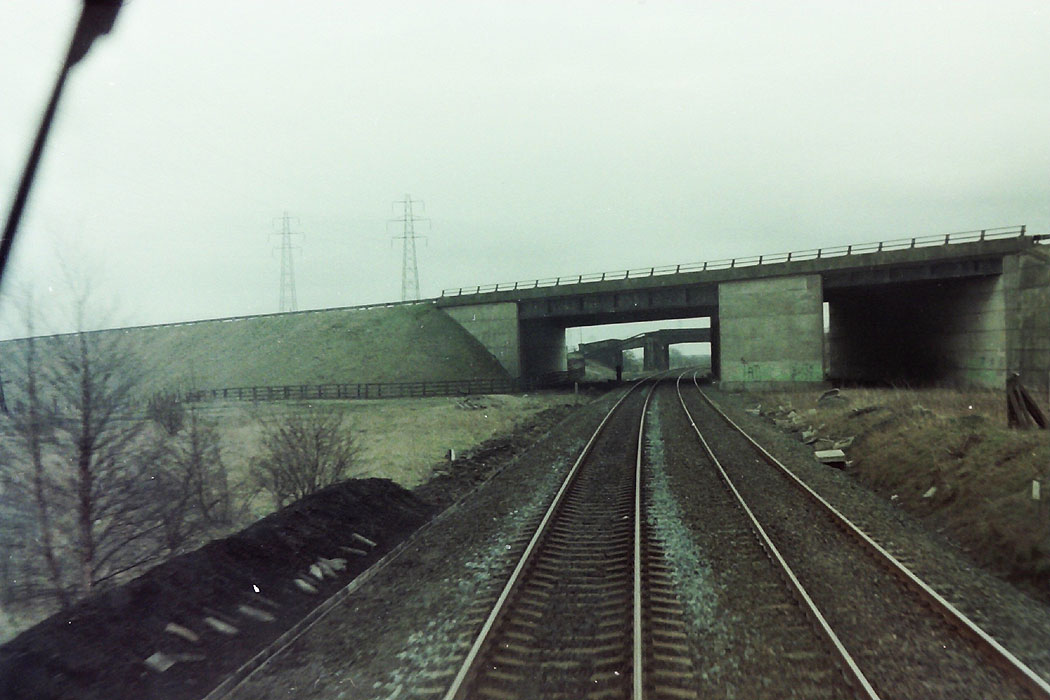
We are on the ‘Up Line’ on the approach to Ardsley Station. The
concrete bridge carries the M62, on the left of the bridge is the
archway for the Tingley Branch, In case they re open the railway !
c 1982. |
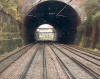
 Ardsley
(c1982) : Michael Kaye, with permission from Phillip Christy Ardsley
(c1982) : Michael Kaye, with permission from Phillip Christy
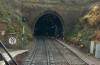
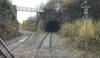
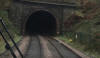
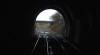
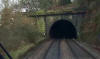
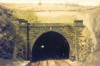
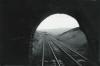
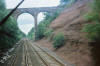
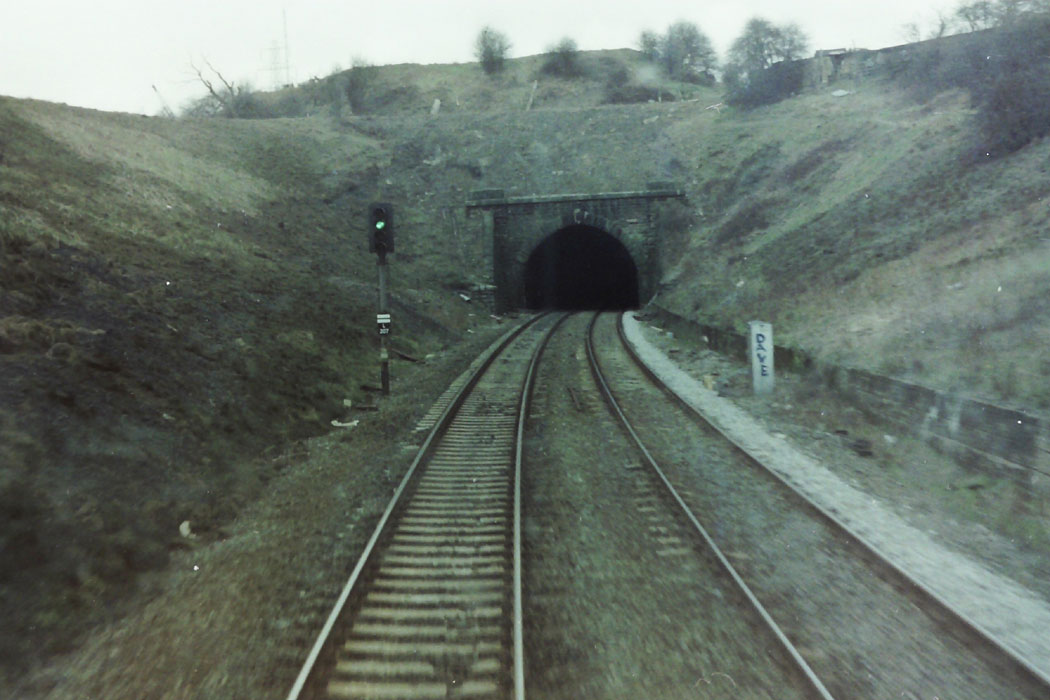
Back on the ‘Down Line’ we approach Ardsley Tunnel. c1982. |
 Leeds
Station (c1990) : Michael Kaye, with permission from Phillip
Christy Leeds
Station (c1990) : Michael Kaye, with permission from Phillip
Christy
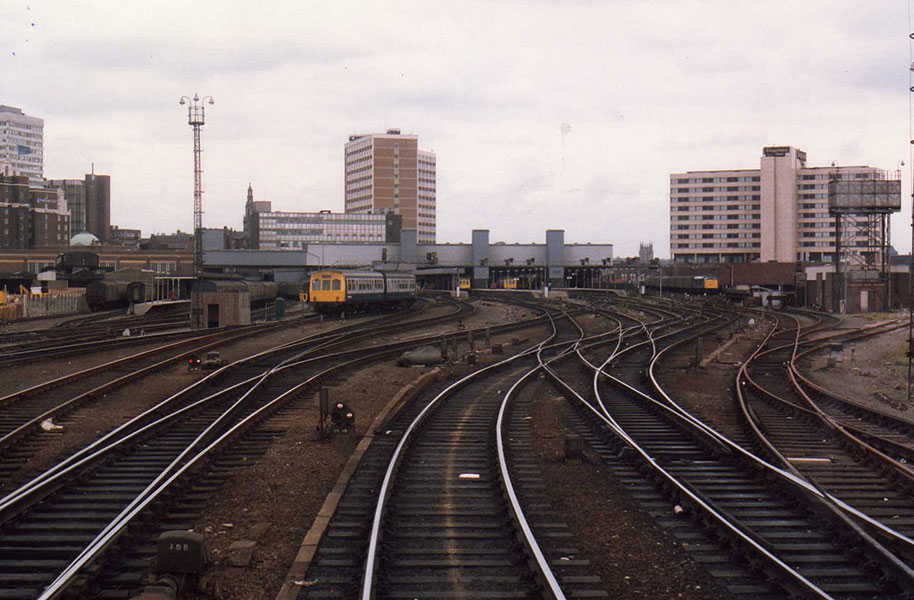
On the approach to Leeds Station what looks to be entering
platform 5. The 144 is in Platform 1.
On the extreme right of the photograph is the Parcels Depot known
as the PCD which is now the car park !. c1990. |
 Leeds
- Huddersfield - Stalybridge Leeds
- Huddersfield - Stalybridge
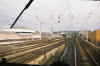
Exiting Leeds
City New heading west (nd) : Philip Hardaker
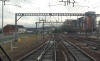
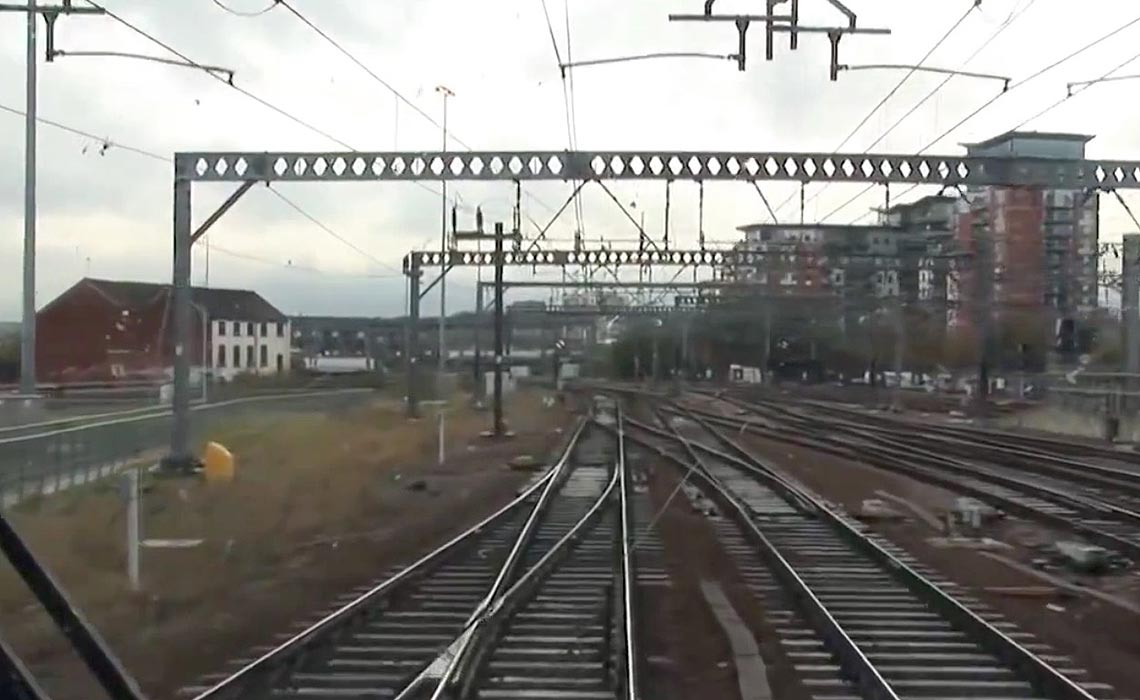
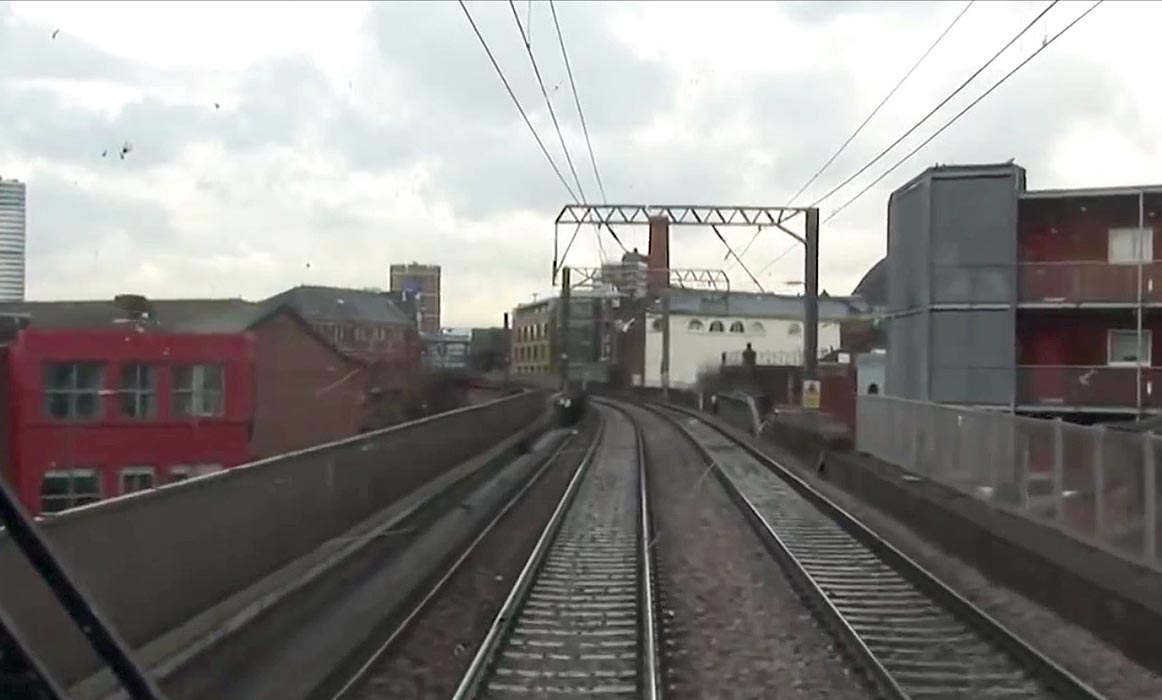
Leaving Leeds City station heading west the pictures
show ( on the left hand side) the old Leeds motive power area. |
 Exiting Leeds
City New heading west (nd) : Philip Hardaker Exiting Leeds
City New heading west (nd) : Philip Hardaker
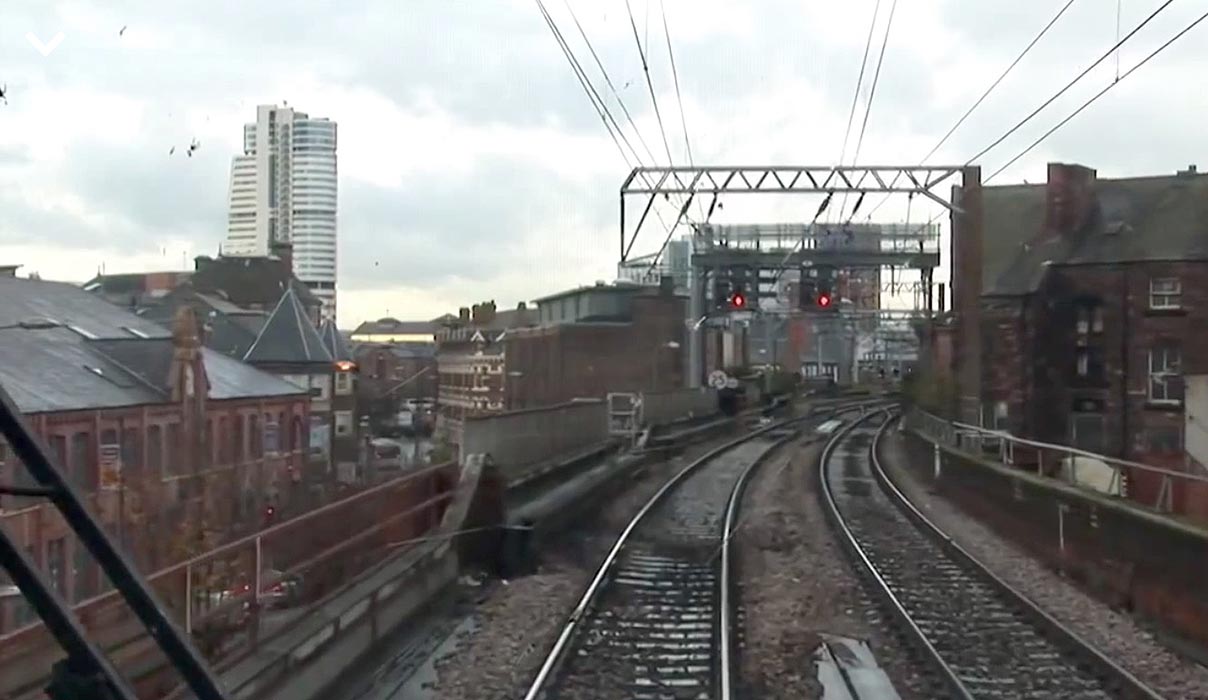
As above and the banner repeater signal leaving
Leeds. |
 Exiting Leeds
City New heading west (nd) : Philip Hardaker Exiting Leeds
City New heading west (nd) : Philip Hardaker
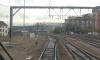
Immediately to the left is where the old viaduct
line ran. |
 Exiting Leeds
City New heading west (nd) : Philip Hardaker Exiting Leeds
City New heading west (nd) : Philip Hardaker
Turn left to the old Holbeck motive power
department. |
 Exiting Leeds
City New heading west (nd) : Philip Hardaker Exiting Leeds
City New heading west (nd) : Philip Hardaker
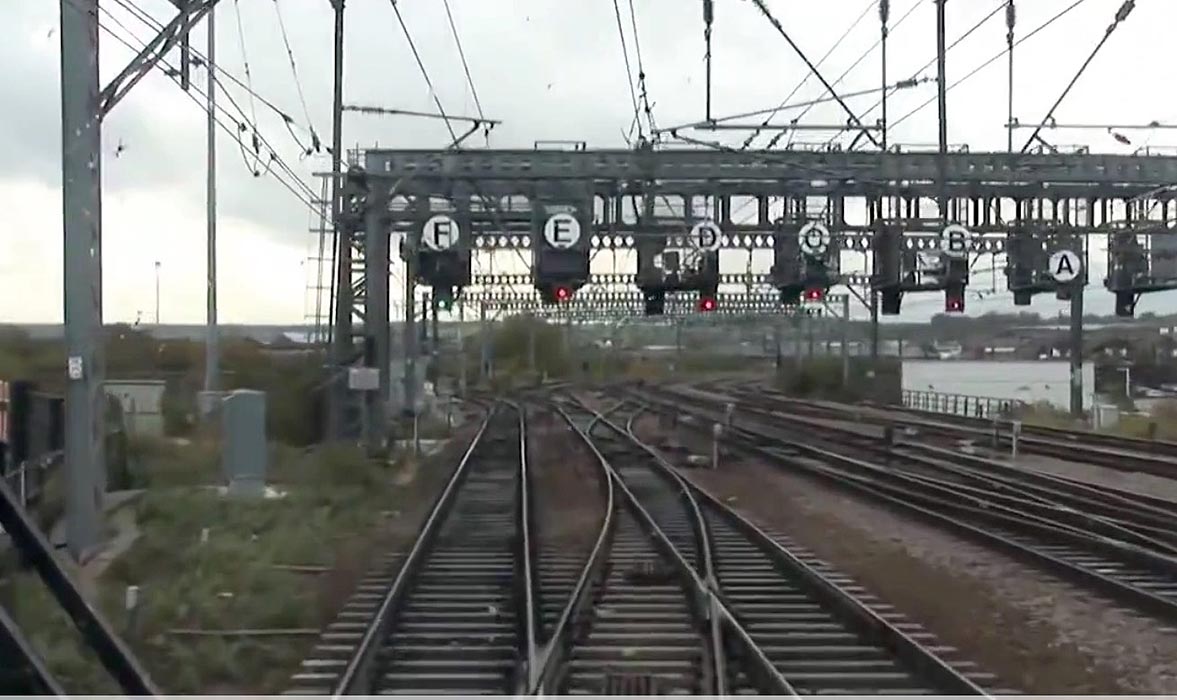
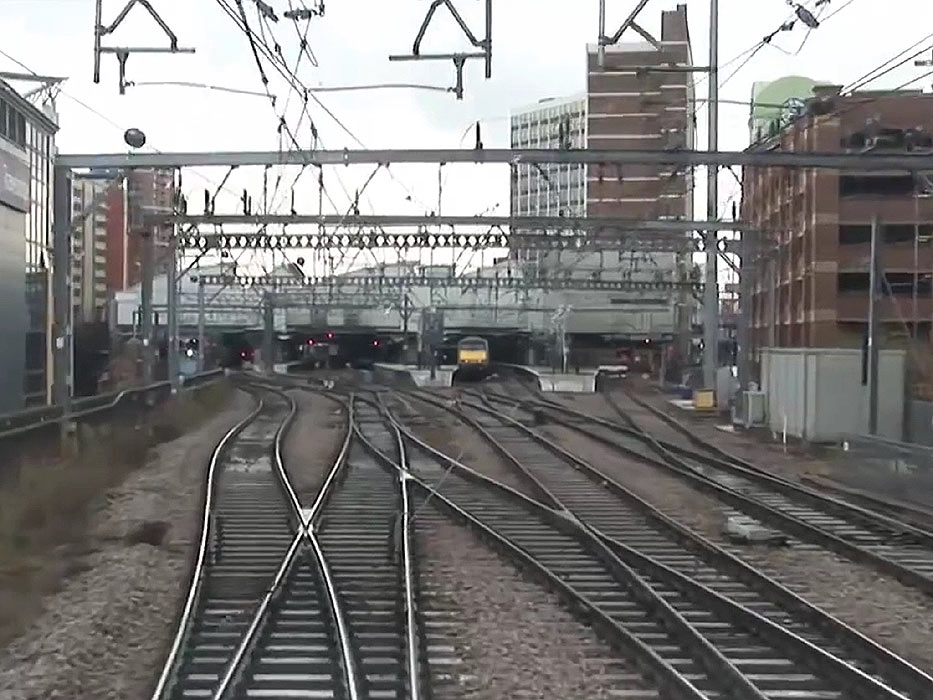
Left to Holbeck MPD straight on for Whitehall
Junction. |
 Exiting Leeds
City New heading west (nd) : Philip Hardaker Exiting Leeds
City New heading west (nd) : Philip Hardaker
Coming through Whitehall Junction. |
 Exiting Leeds
City New heading west (nd) : Philip Hardaker Exiting Leeds
City New heading west (nd) : Philip Hardaker
Coming off Whitehall Junction. |
 Exiting Leeds
City New heading west (nd) : Philip Hardaker Exiting Leeds
City New heading west (nd) : Philip Hardaker
Approach towards Holbeck East Junction. |
 Morley
Low (nd) : Philip Hardaker Morley
Low (nd) : Philip Hardaker
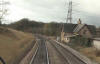
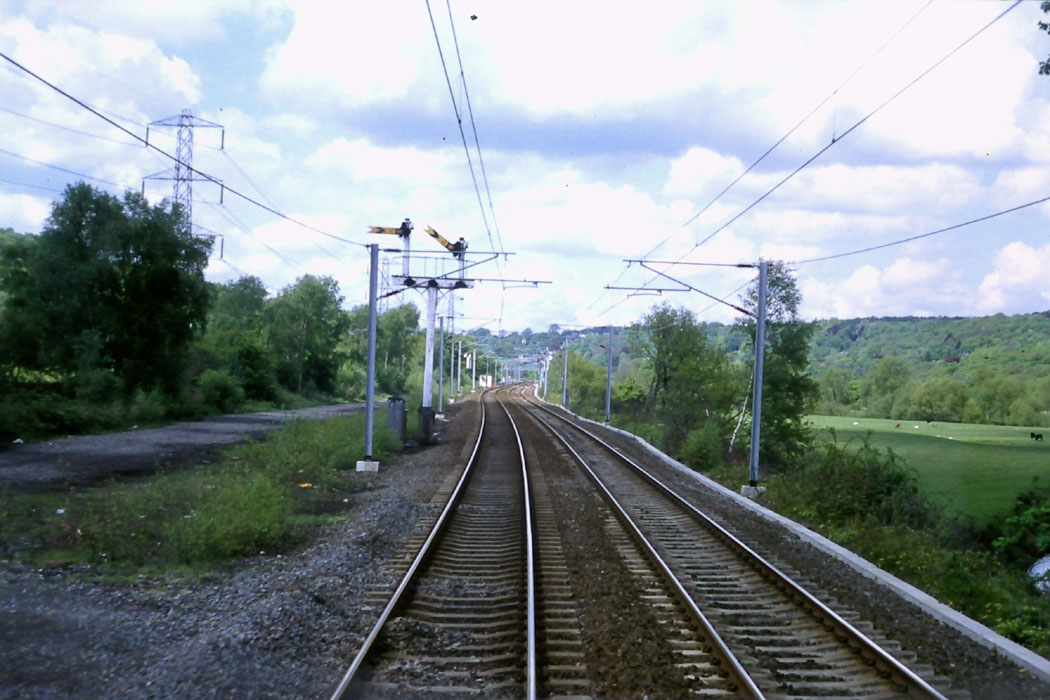
Approach from Leeds to Morley station with the banner
signal for ("B1" controlled by Batley signal box). |
 Morley
Low (nd) : Philip Hardaker Morley
Low (nd) : Philip Hardaker
Proceeding through Morley station with the view of signal
B1. |
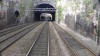
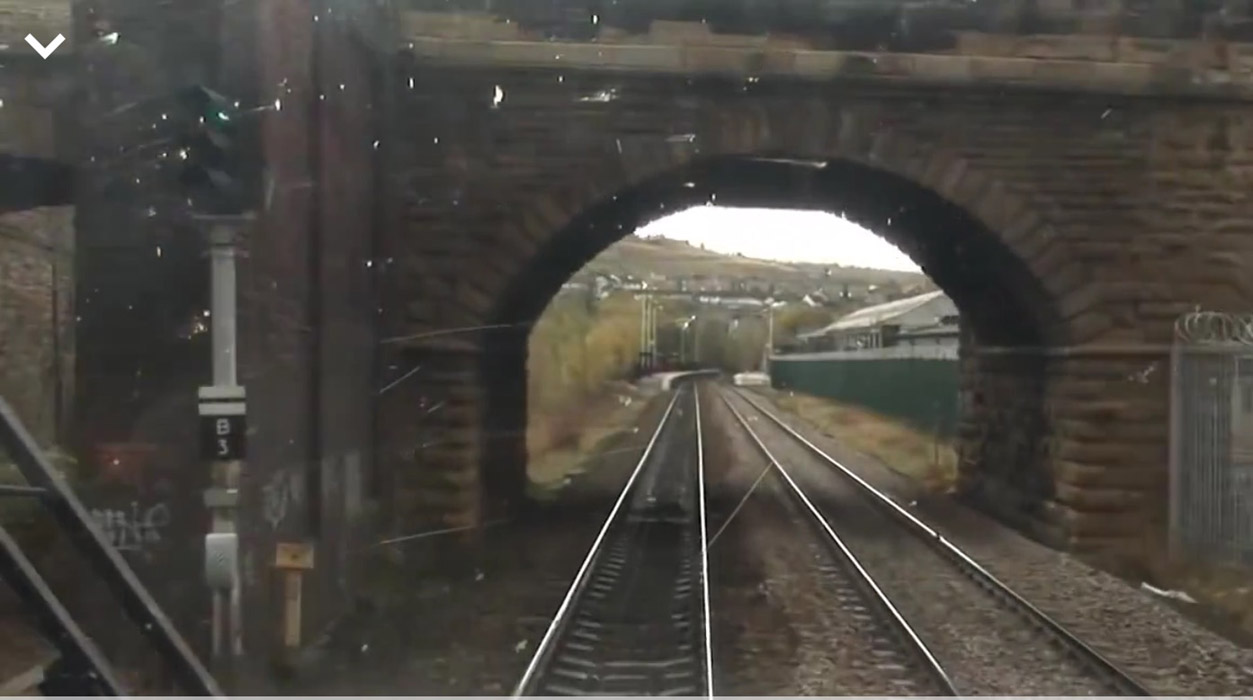
 Morley
Low (nd) : Philip Hardaker Morley
Low (nd) : Philip Hardaker
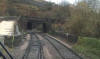
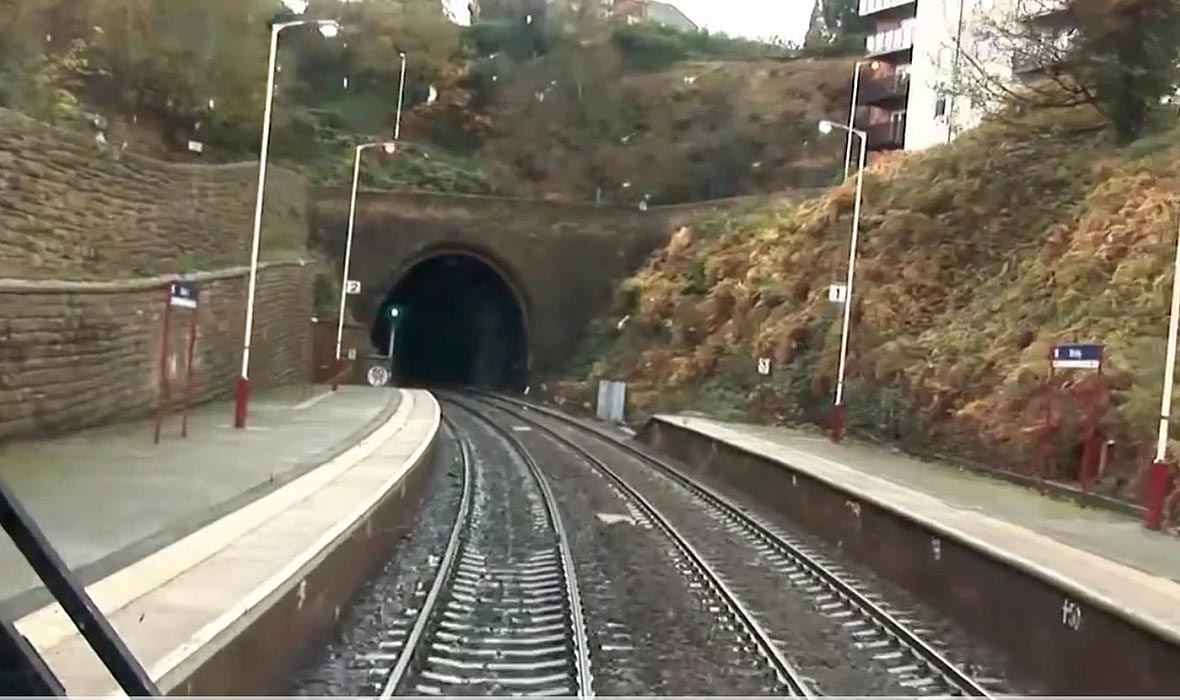
Morley tunnel entrance with signal B1. |
 Morley
Tunnel (nd) : Philip Hardaker Morley
Tunnel (nd) : Philip Hardaker
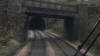
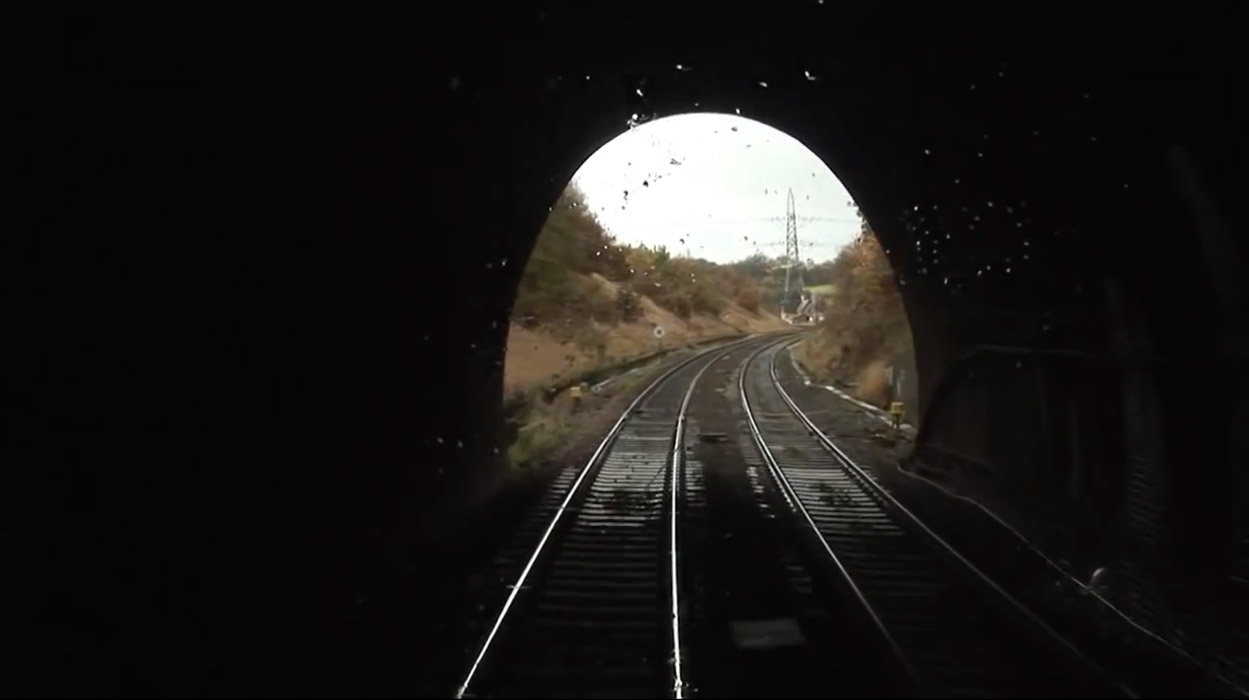
Exit from Morley tunnel. |
 Batley
(nd) : Philip Hardaker Batley
(nd) : Philip Hardaker
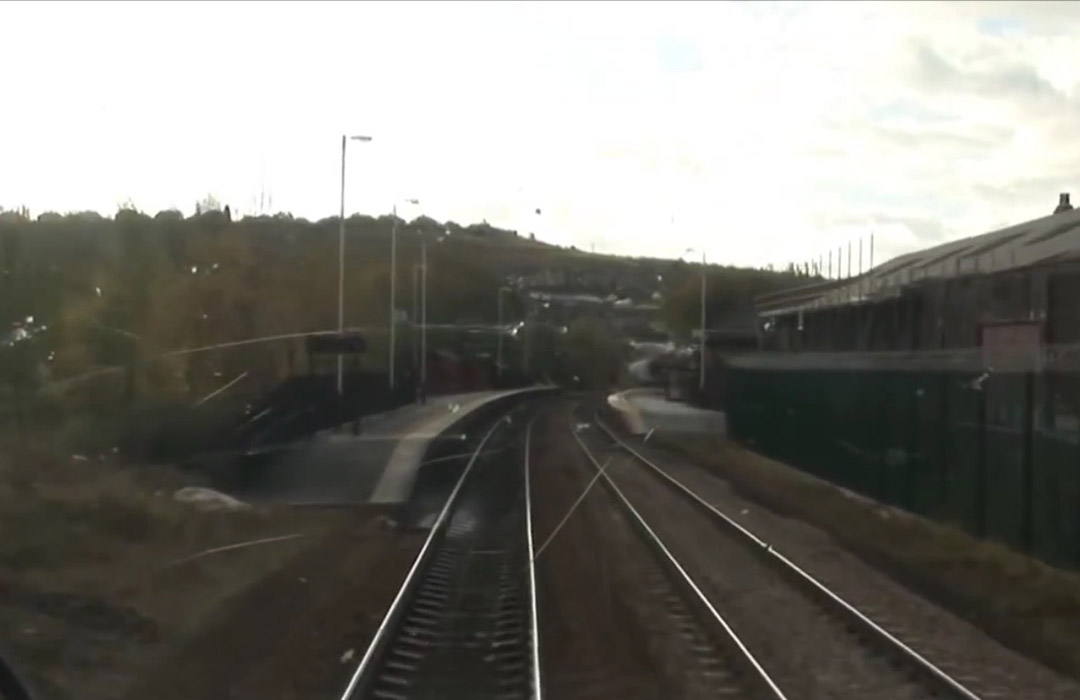
Heading West towards Batley. |
 Batley
(nd) : Philip Hardaker Batley
(nd) : Philip Hardaker
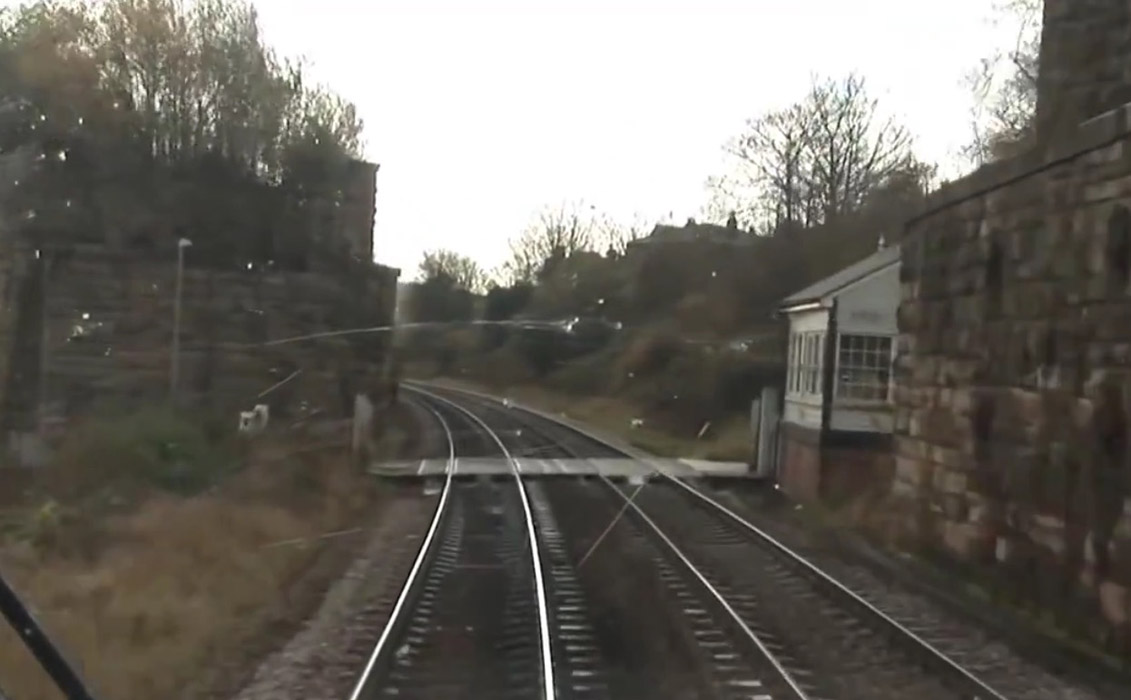
Batley signal box. |
 Batley
(nd) : Philip Hardaker Batley
(nd) : Philip Hardaker
Passing Batley automatic signal B3 on the approach to
Batley station. |
 Batley
(nd) : Philip Hardaker Batley
(nd) : Philip Hardaker
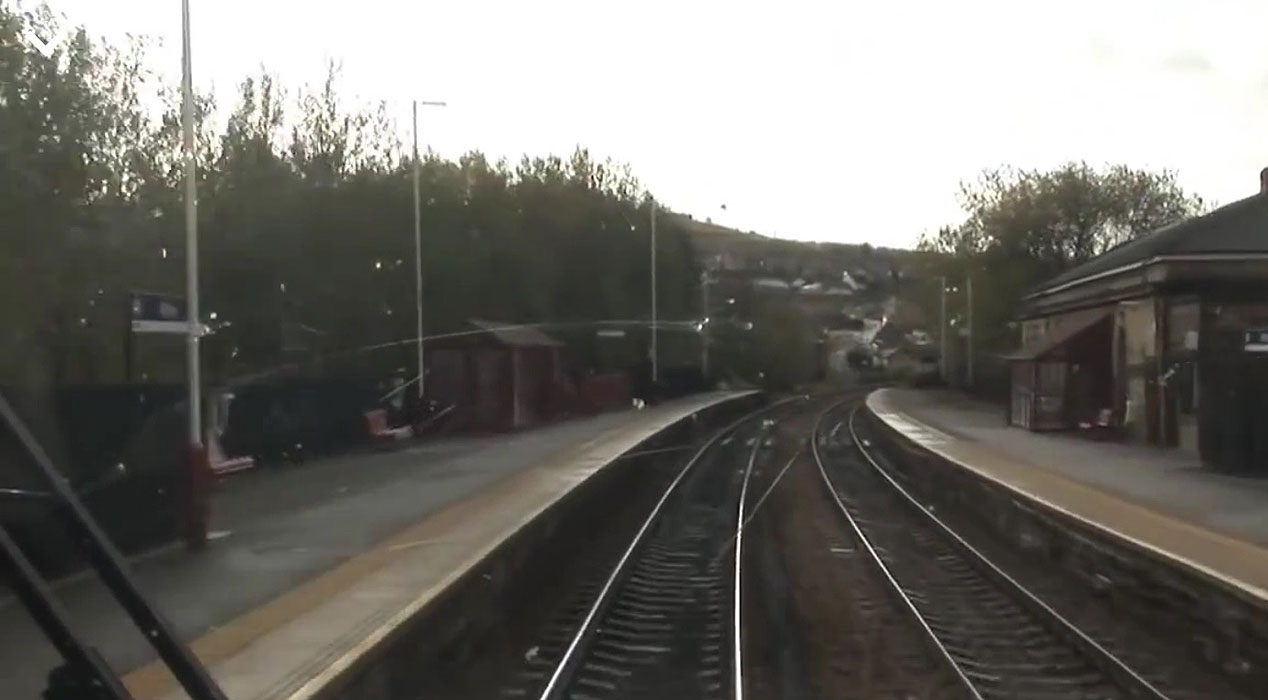
Batley Station. |
 Batley
(nd) : Philip Hardaker Batley
(nd) : Philip Hardaker
Traveling through Batley station. |
 Dewsbury
(nd) : Philip Hardaker Dewsbury
(nd) : Philip Hardaker
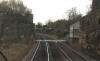
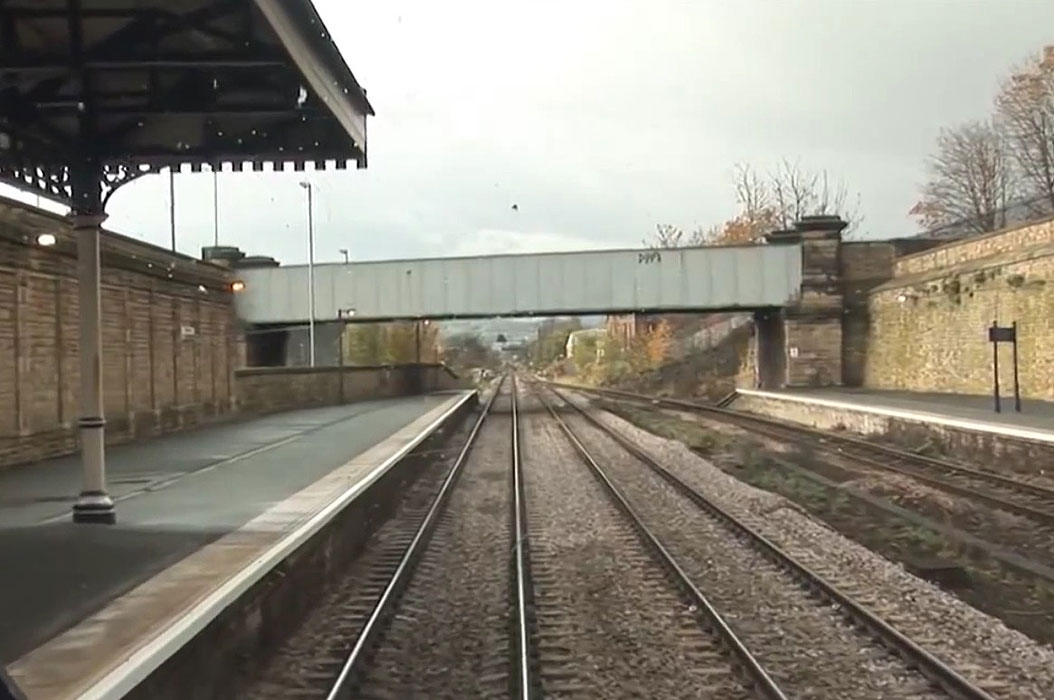
Heading west, approach to Dewsbury station. |
 Dewsbury
(nd) : Philip Hardaker Dewsbury
(nd) : Philip Hardaker
Dewsbury station. |
 Dewsbury
(nd) : Philip Hardaker Dewsbury
(nd) : Philip Hardaker
Dewsbury station. |
 Dewsbury
(nd) : Philip Hardaker Dewsbury
(nd) : Philip Hardaker
Dewsbury station. |
 Ravensthorpe
(nd) : Philip Hardaker Ravensthorpe
(nd) : Philip Hardaker
Heading west towards Ravensthorpe station via Calder bridge in
the rain. |
 Ravensthorpe
(nd) : Philip Hardaker Ravensthorpe
(nd) : Philip Hardaker
Approach to Ravensthorpe station. |
 Ravensthorpe
(nd) : Philip Hardaker Ravensthorpe
(nd) : Philip Hardaker
Approach to platform 2 Ravensthorpe station. |
 Ravensthorpe
(nd) : Philip Hardaker Ravensthorpe
(nd) : Philip Hardaker
Travelling through Ravensthorpe station. |
 Ravensthorpe
(nd) : Philip Hardaker Ravensthorpe
(nd) : Philip Hardaker
The end of Ravensthorpe station controlled by Healey Mills
power box. |
 Ravensthorpe
(nd) : Philip Hardaker Ravensthorpe
(nd) : Philip Hardaker
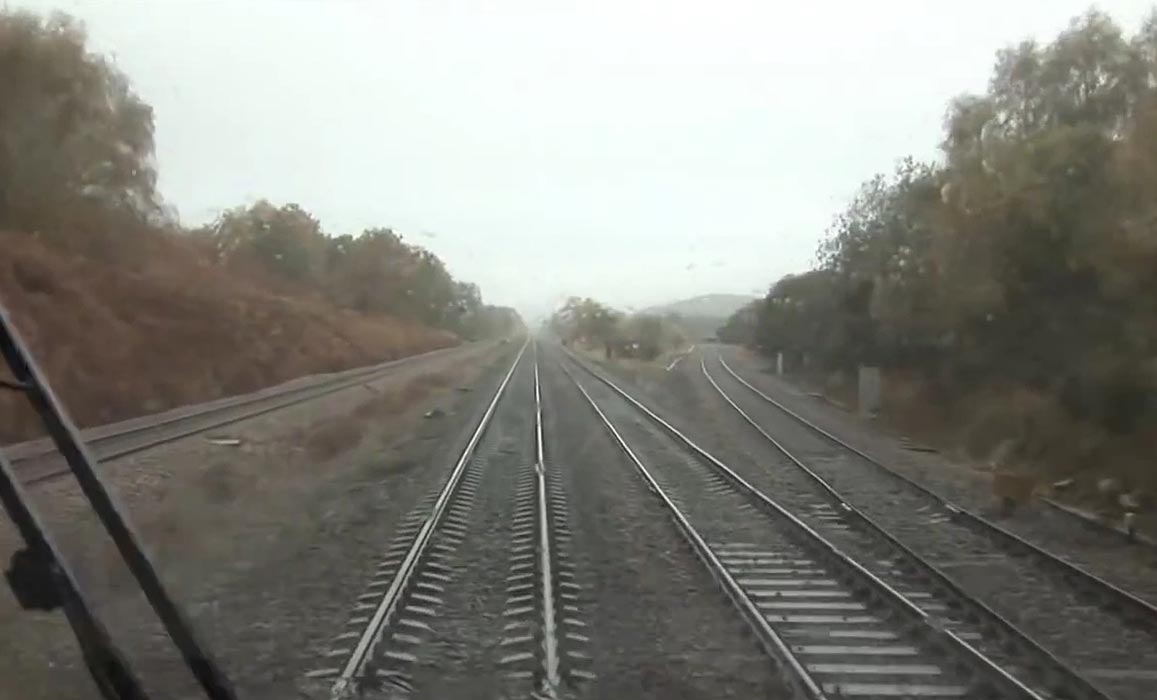
Joining the route at the end of Ravensthorpe station. The
track from the left comes in from Wakefield Kirkgate via Healey Mills |
 Ravensthorpe
(nd) : Philip Hardaker Ravensthorpe
(nd) : Philip Hardaker
As above. |
 Mirfield
(nd) : Philip Hardaker Mirfield
(nd) : Philip Hardaker
Heading west towards Mirfield station. |
 Mirfield
(nd) : Philip Hardaker Mirfield
(nd) : Philip Hardaker
Mirfield station in sight. |
 Mirfield
(nd) : Philip Hardaker Mirfield
(nd) : Philip Hardaker
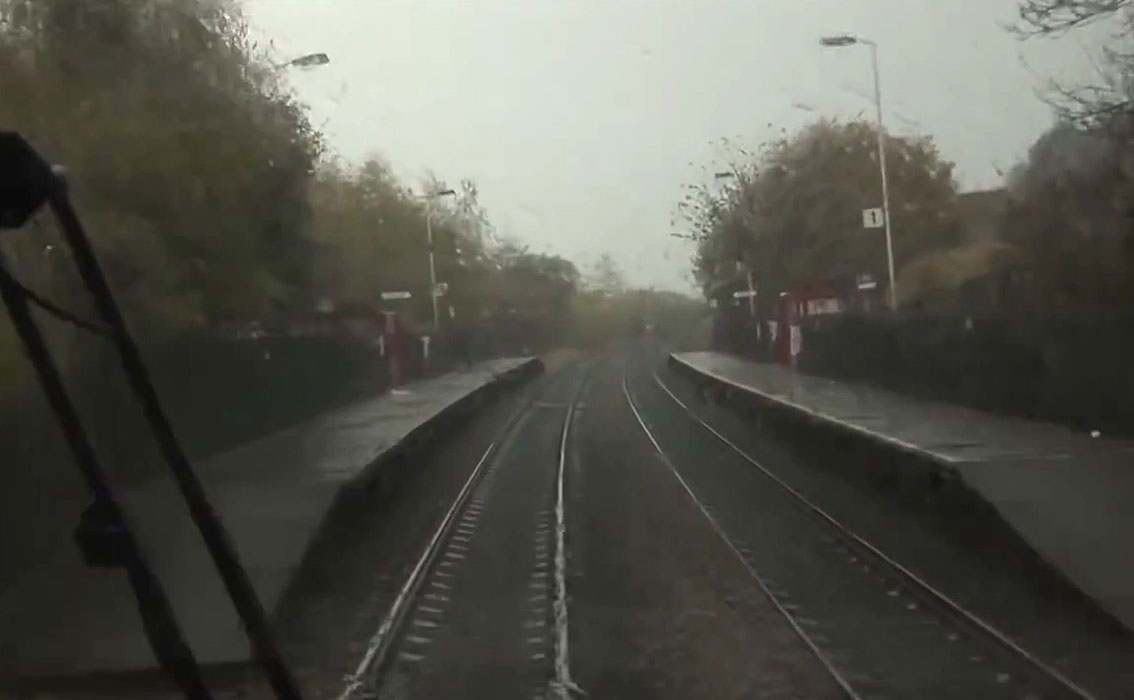
Mirfield station west bound platform in the wet. |
 Heaton Lodge junction (nd) : Philip Hardaker Heaton Lodge junction (nd) : Philip Hardaker
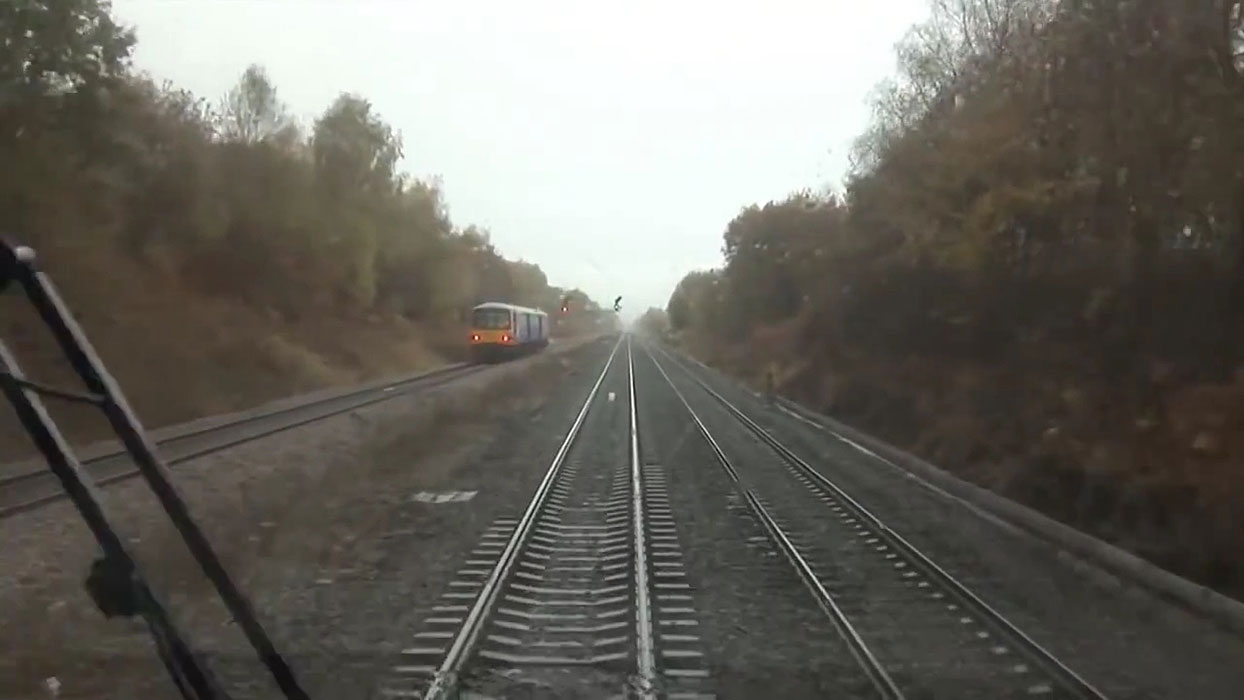
Leaving Mirfield on the way to Huddersfield
heading towards Heaton Lodge Jct. |
 Heaton Lodge junction (nd) : Philip Hardaker Heaton Lodge junction (nd) : Philip Hardaker
Towards Heaton Lodge Jct. |
 Heaton Lodge junction (nd) : Philip Hardaker Heaton Lodge junction (nd) : Philip Hardaker
As above. |
 Heaton Lodge junction (nd) : Philip Hardaker Heaton Lodge junction (nd) : Philip Hardaker
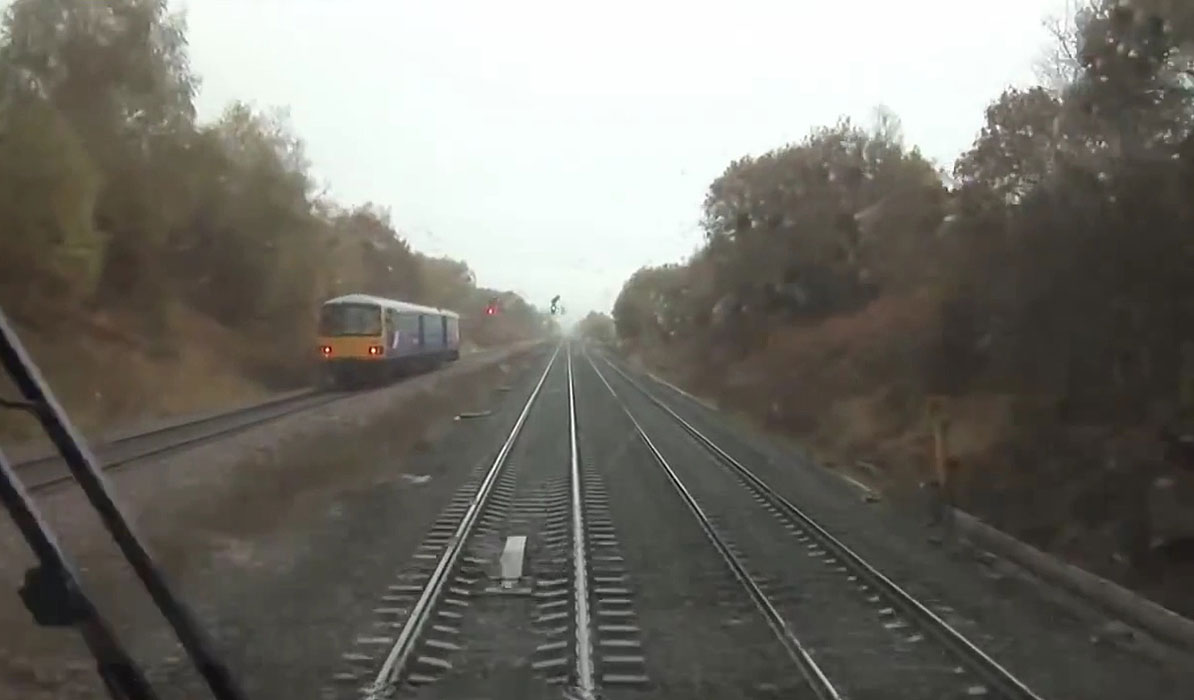
The signal for Heaton Lodge Jct in the foreground.
Heaton Lodge Jct was originally two tracks some years ago,
it has now
been changed to a single line from Huddersfield, the route indicator on
the signal has not been removed. |
 Heaton Lodge junction (nd) : Philip Hardaker Heaton Lodge junction (nd) : Philip Hardaker
Passing where the original double tracks exited at
Heaton Lodge Jct. |
 Bradley
Junction (nd) : Philip Hardaker Bradley
Junction (nd) : Philip Hardaker
Heading towards Huddersfield, the single track
from the right takes you down to Halifax.
|
 Deighton
station (nd) : Philip Hardaker Deighton
station (nd) : Philip Hardaker
Passing through Deighton station on a wet day. |
 Red
Doles (nd) : Philip Hardaker Red
Doles (nd) : Philip Hardaker
The outer automatic signal for Huddersfield still
under Healey Mills power box. |
 Huddersfield (nd) : Philip Hardaker Huddersfield (nd) : Philip Hardaker
Huddersfield station controlled signal on the
outskirts of Huddersfield. |
 Huddersfield (nd) : Philip Hardaker Huddersfield (nd) : Philip Hardaker
Huddersfield station controlled signal with
theatre indicator attached, this advises that the train will
be routed into platform one. |
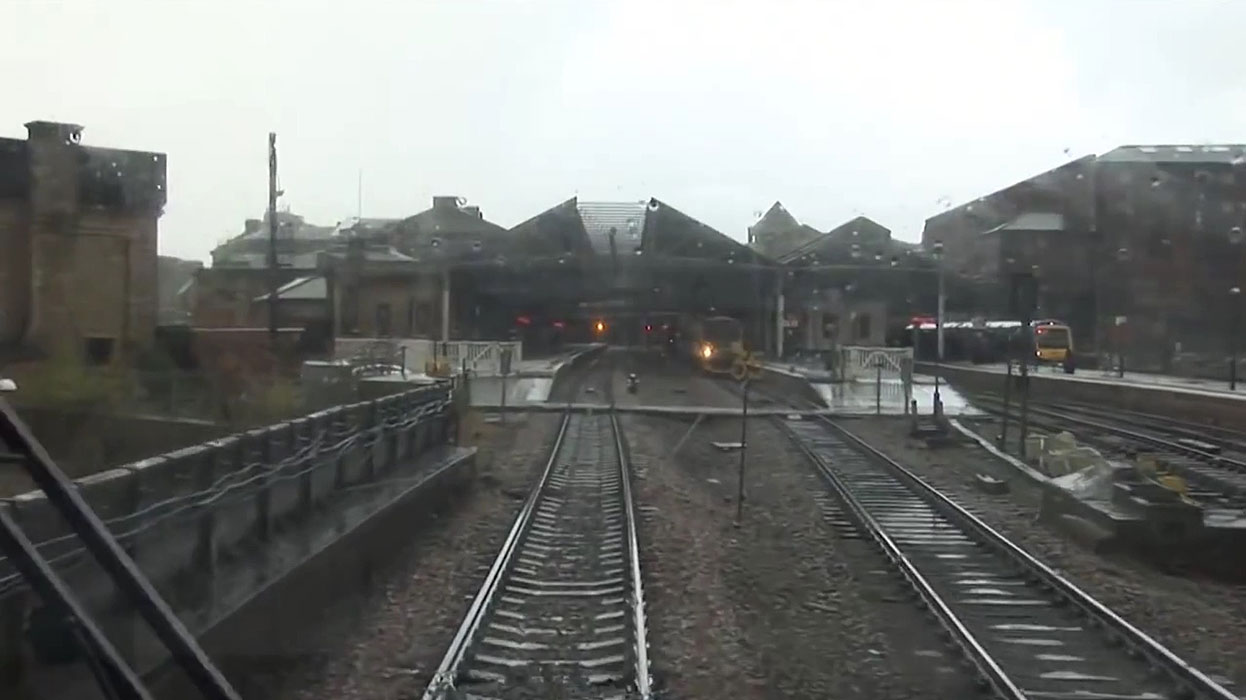
 Huddersfield (nd) : Philip Hardaker Huddersfield (nd) : Philip Hardaker
Approaching platform one at Huddersfield station. |
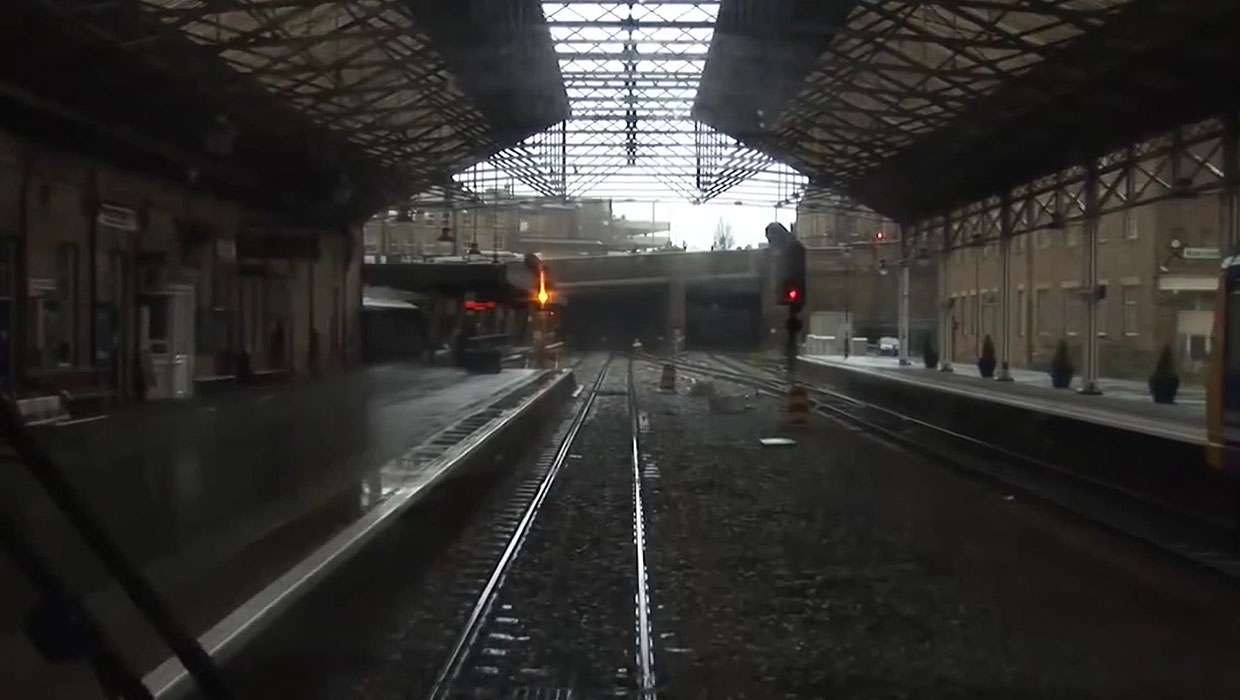
 Huddersfield (nd) : Philip Hardaker Huddersfield (nd) : Philip Hardaker
Platform end Huddersfield. |
 Huddersfield (nd) : Philip Hardaker Huddersfield (nd) : Philip Hardaker
Standing at platform one. |
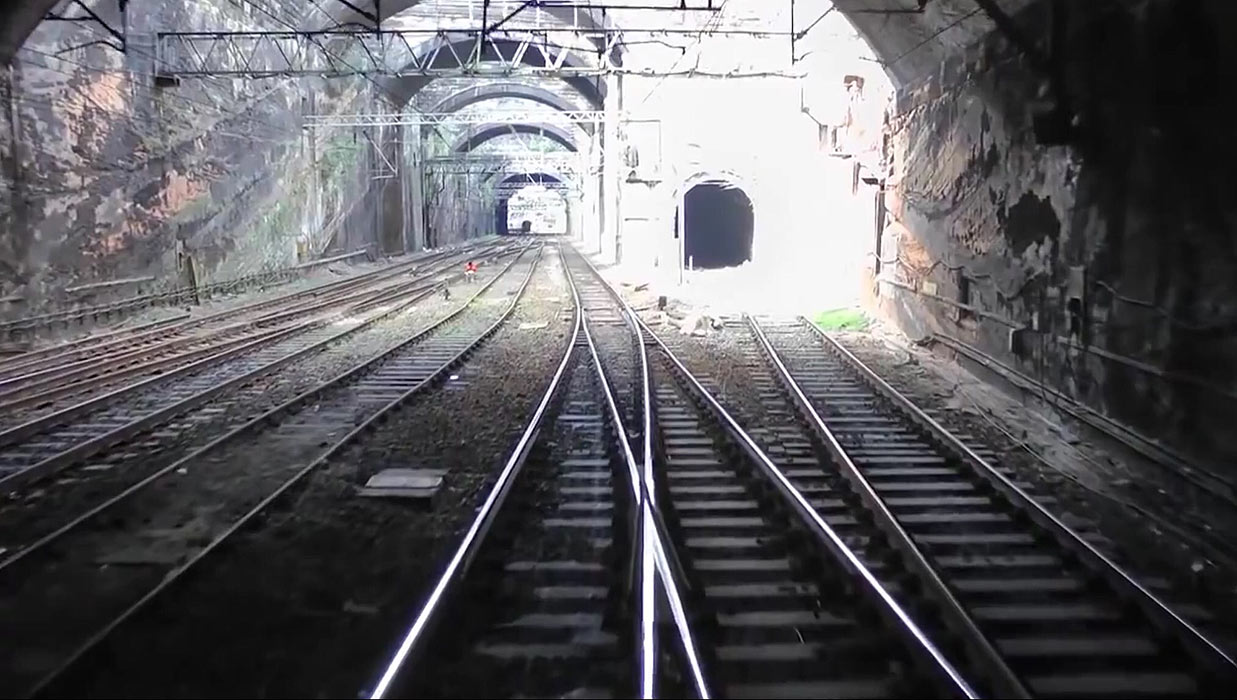
 Springwood
junction (nd) : Philip Hardaker Springwood
junction (nd) : Philip Hardaker
In between tunnels at the west end of Huddersfield
station, the branch to the left takes you up to Clayton West. |
 Gledholt (nd) : Philip Hardaker Gledholt (nd) : Philip Hardaker
Heading west, climbing up the bank towards firstly
Milnsbridge & then Marsden. |
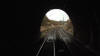
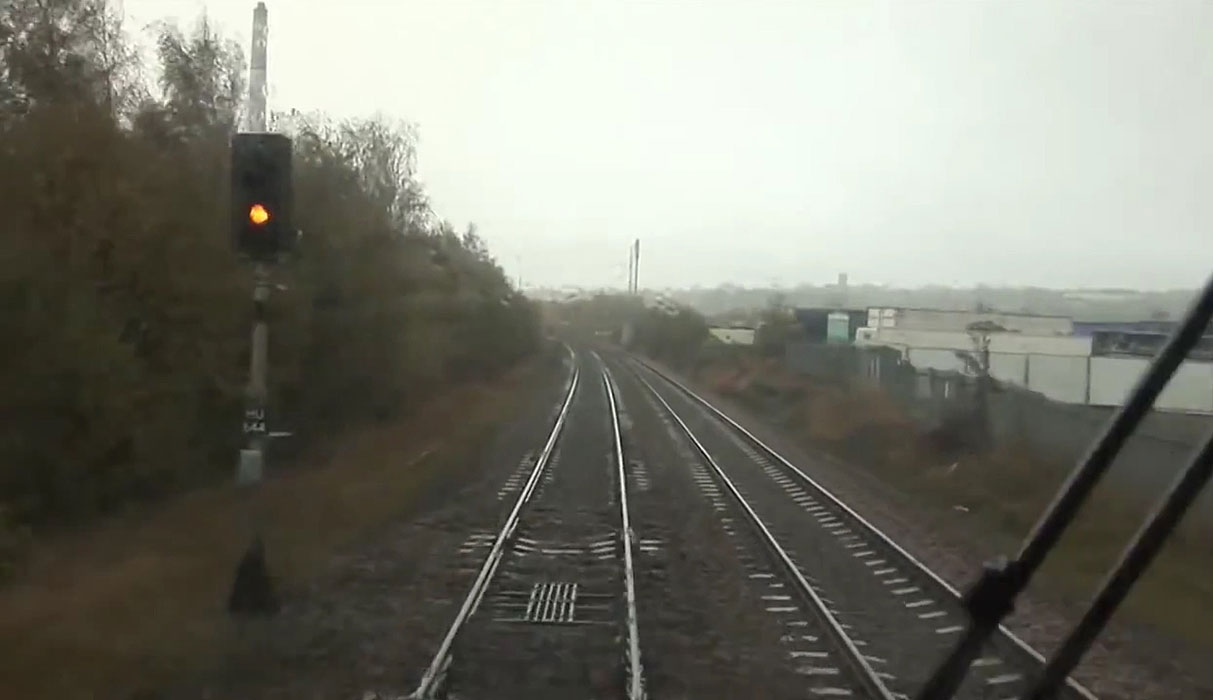
 Marsden (nd) : Philip Hardaker Marsden (nd) : Philip Hardaker
Heading west up the bank towards Marsden station. |
 Marsden (nd) : Philip Hardaker Marsden (nd) : Philip Hardaker
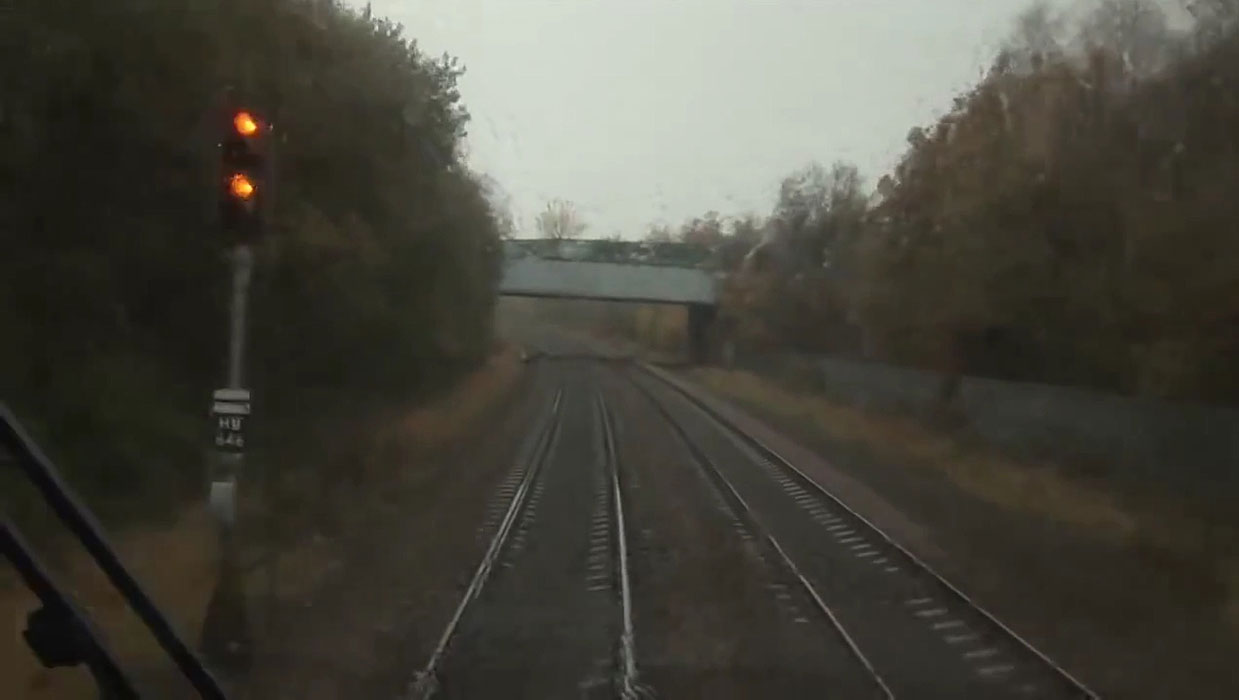
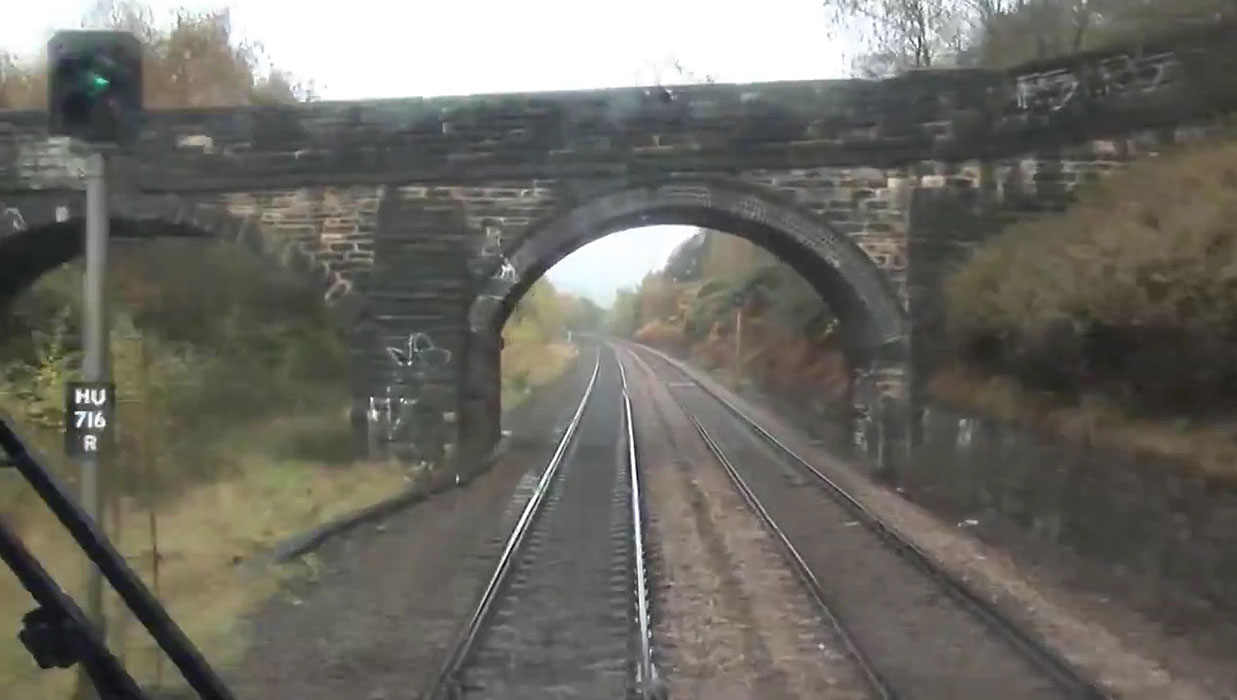
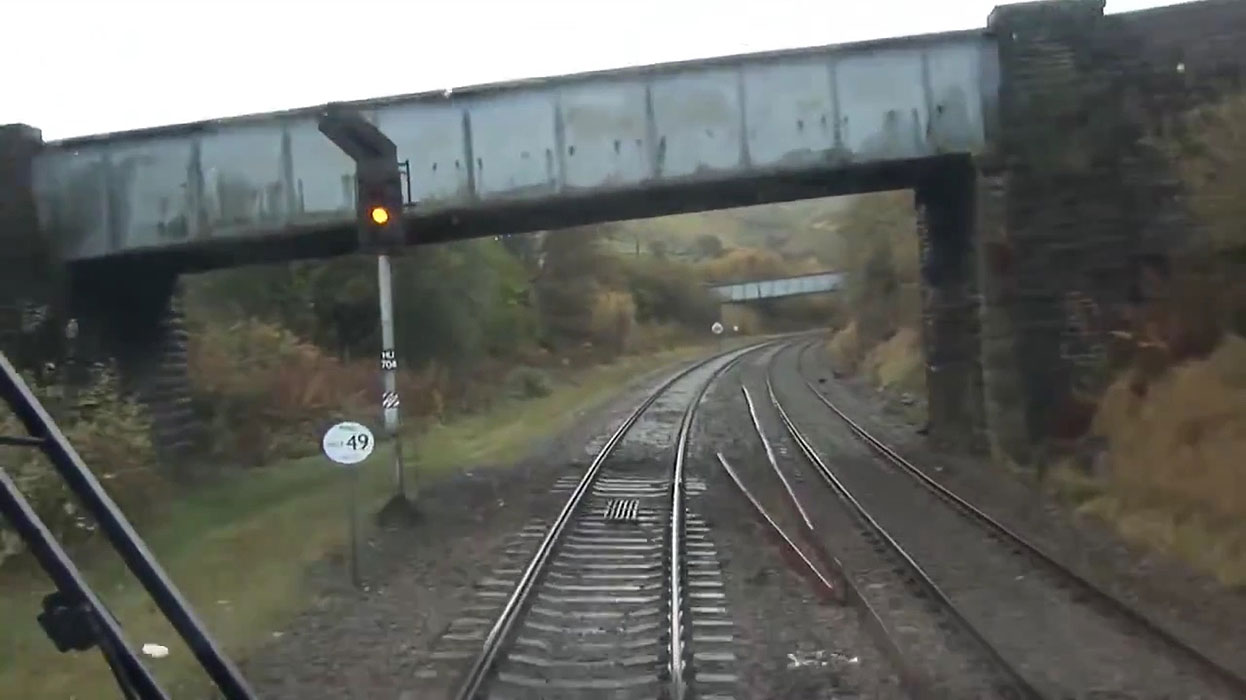
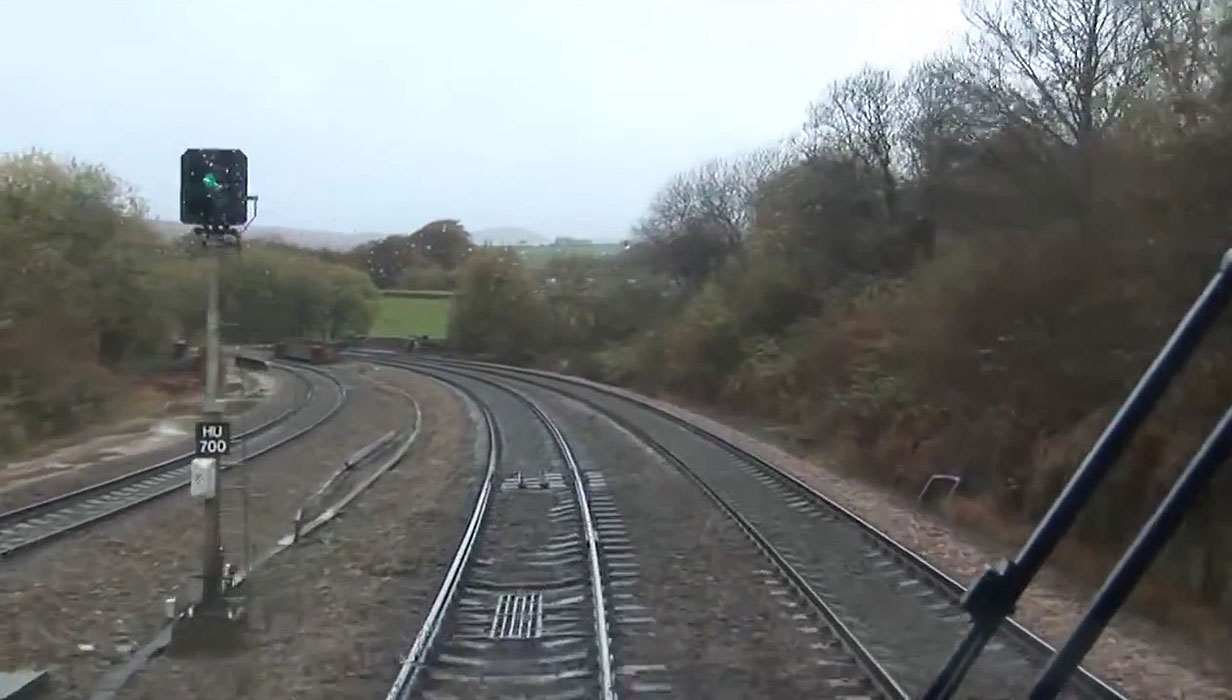
Approaching Marsden station, this signal (HU704)
controls the main line and loop line. |
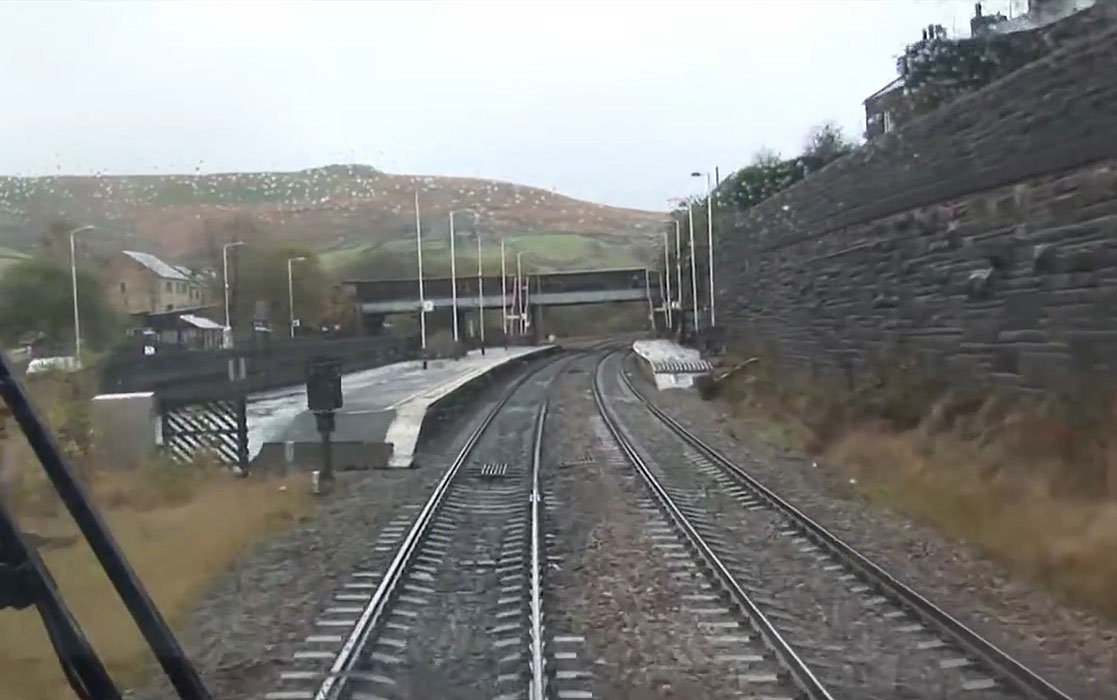
 Marsden (nd) : Philip Hardaker Marsden (nd) : Philip Hardaker
Approaching the platform end of Marsden Station. |
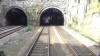
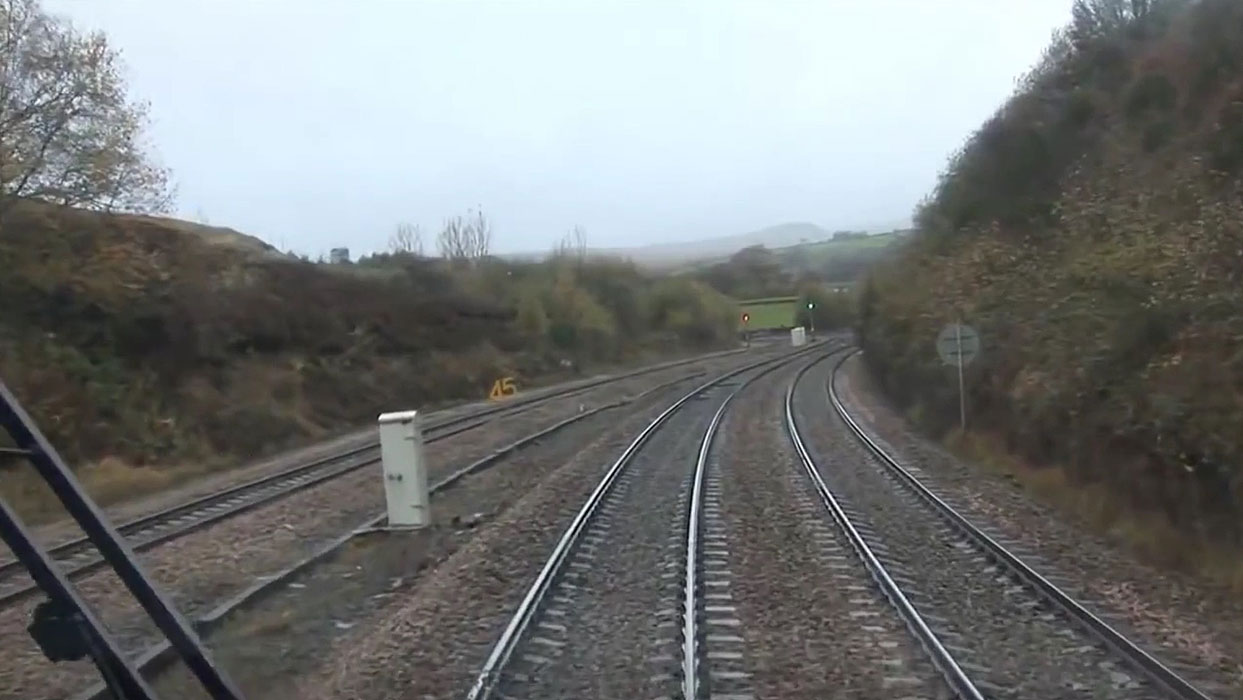
 Marsden (nd) : Philip Hardaker Marsden (nd) : Philip Hardaker
Standedge tunnel ahead, the Marsden loop runs to
the left and joins the main line before the tunnel entrance. |
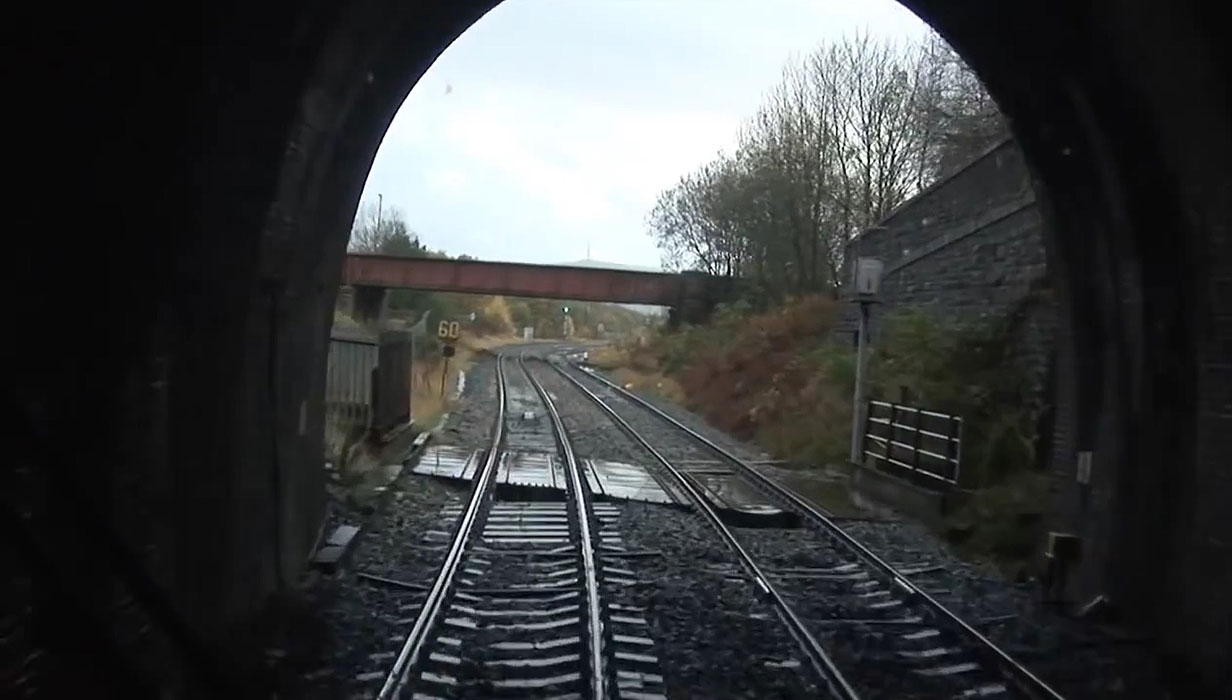
 Marsden (nd) : Philip Hardaker Marsden (nd) : Philip Hardaker
Standedge tunnel round the curve,being some 3
miles in length. |
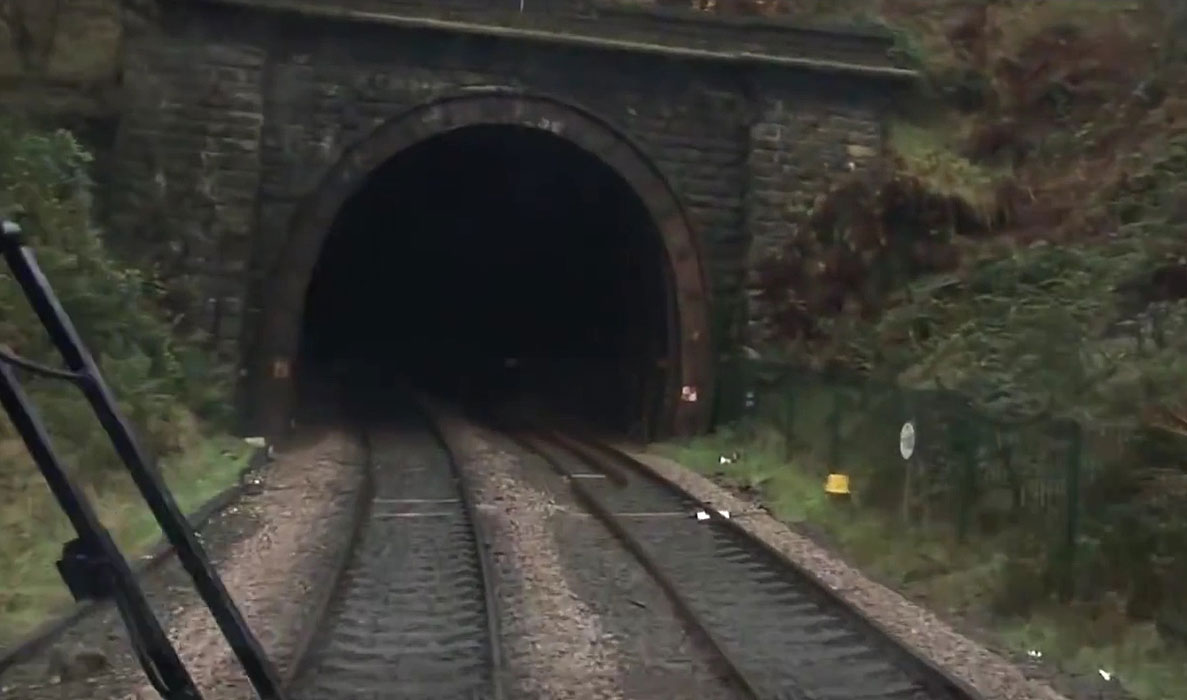
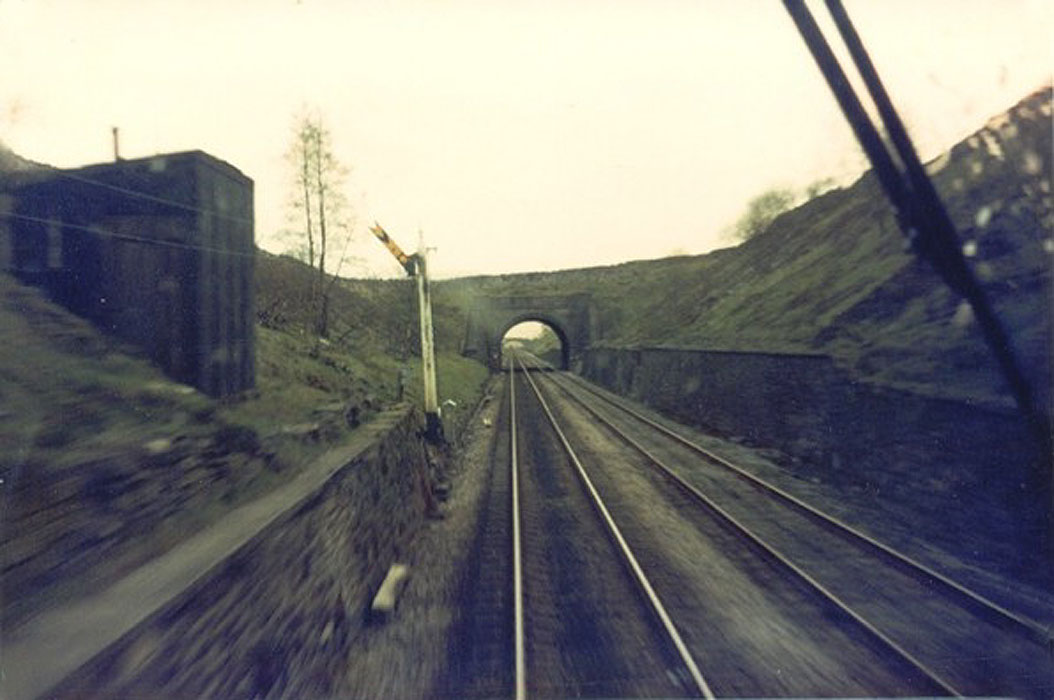
 Standedge (nd) : Philip Hardaker Standedge (nd) : Philip Hardaker
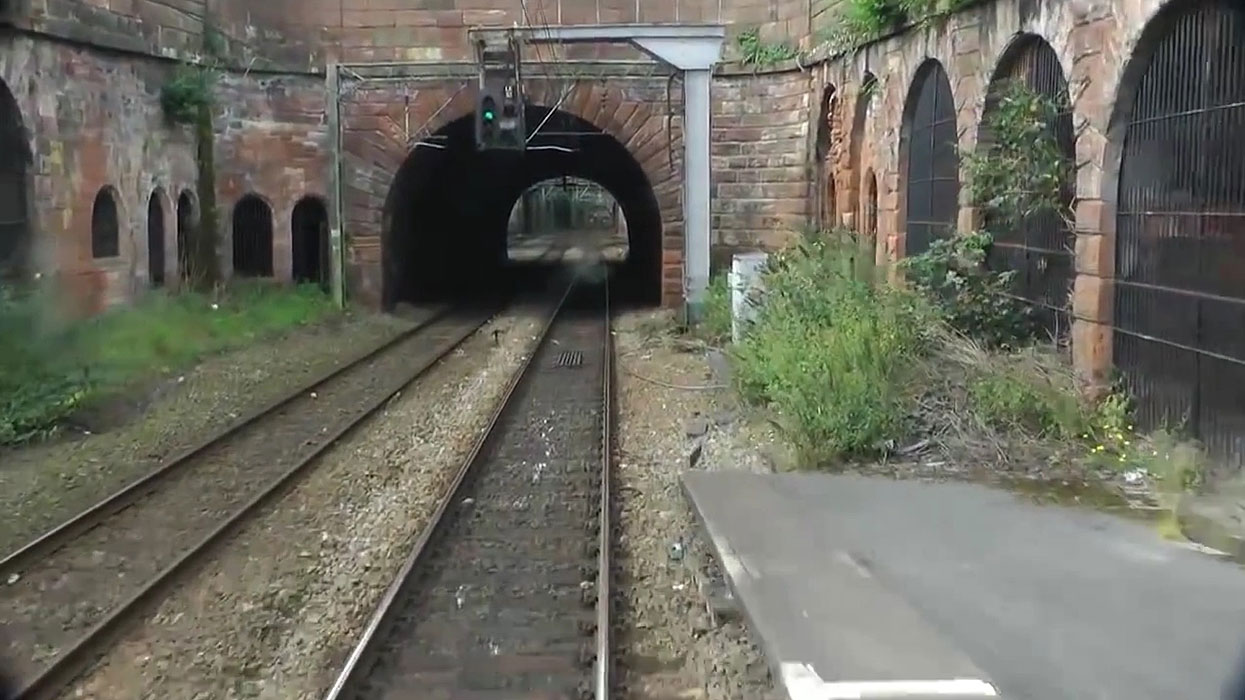
The approach to the Standedge. |
 Standedge (nd) : Philip Hardaker Standedge (nd) : Philip Hardaker
Marsden loop line joins just before the tunnel
with the aqueduct flowing over the railway lines. |
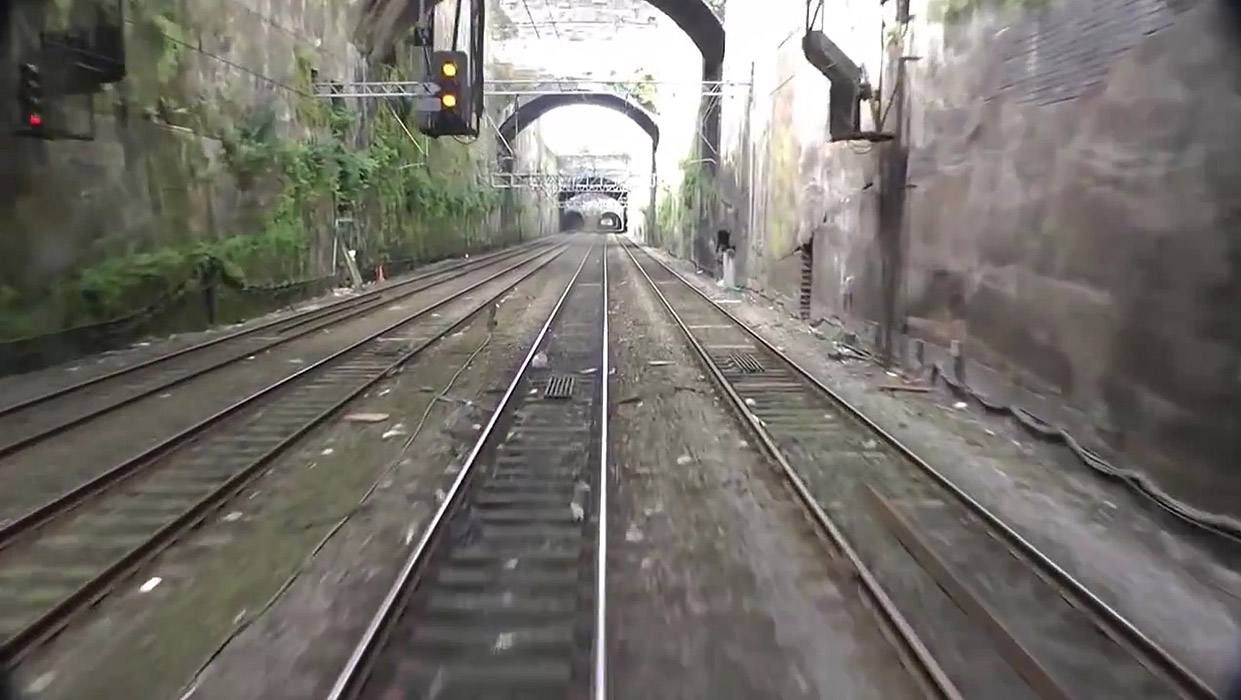
 Standedge (nd) : Philip Hardaker Standedge (nd) : Philip Hardaker
The Standedge ahead, top of the bank, the fireman
can have a breather as it is now on the level. |
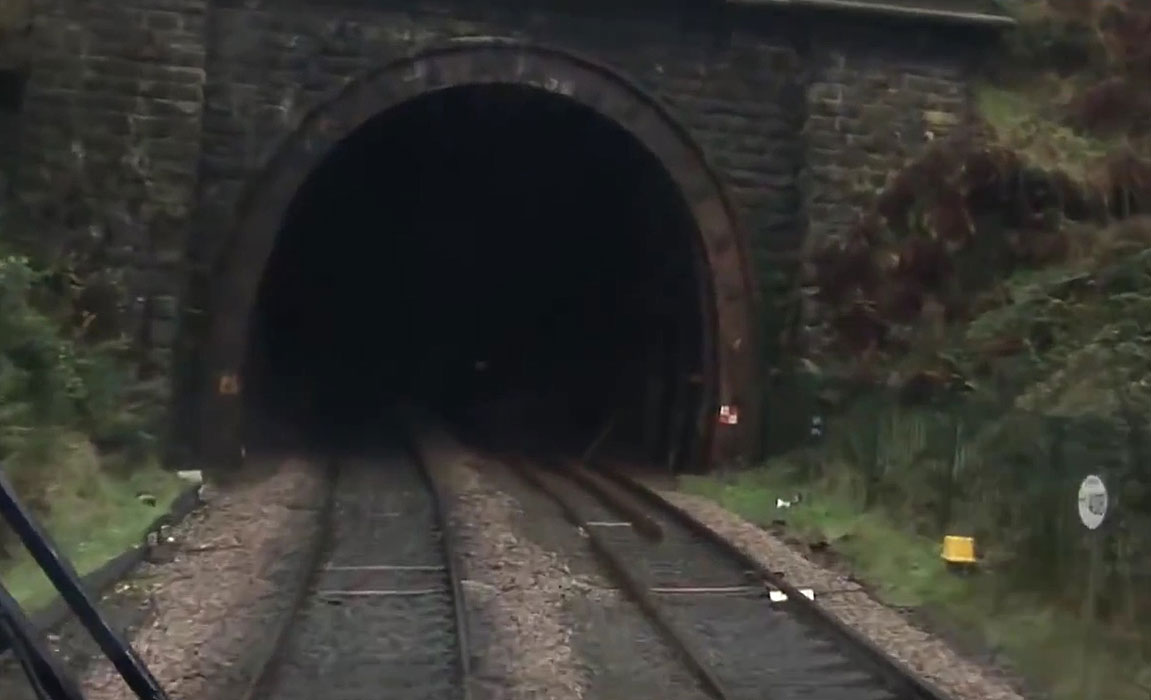
 Standedge (nd) : Philip Hardaker Standedge (nd) : Philip Hardaker
Standedge tunnel built in 1894 and stated to be
the fifth longest railway tunnel in Britain at just over three miles in
length. |
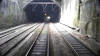
 Standedge (nd) : Philip Hardaker Standedge (nd) : Philip Hardaker
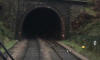
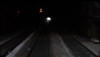
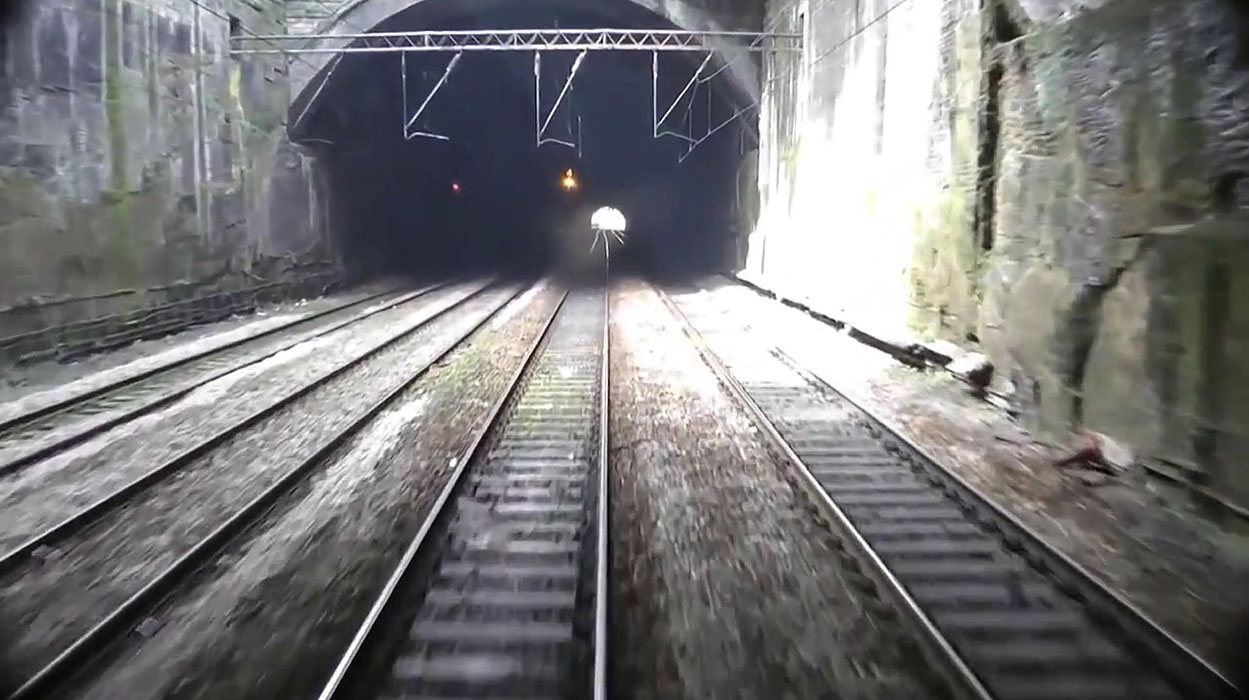
Into the dark hole in the hillside! |
 Standedge (nd) : Philip Hardaker Standedge (nd) : Philip Hardaker
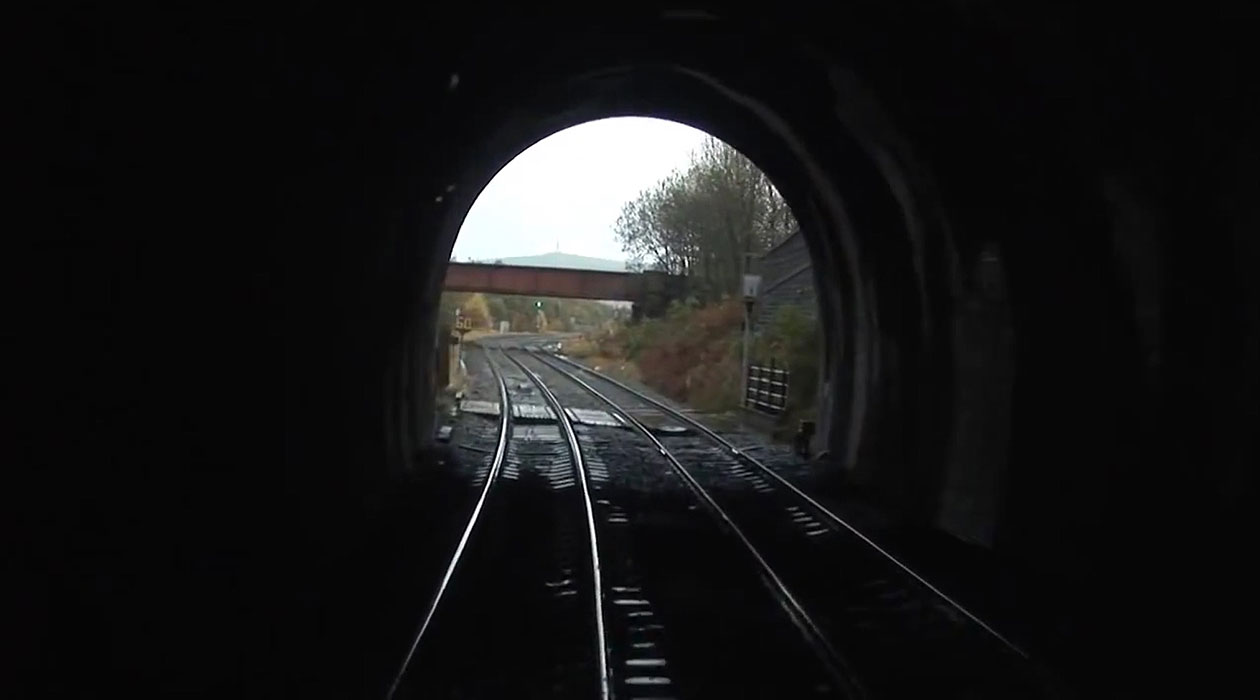
A welcome sight the tunnel entrance, not the rain! |
 Standedge (nd) : Philip Hardaker Standedge (nd) : Philip Hardaker
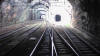
Welcome to Lancashire, exiting the Standedge,
after being in the pitch black for three miles it is good to get back
into the light once again. |
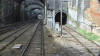
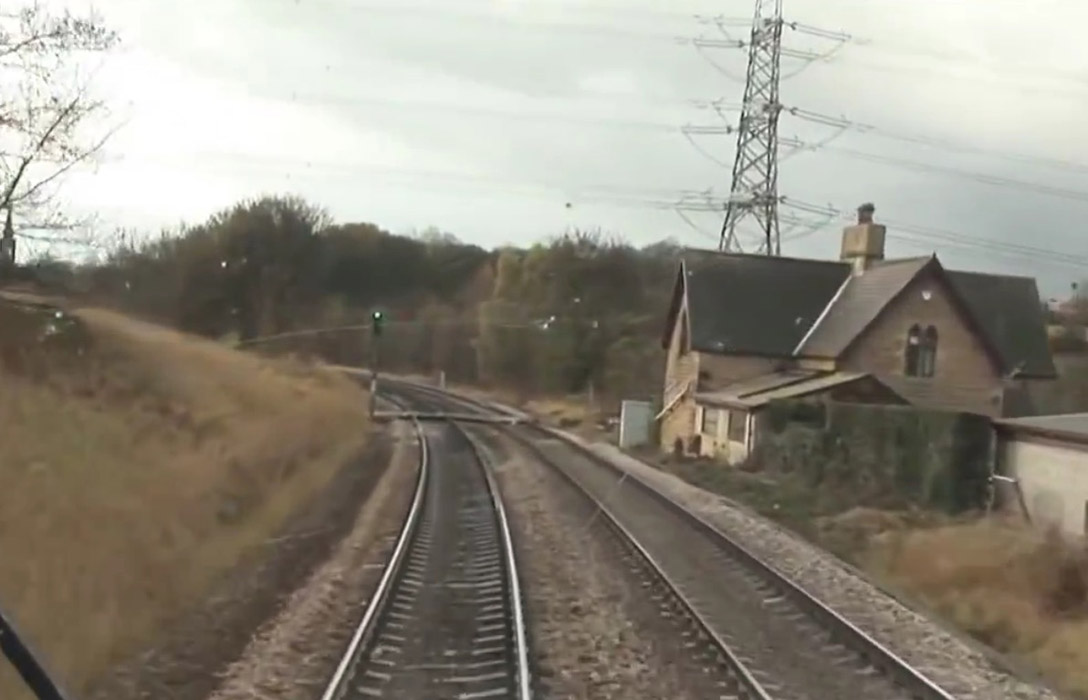
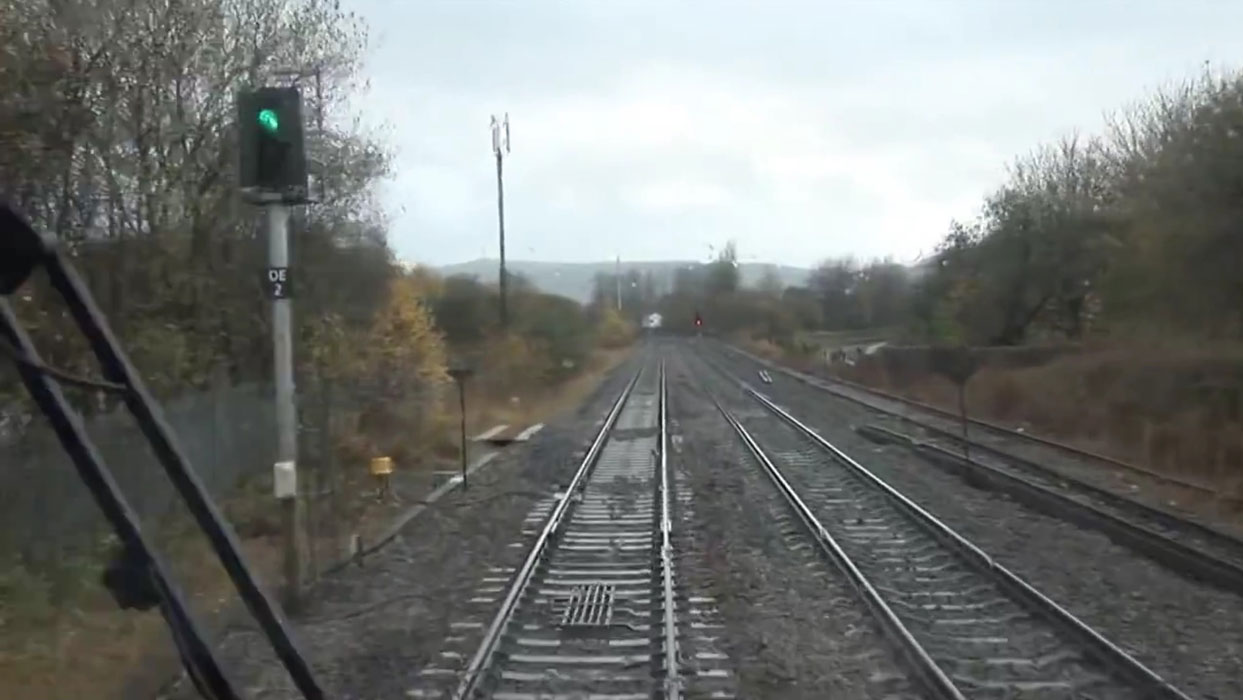
 Diggle (nd) : Philip Hardaker Diggle (nd) : Philip Hardaker
Diggle Jct. signal box in sight. |
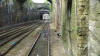
 Diggle (nd) : Philip Hardaker Diggle (nd) : Philip Hardaker
The Diggle Jct. loop. |
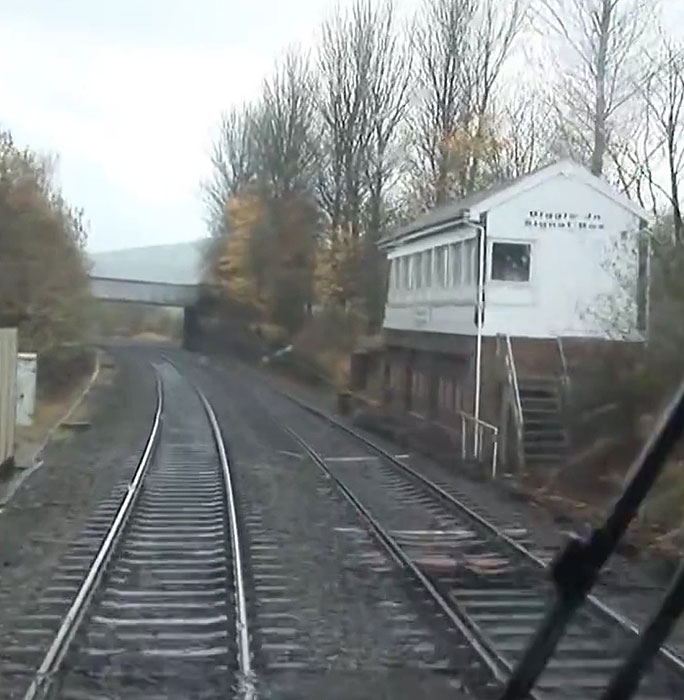
 Diggle (nd) : Philip Hardaker Diggle (nd) : Philip Hardaker
Passing Diggle Jct. signal box. |
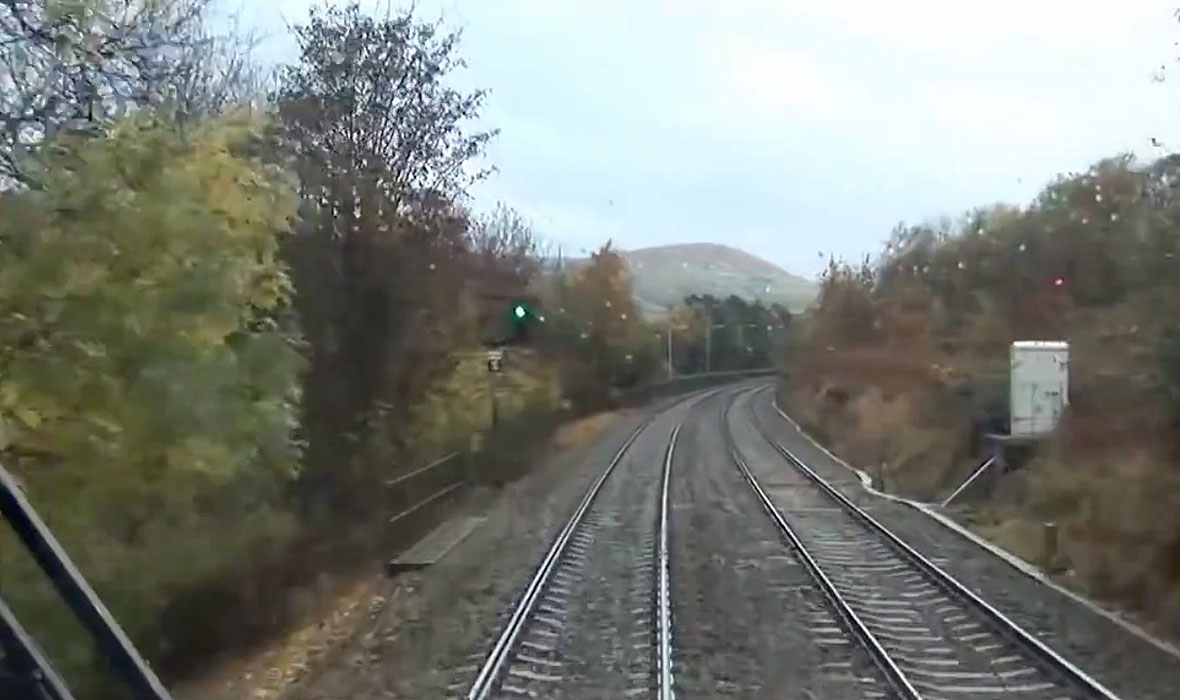
 Greenfield (nd) : Philip Hardaker Greenfield (nd) : Philip Hardaker
Down the bank heading towards Greenfield. |
 Greenfield
Station (nd) : Philip Hardaker Greenfield
Station (nd) : Philip Hardaker
Passing through Greenfield Station. |
 Mosley
station (nd) : Philip Hardaker Mosley
station (nd) : Philip Hardaker
Mosley station ahead. |
 Stalybridge
Tunnel (nd) : Philip Hardaker Stalybridge
Tunnel (nd) : Philip Hardaker
Stalybridge Tunnel |
 Stalybridge
station (nd) : Philip Hardaker Stalybridge
station (nd) : Philip Hardaker
A dark day in Stalybridge. |
Around Leeds
 Leeds
City New (03-87) : Michael Kaye See Leeds
West Leeds
City New (03-87) : Michael Kaye See Leeds
West
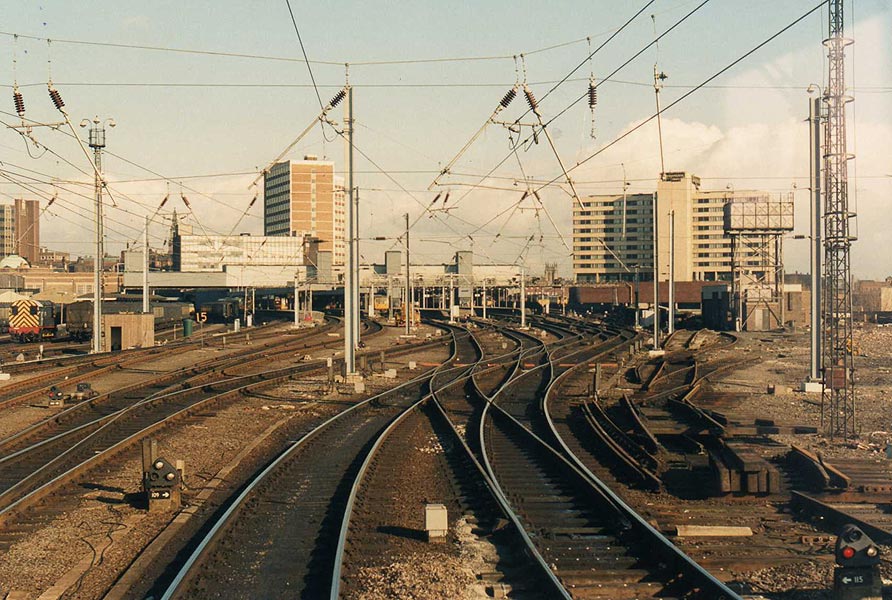
We are exiting Leeds PCD with 'A' line to the left, on the Gantry
(Right to Left are 'B' 'C' & 'D' Lines, the viaduct line off to left was
still in use at this date. March 1987. |
_small.jpg) Leeds
City New (c1985) : Michael Kaye Leeds
City New (c1985) : Michael Kaye
We are stood on ‘D’ line awaiting exit from Leeds Station, the parcels train
is leaving Leeds PCD and is our afternoon Leeds to Bradford Interchange job.
Also you can see the ‘viaduct Line’ which was at that time still well used. |
 Leeds
City New (10-07-86) : Michael Kaye Leeds
City New (10-07-86) : Michael Kaye
Entering Leeds on 'C' Line, to the right is the Motive Power area, and in
the distance is a Class 45 with Red Bank Parcels,
10th July 1986 |
 Leeds
City New (04-04-88) : Michael Kaye Leeds
City New (04-04-88) : Michael Kaye
Entering Leeds again on 'C' Line, now the Motive Power Area is gone, note on
the left of the picture,
the PCD Pilot,
this is now a car park, 4th April 1988. |
 Holbeck
approach (nd) : Michael Kaye Holbeck
approach (nd) : Michael Kaye
Drivers eye view. |
 Gelderd
Road junction (30-07-86) : Michael Kaye Gelderd
Road junction (30-07-86) : Michael Kaye
Geldard Road Junction 30th July 1986, as you can see
the points are set for going over Farnley Viaduct.
This connection to the Leeds Wakefield line was made around 1967.
The red brick building on the left was part of Market Mill (flax). |
 Farnley
viaduct facing east (30-07-86) : Michael Kaye Farnley
viaduct facing east (30-07-86) : Michael Kaye
Photograph was taken on 30th July 1986,
we are on the 'Down Line' entering the viaduct from Geldrard Junction, the
building on the right is Kays, |
Holbeck
East Junction (nd) : Michael Kaye
 The
photograph shows the original Holbeck Junc, the signal Box was on the right
with the entrance/exit to Leeds Central. The
photograph shows the original Holbeck Junc, the signal Box was on the right
with the entrance/exit to Leeds Central.
We are leaving the suburbs of Leeds on the ‘Up Line’ on our way to Wakefield
Westgate, the line off to the right is to Bradford Interchange and the line
off to the left is to Huddersfield, the 158 is waiting at the Junction after
its trip from Manchester, this line now comes in at the extreme left and no
connect
to Huddersfield/Manchester no longer exists. Middle Centre was Copley Hill
Depot. |
 Holbeck
East Junction (15-06-86) : Michael Kaye Holbeck
East Junction (15-06-86) : Michael Kaye
Holbeck East Junction, during re-modelling, the railway off to left as now
been taken out of use. 15th June 1986. |
 Holbeck
East Junction (15-06-86) : Michael Kaye Holbeck
East Junction (15-06-86) : Michael Kaye
This is Holbeck East Junction, 15th June 1986, we are entering Whitehall
Junction on the 'down' heading towards Leeds,
just to the left of the colour
light was Holbeck Low Level Station. Now this piece of railway as been
removed. |
    Marsh
Lane (nd) : Philip Hardaker Marsh
Lane (nd) : Philip Hardaker
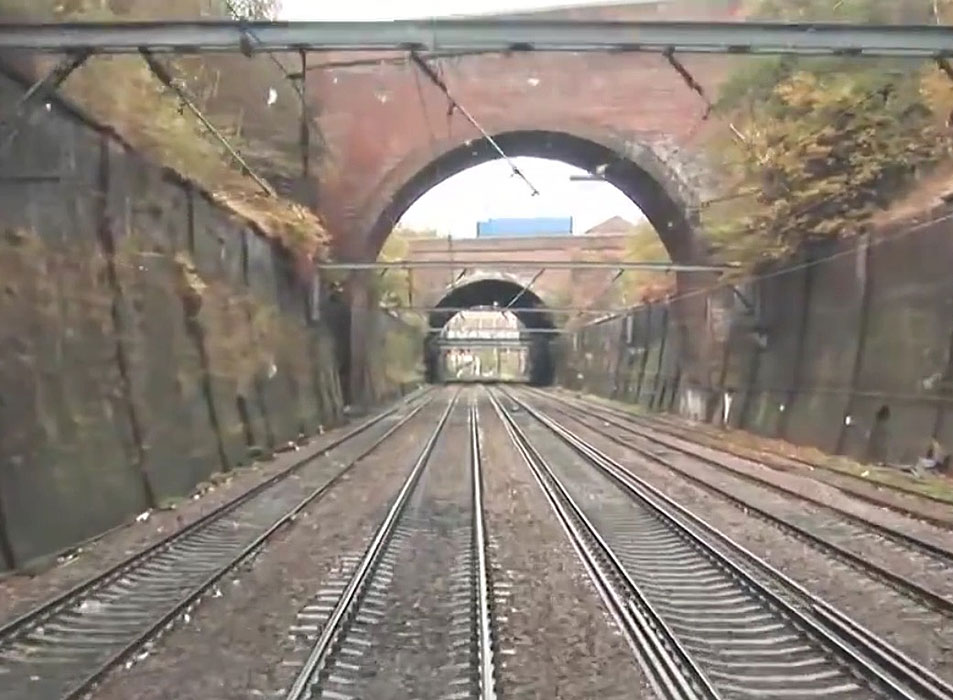
Travelling towards Leeds through Marsh Lane cutting.
see Leeds Selby |
 Marsh
Lane c1980 : Philip Hardaker See
Leeds West Marsh
Lane c1980 : Philip Hardaker See
Leeds West
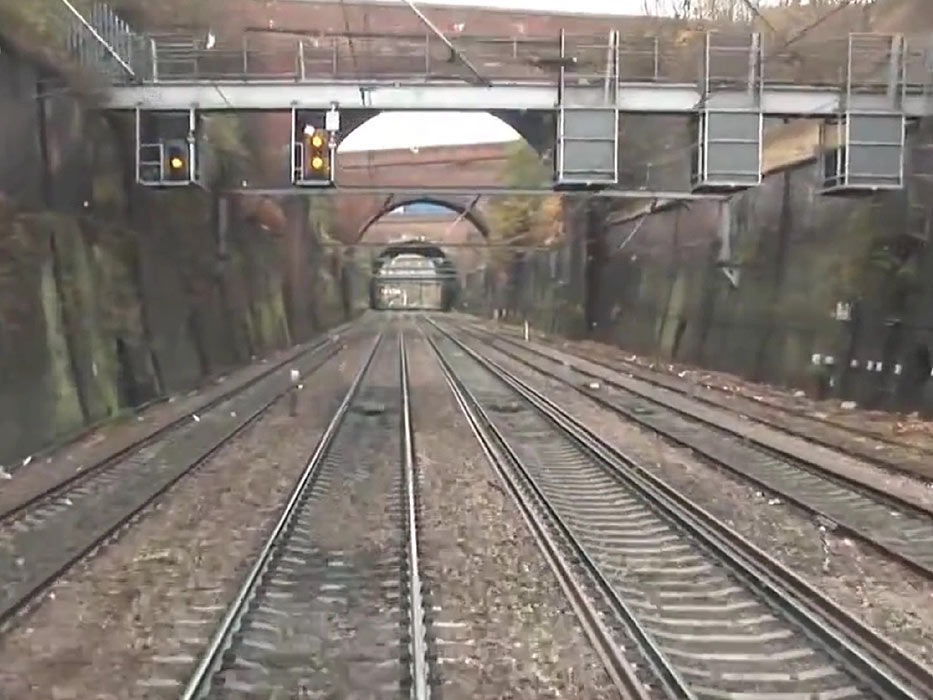
Marsh Lane cutting at sun rise going up to Nevile
Hill for rolling stock (another early turn from Holbeck) 1980s. |
 Marsh
Lane (nd) : Philip Hardaker Marsh
Lane (nd) : Philip Hardaker
The end of Marsh Lane cutting with the goods line on
the left.
|
  Leeds
City (nd) : Philip Hardaker Leeds
City (nd) : Philip Hardaker
The approach to Leeds station after Marsh Lane. |
 Leeds
City (nd) : Philip Hardaker Leeds
City (nd) : Philip Hardaker
Almost into Leeds. |
  Leeds
City (nd) : Philip Hardaker See
Leeds West Leeds
City (nd) : Philip Hardaker See
Leeds West
Approach to & proceeding towards platform 16 Leeds City Station. |
  Apperley
Junction Apperley
Junction
Apperley Junction (nd) : Michael Kaye
See Leeds Bradford
Apperley Junction, drivers eye view. |
 Apperley Junction (1980)
: Philip Hardaker Apperley Junction (1980)
: Philip Hardaker
Apperley Junction, drivers eye view. |
Ilkley
station
_small.jpg) _small.jpg) Ilkley (nd) : Michael Kaye
See Otley Ilkley Ilkley (nd) : Michael Kaye
See Otley Ilkley
Approach. |
Low Moor
 Low
Moor No 2 Signalbox
(25-04-88) : Michael Kaye
see Copley Greetland Low
Moor Low
Moor No 2 Signalbox
(25-04-88) : Michael Kaye
see Copley Greetland Low
Moor
We are on the 'Up' line heading towards Halifax and are about to pass
Low Moor No; 2 Signalbox, the bridge was once a level crossing and the
station was located here to..the line on the left was the remains of a
passenger loop and of course it once took you to Thornhill, 25th April
1988 |
Goose Hill junction
 Goose
Hill Junction (15-03-87) : Michael Kaye
See Leeds Derby Goose
Hill Junction (15-03-87) : Michael Kaye
See Leeds Derby
This is Goose Hill Junction taken on the 15th March 1987, we are heading
towards Normanton Station which is just through the left hand bridge,
the rails coming in from the right are from Cudworth, to the left of the
photograph are the slow lines, in which have been just taken out of use. |
Castleford
Central station
_small.jpg) _small.jpg) Castleford (nd) : Michael Kaye
See Castleford Garforth Castleford (nd) : Michael Kaye
See Castleford Garforth
Facing east, approaching Castleford Central from Pontefract.
Via the now gone L&Y Cutsyke junction.
The signal box is now all boarded up. |
Cutsyke Junction
 Cutsyke
Junction (27-05-85) : Michael Kaye
see Cutsyke Methley Cutsyke
Junction (27-05-85) : Michael Kaye
see Cutsyke Methley
Cutsyke Junction, 27.5 1985....we are heading towards
Pontefract. the line from Methley came in from the right, this is not
the original signal box, I believe the original was burnt down prior to
1980, in the distance you can see the loading bunkers from Glasshoughton
Collery which now is the site of the Glasshoughton Shopping Mall..... |
Olive Mount to
Liverpool Lime Street
 Olive
Mount : Philip Hardaker
See also Liverpool Olive
Mount : Philip Hardaker
See also Liverpool
Olive Mount before electrification. |
 Edge Hill station Edge Hill station
Edge Hill station : Philip Hardaker
Departing Edge hill. |
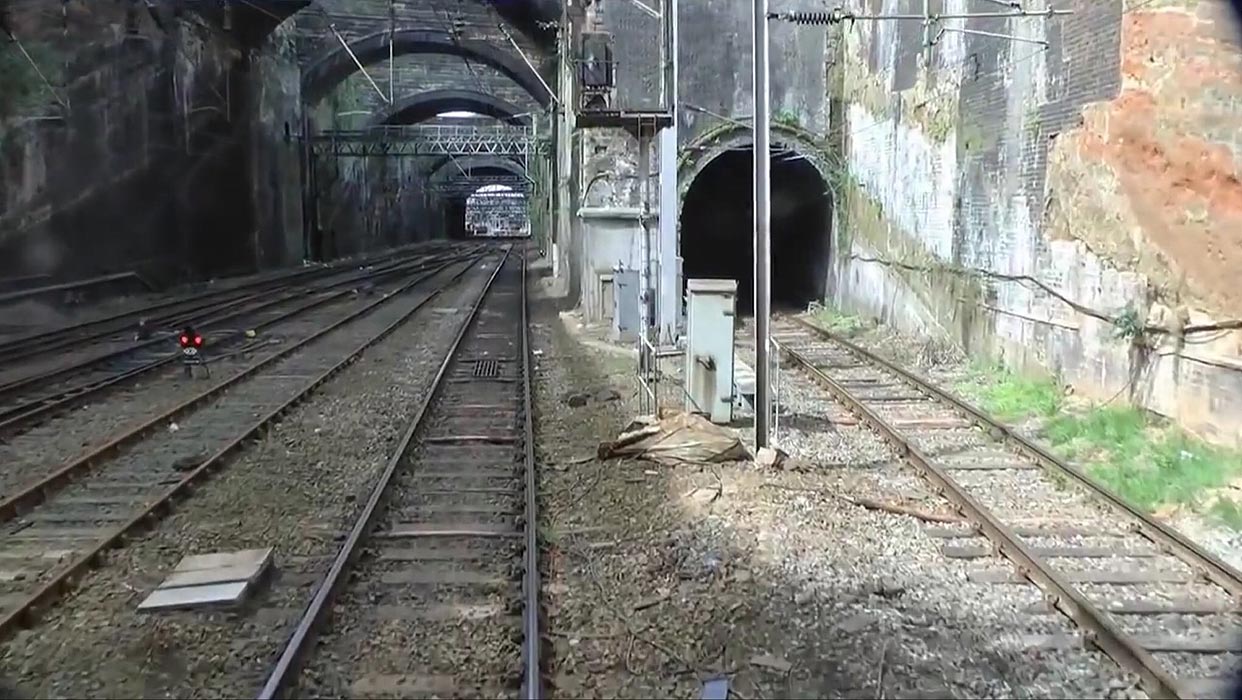
 Lime
Street cutting : Philip Hardaker Lime
Street cutting : Philip Hardaker
On the way down to Lime Street. |
 Lime
Street cutting : Philip Hardaker Lime
Street cutting : Philip Hardaker
Heading down the steep incline towards Lime
Street,
notice how this cutting was originally cut from solid rock when the
railway was built around the year 1830. |
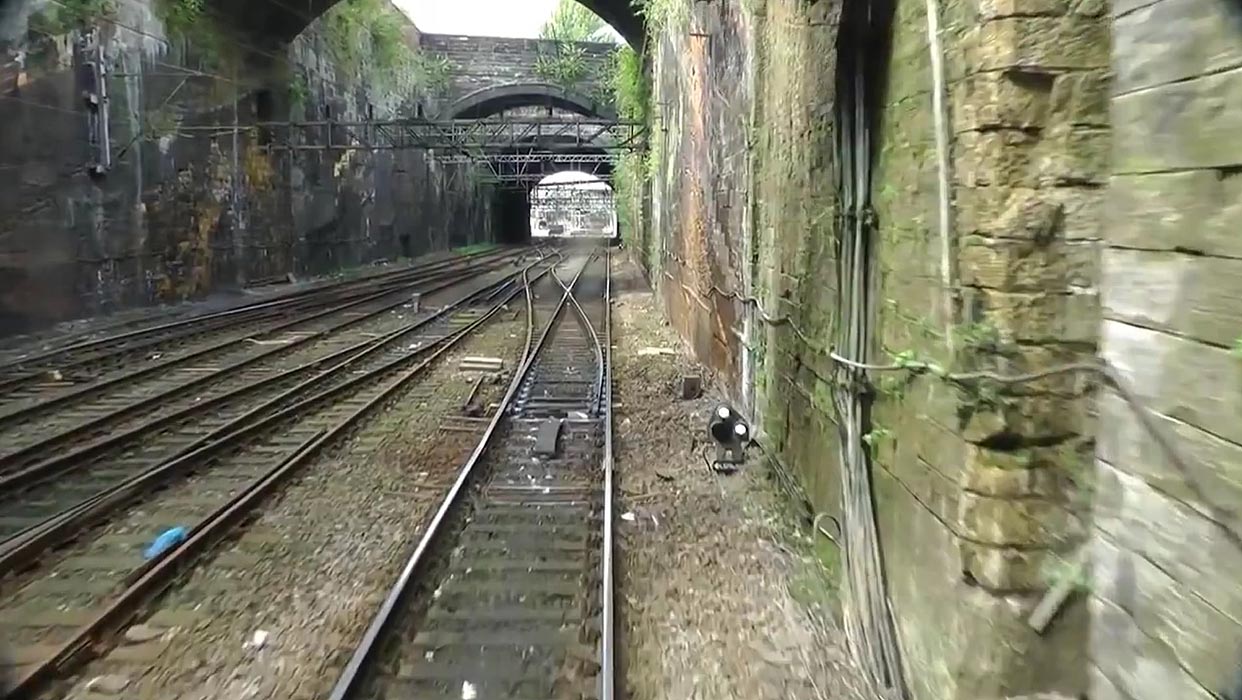
 Lime
Street cutting : Philip Hardaker Lime
Street cutting : Philip Hardaker
Continuing towards Lime Street station. |
 Lime
Street cutting : Philip Hardaker Lime
Street cutting : Philip Hardaker
Travelling towards Lime Street. |
 Lime
Street cutting : Philip Hardaker Lime
Street cutting : Philip Hardaker
Continued. |
 Lime
Street cutting : Philip Hardaker Lime
Street cutting : Philip Hardaker
Continuing towards Lime Street. |
 Lime
Street cutting : Philip Hardaker Lime
Street cutting : Philip Hardaker
The signal in the tunnel indicating that our train
is routed to platform 4 at Liverpool Lime Street. |
 Lime
Street cutting : Philip Hardaker Lime
Street cutting : Philip Hardaker
Lime Street ahead. |
 Lime
Street cutting : Philip Hardaker Lime
Street cutting : Philip Hardaker
Lime Street approach. |
 Lime
Street cutting : Philip Hardaker Lime
Street cutting : Philip Hardaker
Passing the ground signal which we use to refer to
as a dolly! |
 Lime
Street cutting : Philip Hardaker Lime
Street cutting : Philip Hardaker
Another ground signal (dolly) protecting the
points. |
 Lime
Street cutting : Philip Hardaker Lime
Street cutting : Philip Hardaker
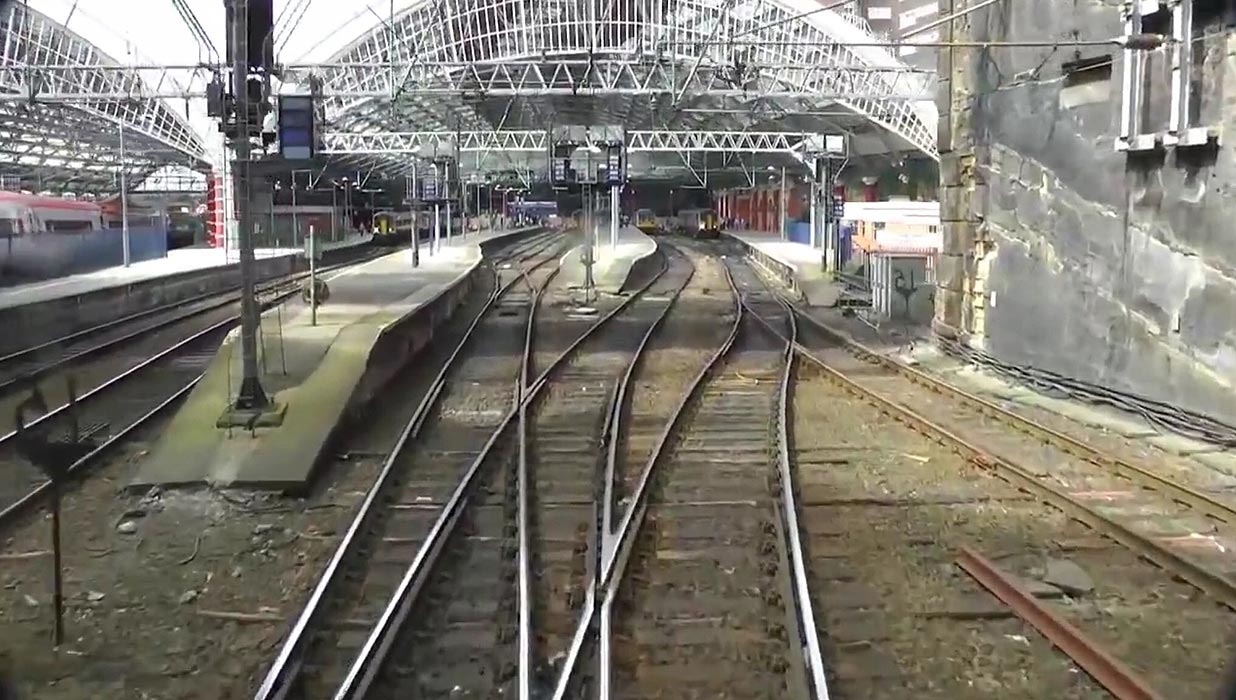
Liverpool Lime Street station approach. |
 Lime
Street cutting : Philip Hardaker Lime
Street cutting : Philip Hardaker
Approach to platform 4 Liverpool Lime Street and
journey's end. |
Liverpool Lime Street
  Liverpool
Lime Street (c1980) : Philip Hardaker
see Liverpool Liverpool
Lime Street (c1980) : Philip Hardaker
see Liverpool
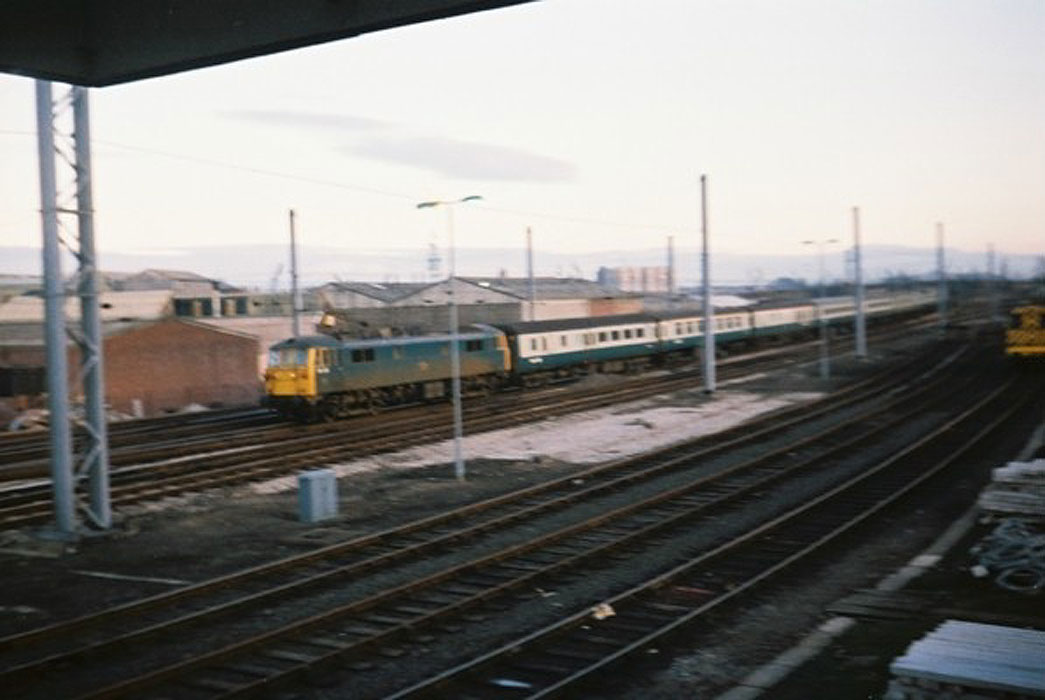
Photographed from the footplate whilst dropping
down into Lime Street from Edge Hill 1980s.
It always fascinated me how they cut through the solid rock to produce
this cutting so when I was on the Liverpool Job I took these shots, I
think it was a class 86 that had just been released and it was waiting
to back onto the stock that was arriving from Euston. |
Settle to Carlisle
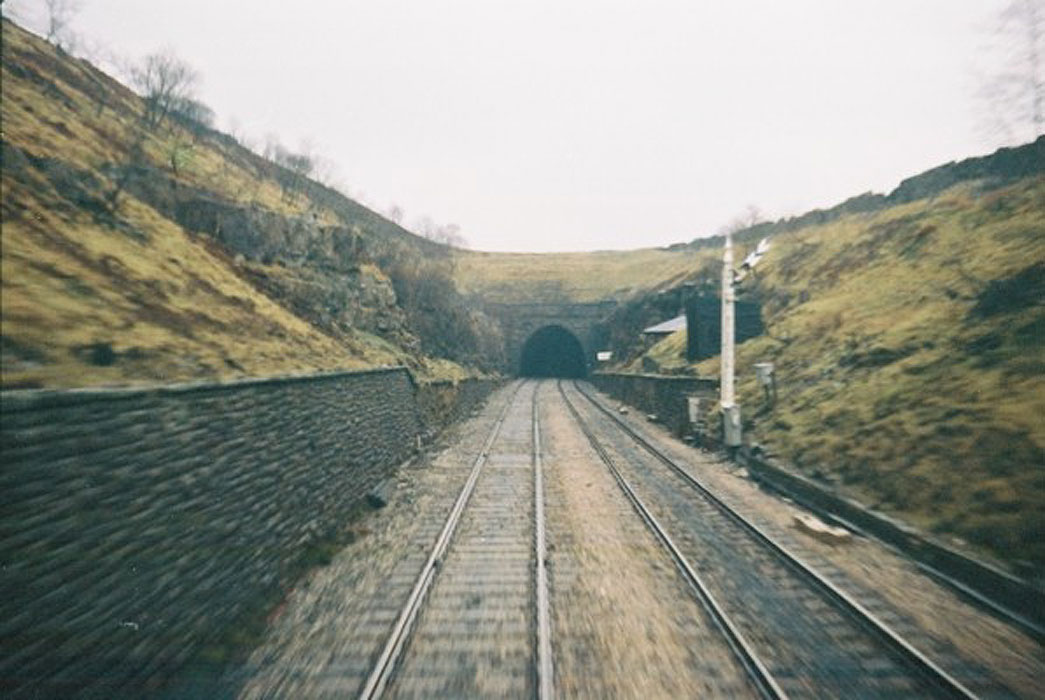
    Settle
to Carlisle
(c1980) : Philip Hardaker Settle
to Carlisle
(c1980) : Philip Hardaker
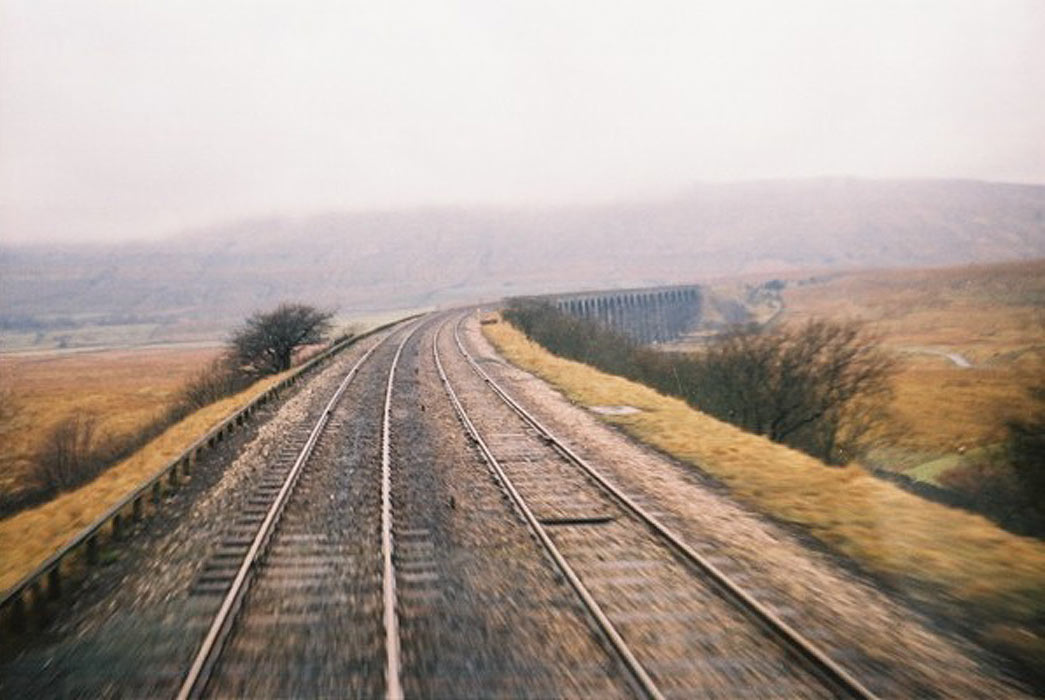
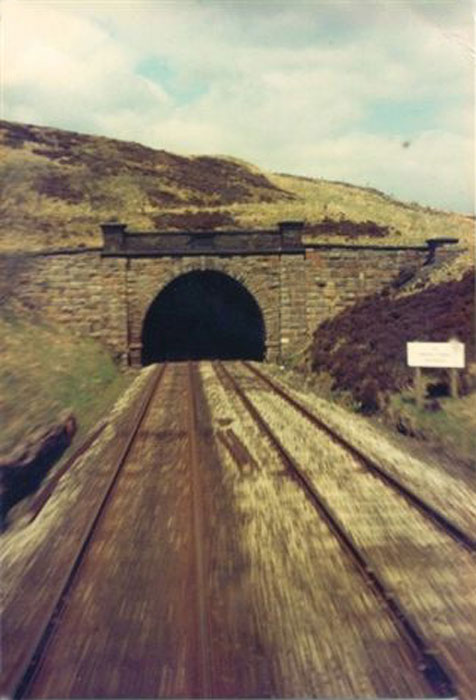
Various shots on the Settle Carlisle road going up to Carlisle 1980s
taken from the footplate.
|
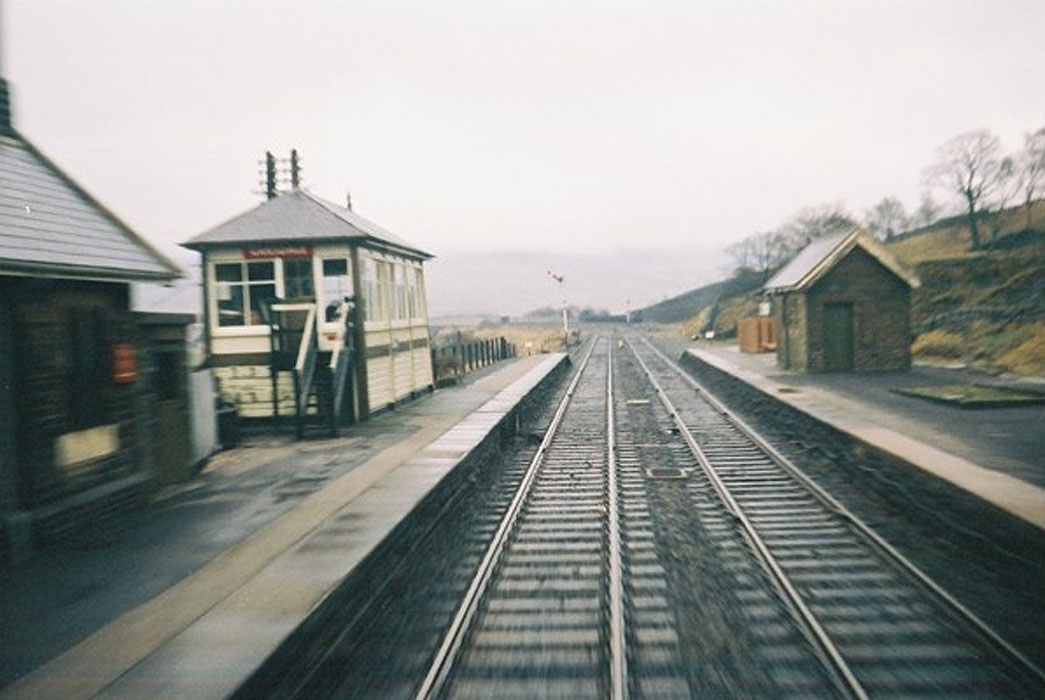
    Settle
to Carlisle
(c1980) : Philip Hardaker Settle
to Carlisle
(c1980) : Philip Hardaker
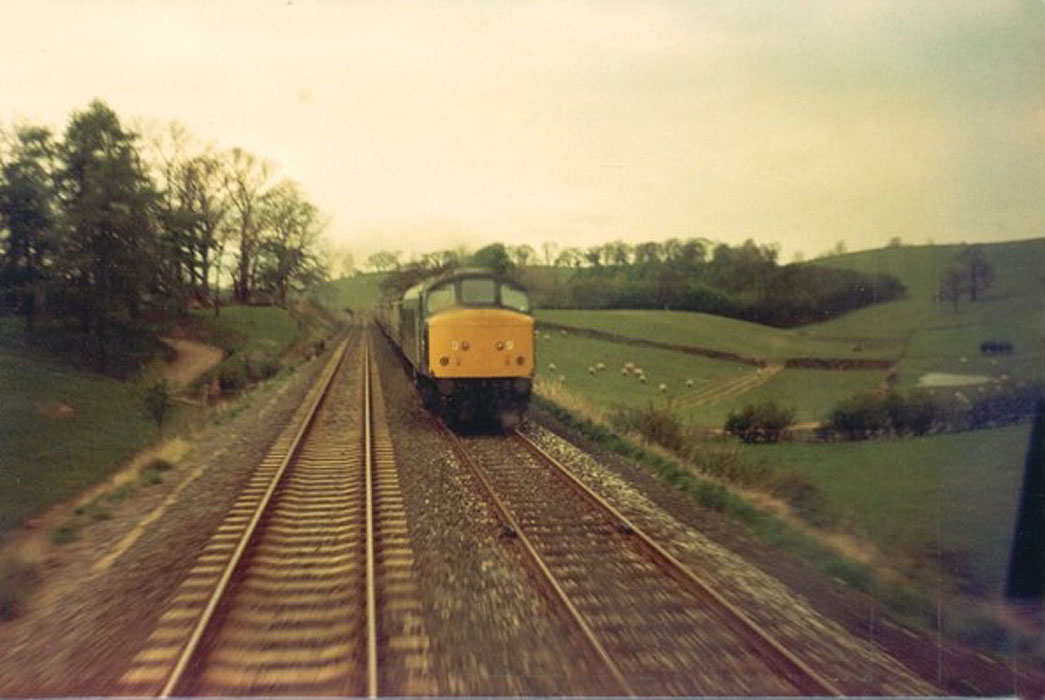
Various shots on the Settle Carlisle road going up to Carlisle 1980s
taken from the footplate. |
    Settle
to Carlisle
(c1980) : Philip Hardaker Settle
to Carlisle
(c1980) : Philip Hardaker
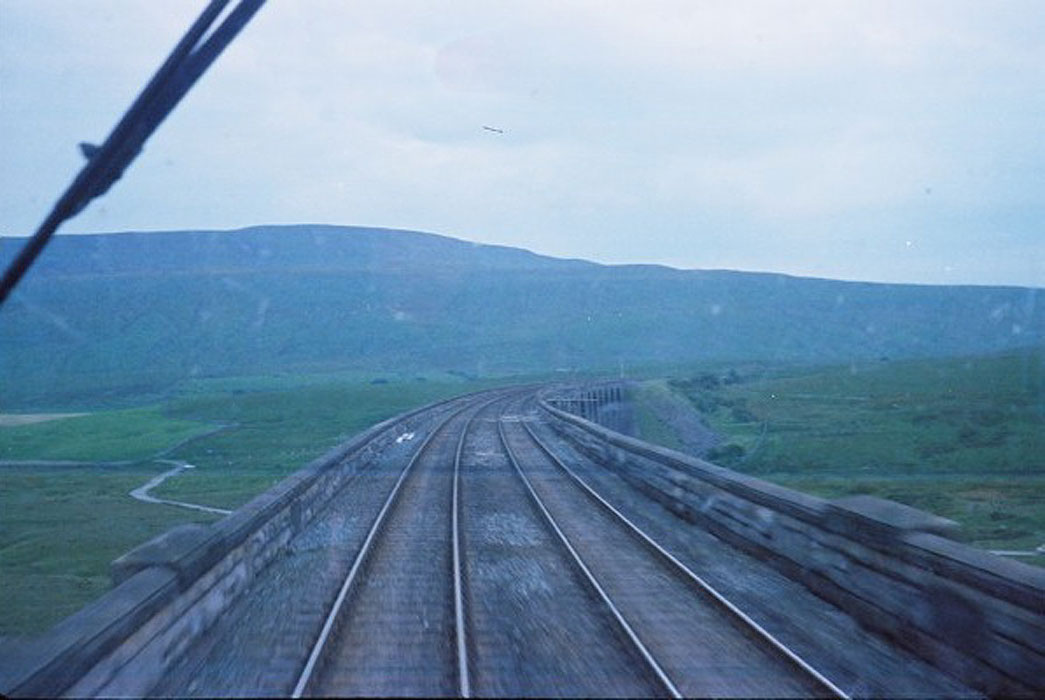
Various shots on the Settle Carlisle road going up to Carlisle 1980s
taken from the footplate.
Ribblehead Viaduct had a double line then! |
   _small.jpg) Settle
to Carlisle
(c1980) : Philip Hardaker Settle
to Carlisle
(c1980) : Philip Hardaker
Various shots on the Settle Carlisle. |
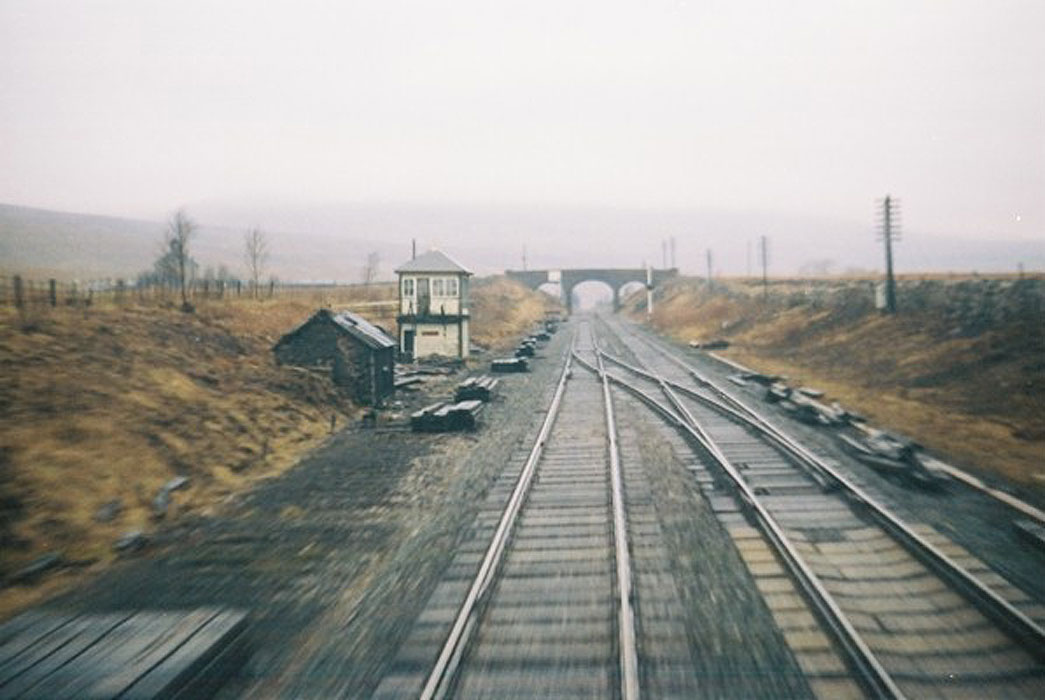
    Settle
to Carlisle
(c1980) : Philip Hardaker Settle
to Carlisle
(c1980) : Philip Hardaker
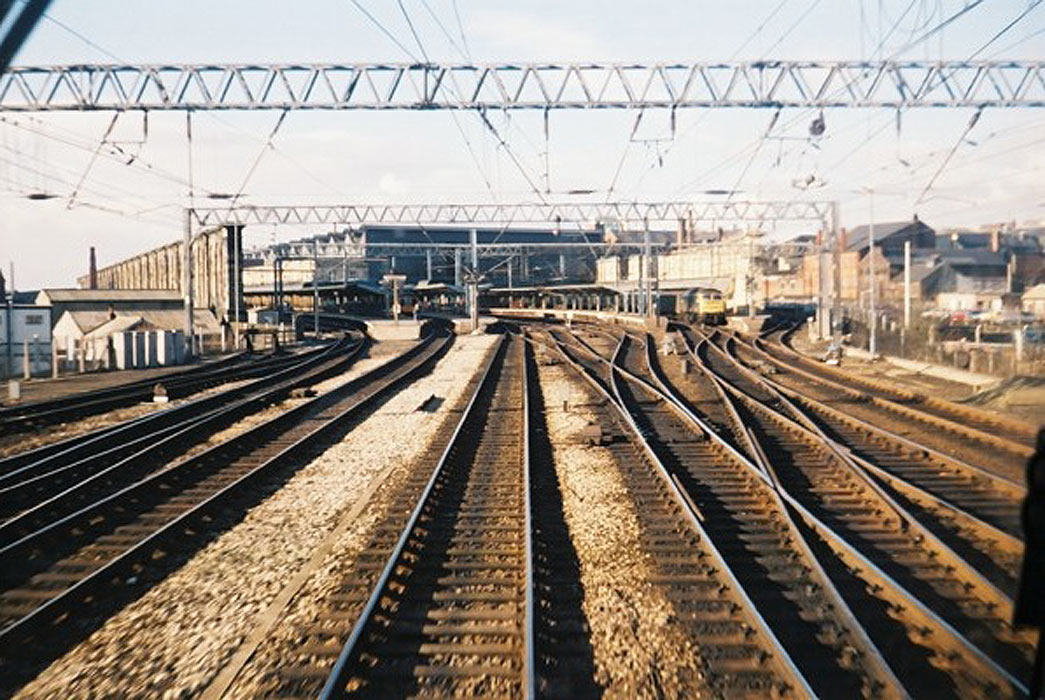
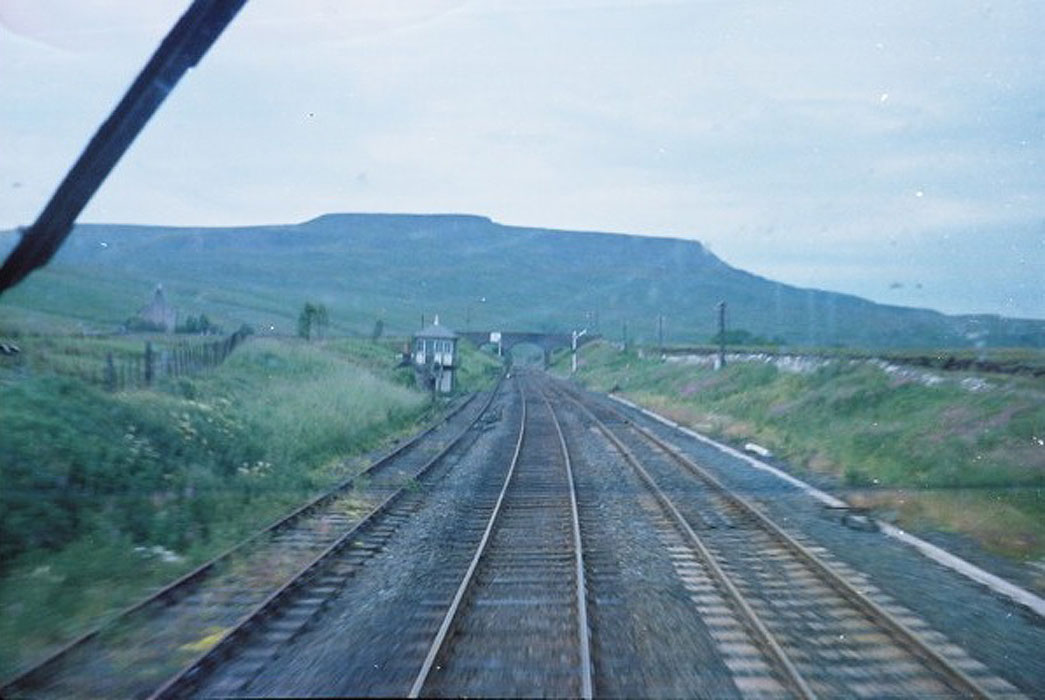
Various shots on the Settle Carlisle. The signal box with the two
signals was the late Apperley Junction box 1980s. The view is the Carlisle
power box and approaching Carlisle from the south. |
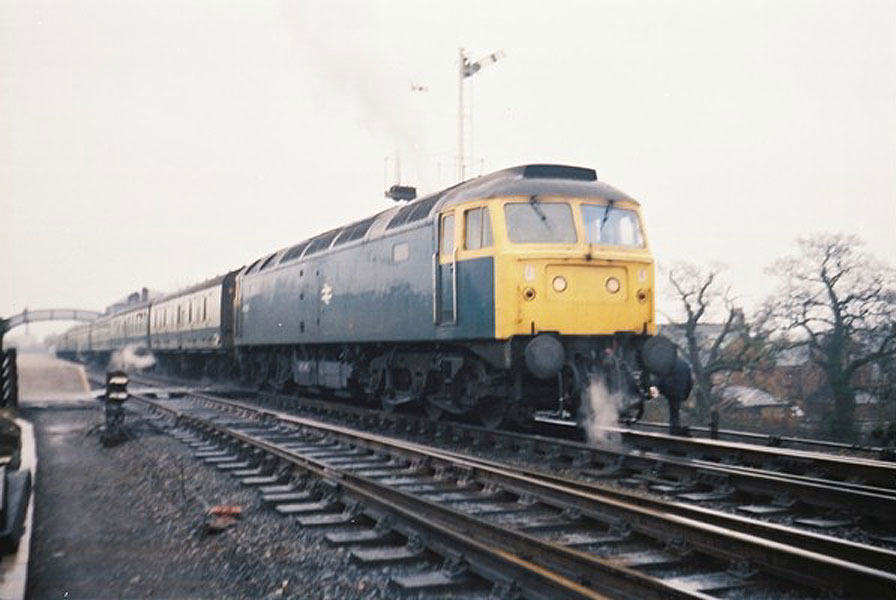
     Settle
to Carlisle
(c1980) : Philip Hardaker Settle
to Carlisle
(c1980) : Philip Hardaker
Various shots on the Settle Carlisle |
     Settle
to Carlisle
(c1980) : Philip Hardaker Settle
to Carlisle
(c1980) : Philip Hardaker
Various shots on the Settle Carlisle |


.jpg)


.jpg)
.jpg)
.jpg)
.jpg)


.jpg)