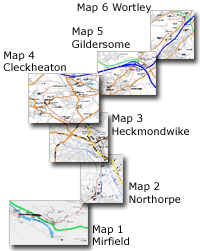
The Leeds New Line route maps
See page 1 for explanation |
|
You are here:
Map 5 Gildersome
Oakwell Hall - Gildersome Spur industrial estate |
|
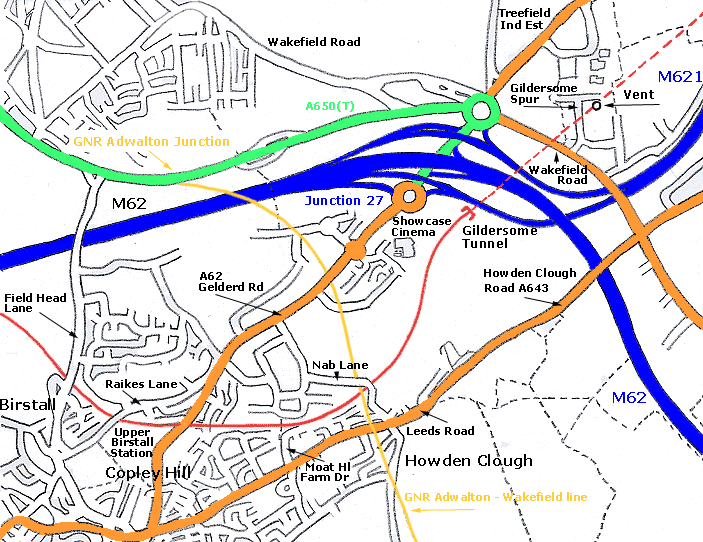 Map
5 Gildersome Map
5 Gildersome
Oakwell Hall - Gildersome Spur industrial estate.
L.N.W.R Leeds New Line shown in
red
Great Northern Line shown in Yellow
For the Great Northern line shown on
this
map -
see Adwalton junction to Wakefield |
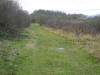
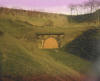
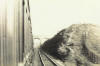 Field Head lane facing East : K Evans Field Head lane facing East : K Evans
The same train from previous page -
Warren lane
bridge approaching the 3 arch
viaduct that carries Fieldhead Lane.
The deep cutting was filled in circa 1992/4. |
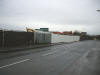
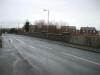
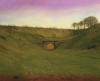
Field
Head lane facing East (25-05-03) : David Webdale
%20(5%20to10%2013-04-03)%20(11to19%2025-05-03)%20(20%20to%2025%2026-05-03)/17%20field%20head%20lane%20east_small.jpg) Same bridge
in 2003. The line originally travelled through a deep cutting, at a gradient of 1 in 80, to
reach here. Same bridge
in 2003. The line originally travelled through a deep cutting, at a gradient of 1 in 80, to
reach here.
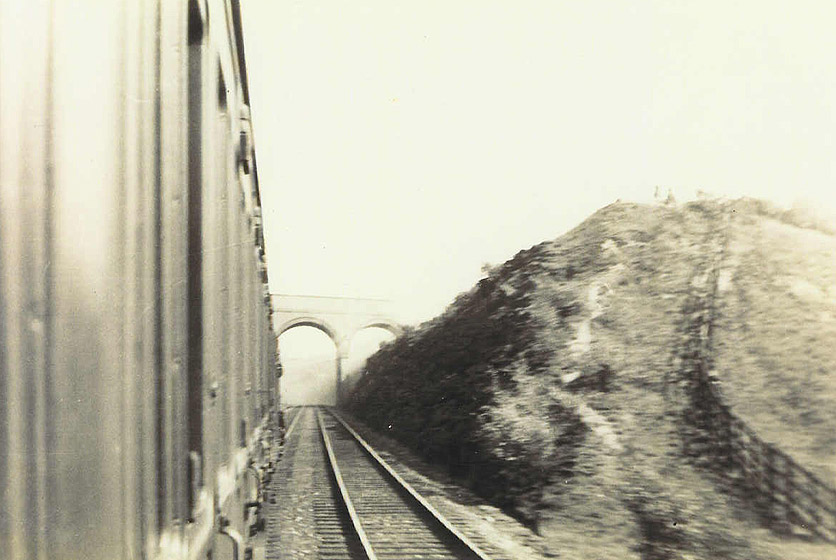
The section between Field Head lane & Raikes
lane was cut through solid rock (contractors Baldry & Yerburgh)
Looking towards Birstall station, Field Head lane bridge is across the
middle of the photo.
It consisted of three arches
& was built
from those blue engineering bricks. How much land fill am I stood on here?
See previous photo. |
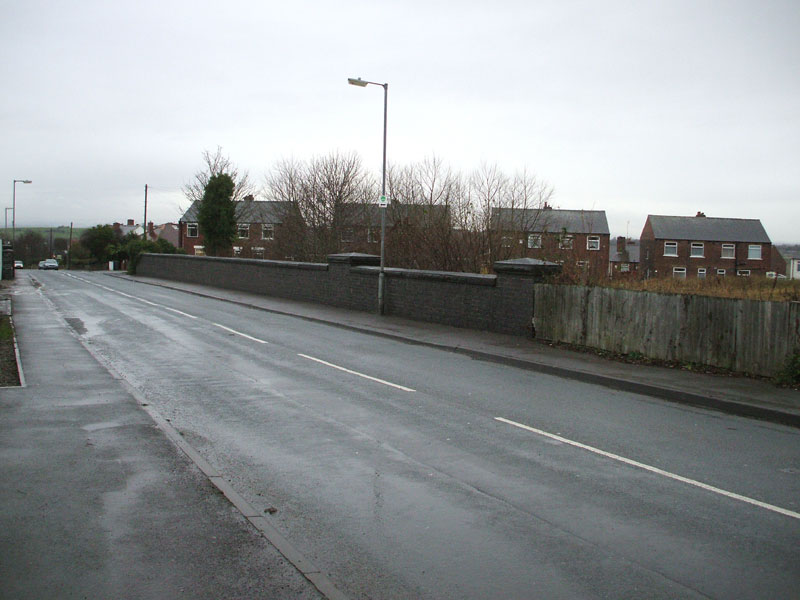
 Field Head lane (24-12-07)
:
Andrew Stopford Field Head lane (24-12-07)
:
Andrew Stopford
Fieldhead Lane overbridge - building work commencing from here in the
already infilled cutting eastwards to the Raikes Road overbridge.
Bridge
parapet breached for access. |
 Field Head lane (24-12-07)
:
Andrew Stopford Field Head lane (24-12-07)
:
Andrew Stopford
Intact west parapet |
%20(5%20to10%2013-04-03)%20(11to19%2025-05-03)%20(20%20to%2025%2026-05-03)/22%20raikes%20lane%20bridge%20west_small.jpg) Raikes lane bridge facing
West (26-05-03) : David Webdale Raikes lane bridge facing
West (26-05-03) : David Webdale
Looking back to where I was just stood, (previous photo). Someone's made a tasty job of
bricking up this archway.
Raikes lane bridge is made of stone & to the
same design as the bridges around Heckmondwike. |
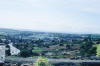
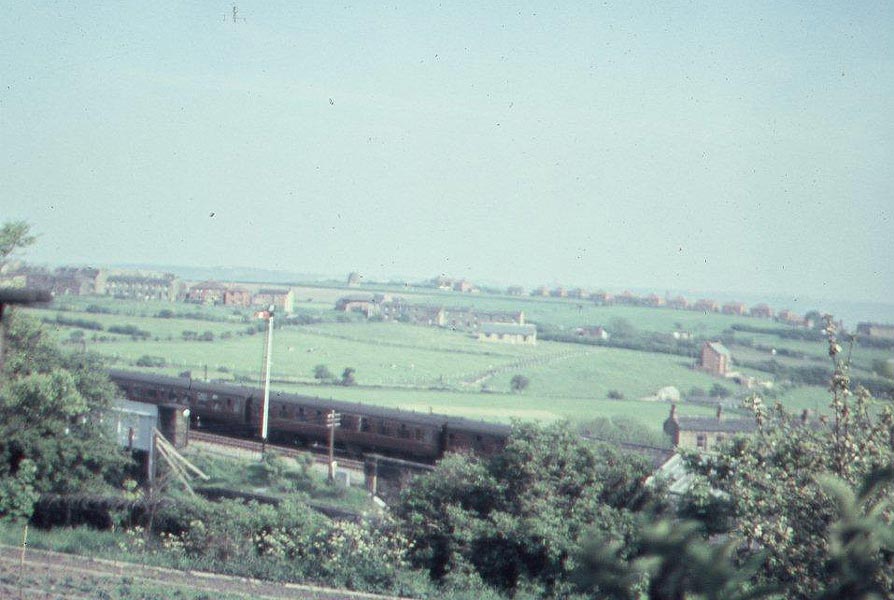
%20(5%20to10%2013-04-03)%20(11to19%2025-05-03)%20(20%20to%2025%2026-05-03)/21%20birstall%20station%20east_small.jpg) Birstall
station facing East (26-05-03) : David Webdale Birstall
station facing East (26-05-03) : David Webdale
The view from Raikes lane looking down on the goods yard
& station.
Birstall Town signal box was down on the right, about where
that tree is. (see Birstall station map). |
Upper
Birstall station
Opened 01-10-1900. Closed 01-08-1951.
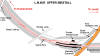 Upper Birstall station map 1908 (Re-named Birstall town
in1935) : David Webdale Upper Birstall station map 1908 (Re-named Birstall town
in1935) : David Webdale
The line reaches its highest point at Birstall station, all
downhill from here. The station buildings & platforms were of timber construction, with a subway.
Passenger access from Gelderd road was via timber staircase with a
corrugated iron roof.
The subway entrance was about half way up the staircase. (see photos
below) |
 The
Leeds New Line part 6: Darren Hosker c/o Paul Holroyd The
Leeds New Line part 6: Darren Hosker c/o Paul Holroyd
Youtube from Darren Hosker
https://www.youtube.com/watch?v=wHsvFJz5oE0 |
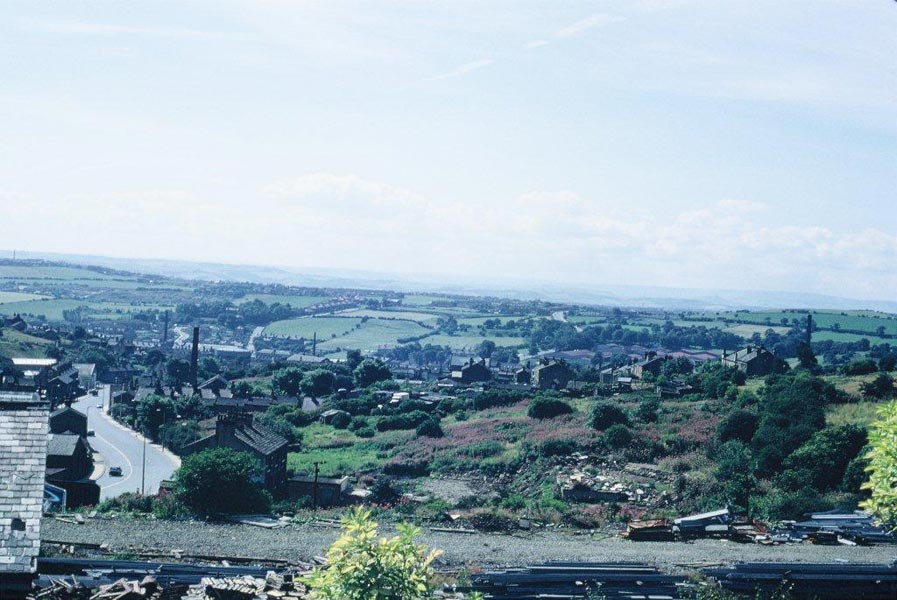
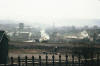 Birstall
(1964) : Percy Simpson Birstall
(1964) : Percy Simpson
This is the Main line with the Coal sidings. By this time 1964, the line
was used purely for diversions for Trans-pennine expresses and Freight.
Just look how quiet Gelderd road was.!! |
 Birstall
(c1960) : Percy Simpson Birstall
(c1960) : Percy Simpson
This was one of the last Transpennine expresses to pass Raikes lane.
Sadly, my Granddad did not photo the motive power, but it was mostly
peak diesels at the time. Birstall home Semaphore signal looks good. By
1965, the signal was probably blocked out....can't think where the Box
would have been?? |
 Birstall
(1967) : Percy Simpson Birstall
(1967) : Percy Simpson
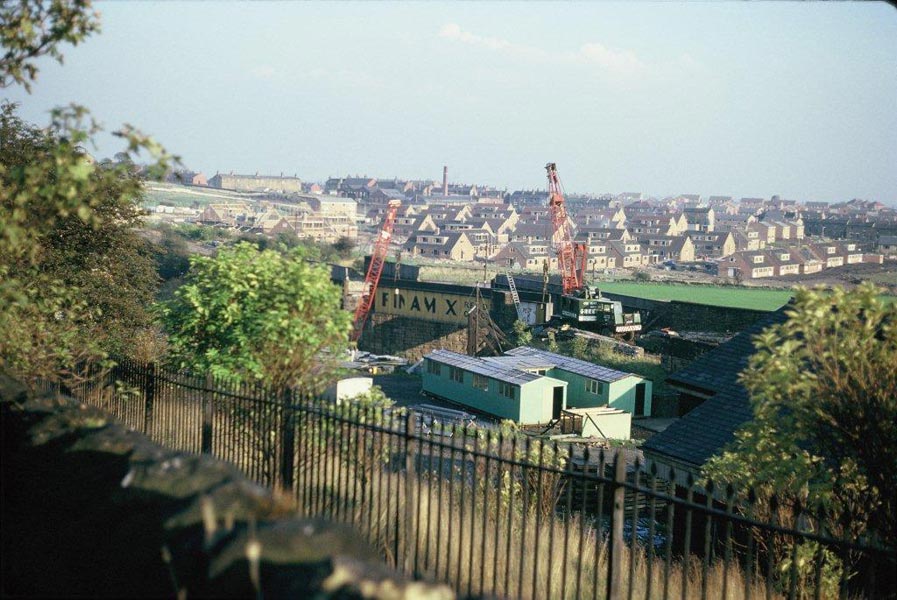
Late summer 1967. A scene so common thanks to DR Beeching. The metal has
got and all what is left is ballast....I think that got removed late
1968. Today this is an industrial estate and sadly nobody will remember
this great line, which probably if was saved could serve Leeds 27
shopping park, Birstall, Gomersal, CLeckheaton, Heckmondwike with links
to Leeds and Manchester. |
Gelderd Road (c1960) : Percy Simpson
 One
of the sad pictures of this set. The removal of the Rail bridge over
Gelderd road. My grandfather used to laugh at the short-sighted view of
the so-called government of the day. They allowed a huge house building
scheme in Birstall and Fieldhead and CLOSED this line. Sometimes on my
way home,
I just think how busy this line and Birstall Upper station
would be now!!! Sure beats the jams... One
of the sad pictures of this set. The removal of the Rail bridge over
Gelderd road. My grandfather used to laugh at the short-sighted view of
the so-called government of the day. They allowed a huge house building
scheme in Birstall and Fieldhead and CLOSED this line. Sometimes on my
way home,
I just think how busy this line and Birstall Upper station
would be now!!! Sure beats the jams... |
%20(5%20to10%2013-04-03)%20(11to19%2025-05-03)%20(20%20to%2025%2026-05-03)/23%20birstall%20station%20gelderd%20road%20west_small.jpg) Gelderd
Road facing West (26-05-03) : David Webdale Gelderd
Road facing West (26-05-03) : David Webdale
Upper Birstall station just visible behind the trees, to the left of
photo, half way up the wall, is a bricked up passenger subway.
Note : Bob Gardner
As far as I can remember, Birstall Railway Station was up the A62
roadway from Birstall Smithies towards Leeds.
It was roughly half way between Birstall Smithies and the new M62
motorway junction.
The station was high above the roadway and access to the platforms was
by a very long, steep, enclosed stairway. The stairway was in three
sections,
having small platforms breaking each section (and also anyone's falls).
Passengers had to carry all their luggage up this stairway.
Many people confuse Gomersal Station with the one at Birstall. There was
a big shunting yard at Birstall Smithies (no station) where there is now
a big pub.
The line passed through Wilton Park. It serviced all the local coal
merchants and each one had his own side line. |
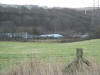
%20(5%20to10%2013-04-03)%20(11to19%2025-05-03)%20(20%20to%2025%2026-05-03)/24%20farm%20track%20east_small.jpg) Moat
Hill Farm drive facing East (26-05-03) : David Webdale Moat
Hill Farm drive facing East (26-05-03) : David Webdale
Moat Hill Farm drive bridge, taken from within, what was
a cutting, facing towards Leeds. (see main map).
Built from blue
engineering brick. Visible on the left is the top of one of its three
arches.
Must be a lot of landfill under this bridge. |
%20(5%20to10%2013-04-03)%20(11to19%2025-05-03)%20(20%20to%2025%2026-05-03)/25%20nab%20lane%20north_small.jpg) Nab
lane facing North (26-05-03) : David Webdale Nab
lane facing North (26-05-03) : David Webdale
I expected to see some action at this point, where the Great Northern
line crossed the new line on a steel bridge.
Instead just loads of landscaping & trees, so I took this boring picture of
Nab lane. |
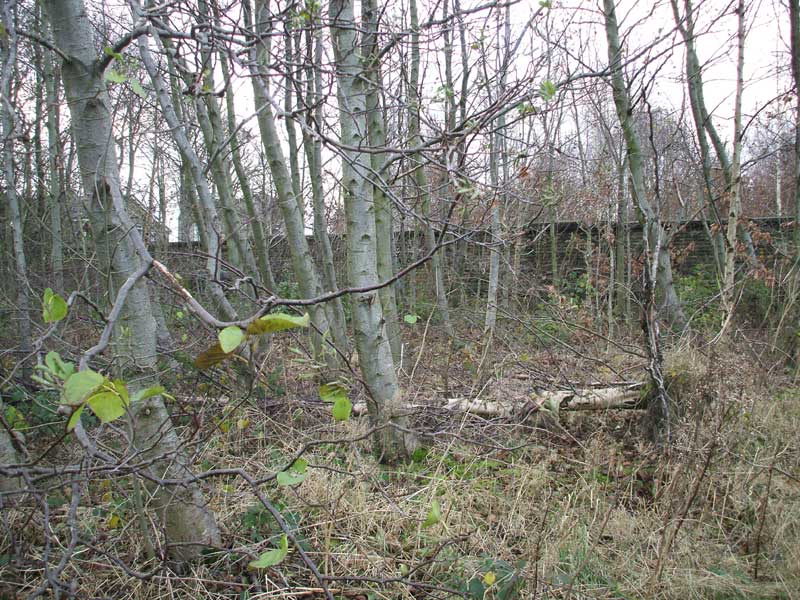
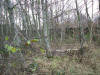 Nab
Lane (07-12-07) : Andrew Stopford Nab
Lane (07-12-07) : Andrew Stopford
Overbridge from the infilled track (complete with silver
birch forest!) |
 Nab
Lane (07-12-07) : Andrew Stopford Nab
Lane (07-12-07) : Andrew Stopford
Overbridge - top of arch just visible. |
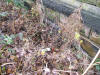
 Trackbed
(07-12-07) : Andrew Stopford Trackbed
(07-12-07) : Andrew Stopford
Trackbed looking towards Nab Lane. |
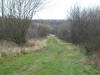 Trackbed
(07-12-07) : Andrew Stopford Trackbed
(07-12-07) : Andrew Stopford
On the trackbed looking towards Gildersome. |
 Trackbed
(07-12-07) : Andrew Stopford Trackbed
(07-12-07) : Andrew Stopford
Trackbed between Nab Lane & Gildersome Tunnel
(tunnel is to left). |
Gildersome tunnel
The
Leeds New Line part 7: Darren Hosker c/o Paul Holroyd
Youtube from Darren Hosker
https://www.youtube.com/watch?v=ne3997fa0S4&feature=youtu.be |
 The
Leeds New Line part 8: Darren Hosker c/o Paul Holroyd The
Leeds New Line part 8: Darren Hosker c/o Paul Holroyd
Youtube from Darren Hosker
https://www.youtube.com/watch?v=fnppPBgEaSo |
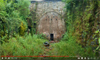
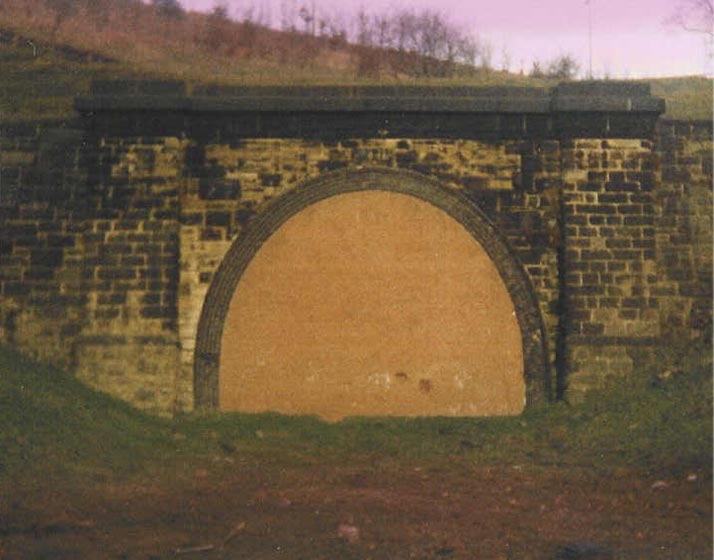
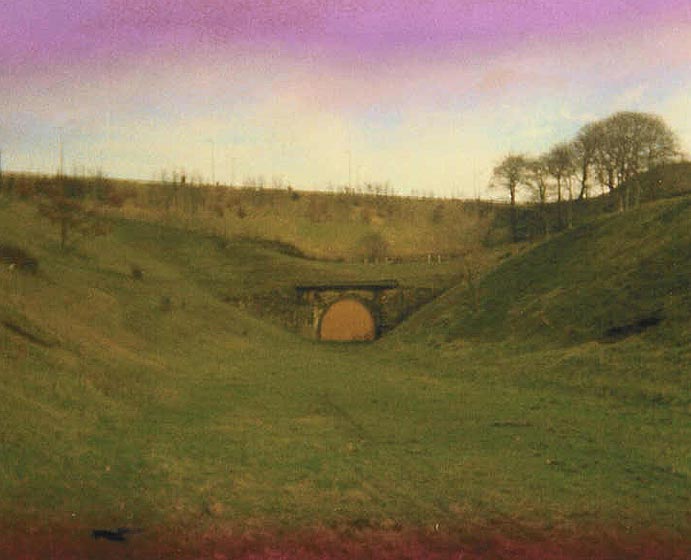
 Gildersome tunnel West end SE242277 (1985) : K Evans Gildersome tunnel West end SE242277 (1985) : K Evans
1 mile 579
yards.
This photo taken from behind the Showcase cinema (see main map) shows
the bricked up portal in 1985. |
 Gildersome tunnel West end SE242277 (1985) : K Evans Gildersome tunnel West end SE242277 (1985) : K Evans
Wider view.
The line travelled through here at a gradient of 1 in 70, 175 feet below
ground at its deepest point.
Built of blue engineering brick throughout with stone portals &
contained 139 tablets, set into the tunnel walls. |
 Gildersome tunnel West end SE242277 (1985) : K Evans Gildersome tunnel West end SE242277 (1985) : K Evans
Wider view. |
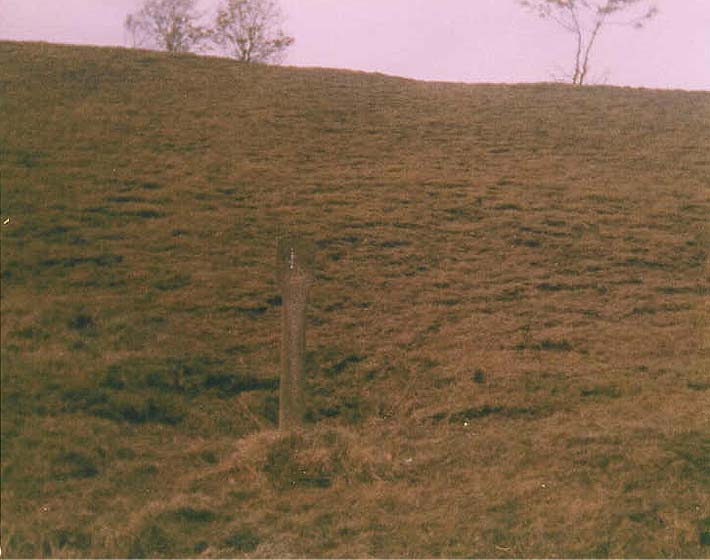
 Gradient marker (1985) : K Evans Gradient marker (1985) : K Evans
Gradient marker about 1/4 mile from tunnel mouth |
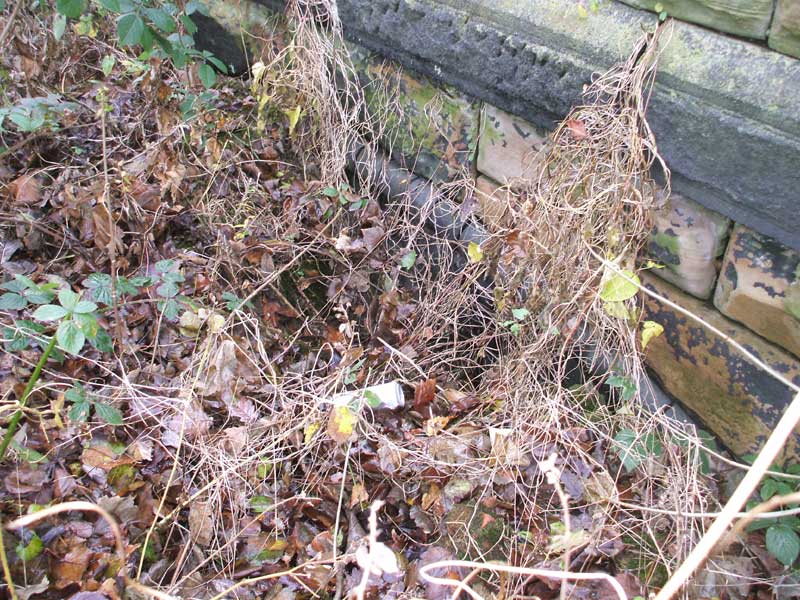
%20(8%20to%2016%2031-05-03)/3%20gildersome%20spur%20vent%20south_small.jpg) Vent Gildersome
Spur facing South SE247283 (30-05-03) : David Webdale Vent Gildersome
Spur facing South SE247283 (30-05-03) : David Webdale
Originally the tunnel had 3 vent shafts, the one at the Birstall
end was capped early on (see next page).
This vent on Gildersome spur industrial estate is still intact & looks to be in good
nick. |

%20(5%20to10%2013-04-03)%20(11to19%2025-05-03)%20(20%20to%2025%2026-05-03)/17%20field%20head%20lane%20east.jpg)

%20(5%20to10%2013-04-03)%20(11to19%2025-05-03)%20(20%20to%2025%2026-05-03)/22%20raikes%20lane%20bridge%20west.jpg)
%20(5%20to10%2013-04-03)%20(11to19%2025-05-03)%20(20%20to%2025%2026-05-03)/21%20birstall%20station%20east.jpg)


%20(5%20to10%2013-04-03)%20(11to19%2025-05-03)%20(20%20to%2025%2026-05-03)/23%20birstall%20station%20gelderd%20road%20west.jpg)
%20(5%20to10%2013-04-03)%20(11to19%2025-05-03)%20(20%20to%2025%2026-05-03)/24%20farm%20track%20east.jpg)
%20(5%20to10%2013-04-03)%20(11to19%2025-05-03)%20(20%20to%2025%2026-05-03)/25%20nab%20lane%20north.jpg)


%20(8%20to%2016%2031-05-03)/3%20gildersome%20spur%20vent%20south.jpg)